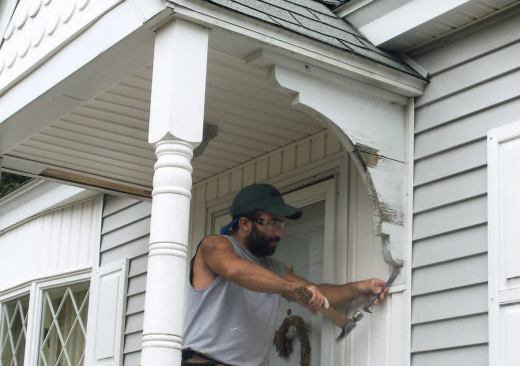
The wooden brackets on this front porch had seen better days.
After carefully removing the brackets, we used one of them as a …
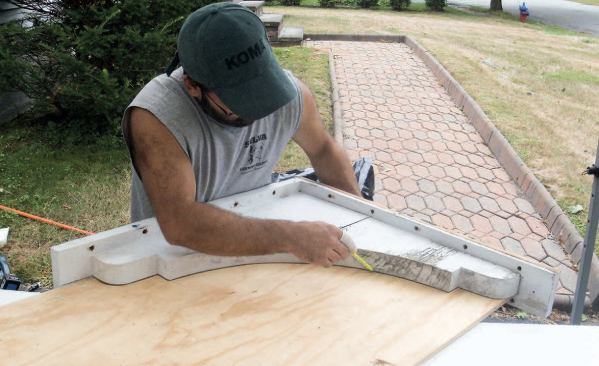
After carefully removing the brackets, we used one of them as a template, first tracing its profile onto a scrap of plywood, then cutting it out with a jigsaw and sanding it smooth.
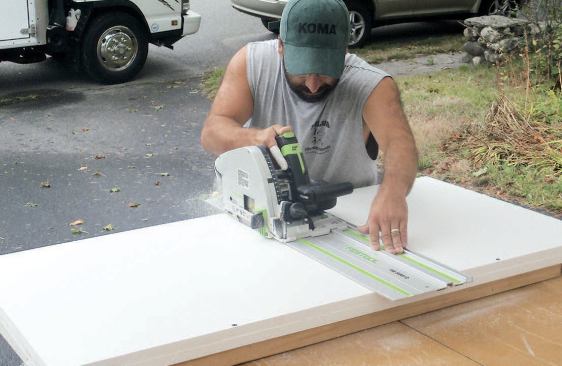
Next we cut two 2-by-4-foot pieces out of 3/4-inch PVC sheet sto…
Next we cut two 2-by-4-foot pieces out of 3/4-inch PVC sheet stock.
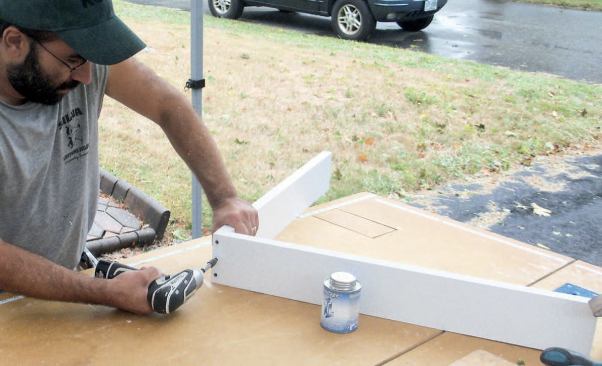
The original brackets were about 1 1/2 inches thick, but I wante…
The original brackets were about 1 1/2 inches thick, but I wanted the replacements to be a little thicker, so I added a piece of 3/8-inch PVC in between, then glued the three layers together with Trim Tight PVC glue.
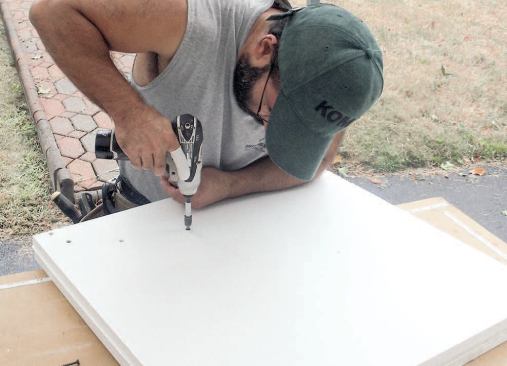
To clamp the pieces together as the cement cured, I also drove e…
To clamp the pieces together as the cement cured, I also drove exterior screws in from one side.
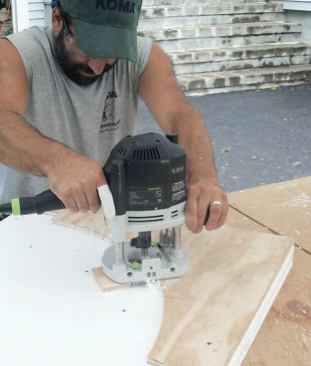
I attached the template to the PVC blank.
I quickly routed the profile in two passes.
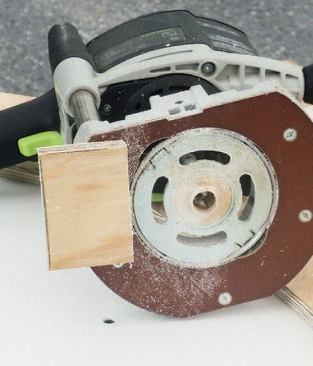
A small scrap of plywood hot-glued to the base helped the router…
A small scrap of plywood hot-glued to the base helped the router stay square to the template.
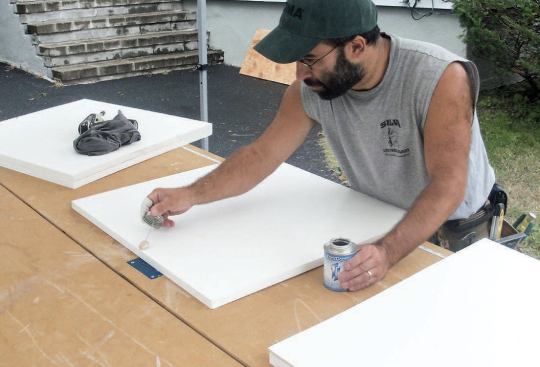
We finished up the edges with light sanding. We filled the screw…
We finished up the edges with light sanding. We filled the screw holes with Bond&Fill, a filler designed to work with all the available brands of PVC trim.
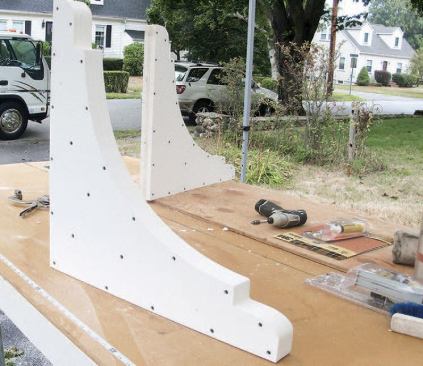
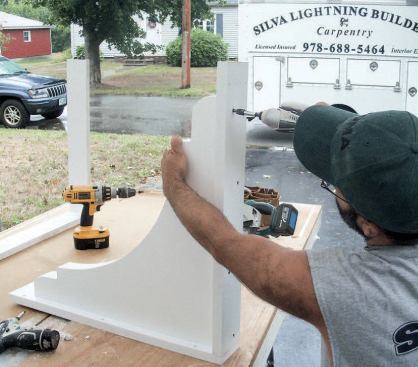
Next we cut two pieces of 5/4 PVC stock to match the original br…
Next we cut two pieces of 5/4 PVC stock to match the original bracket's 90-degree backer.
We predrilled holes for attaching to the house, then glued and s…
We predrilled holes for attaching to the house, then glued and screwed the brackets to the corner pieces.
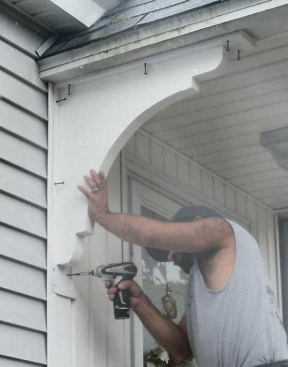
After protecting the sheathing with Vycor flashing tape, we inst…
After protecting the sheathing with Vycor flashing tape, we installed the new brackets.
The wooden brackets on this front porch had seen better days. They weren’t structural, so I wanted to replace them with a material that wouldn’t rot again: cellular PVC. After carefully removing the brackets, we used one of them as a template, first tracing its profile onto a scrap of plywood, then cutting it out with a jigsaw and sanding it smooth. Next we cut two 2-by-4-foot pieces out of 3/4-inch PVC sheet stock. The original brackets were about 1-1/2 inches thick, but I wanted the replacements to be a little thicker, so I added a piece of 3/8-inch PVC in between, then glued the three layers together with Trim Tight (
trimtight.com) PVC glue. To clamp the pieces together as the cement cured, I also drove exterior screws in from one side.
After attaching the template to the PVC blank, I quickly routed the profile in two passes. A small scrap of plywood hot-glued to the base helped the router stay square to the template. We finished up the edges with light sanding.
We filled the screw holes with Bond&Fill (bondfill.com), a filler designed to work with all the available brands of PVC trim. We let it set up for about 15 minutes, then sanded it smooth, leaving the screw holes invisible.
Next we cut two pieces of 5/4 PVC stock to match the original bracket’s 90-degree backer. We predrilled holes for attaching to the house, then glued and screwed the brackets to the corner pieces.
After protecting the sheathing with Vycor flashing tape, we installed the new brackets. They fit perfectly; having the screws already in their holes made for an easy installation. Finally we cut plugs from the PVC scraps, glued them in place, and sanded them smooth. The brackets look like they’ve been there for years, which was our goal.