Our company installs a deck on just about every home we build, and our decking material of choice is usually ipe. For years, we never really gave the decking installation process much thought. Layout usually consisted of starting on the outside perimeter of the deck and working towards the house, laying down one row at a time until we reached the house wall.
That system worked, but it was tough keeping the boards straight and getting the last few rows of decking to hit the house just right. Depending on who on the crew did the layout, gapping and nailing down the boards could be a slow process. We often found ourselves making corrections, and occasionally we’d end up pulling and refastening a few boards to make the deck look just right.
A different approach. Several years ago, we began trying different ways to speed up decking installation. To resolve our layout issues, we tried snapping lines across the joists for all the boards before any decking went down. This strategy gave us straight lines to work with, and although it was a step in the right direction, it did not solve all of our problems. The lines helped us keep the boards a little straighter, but it was tough to install them right on our lines. And we were still laying down decking one row at a time, which was particularly challenging on a deck that had a long run of boards.
Then we decided to install every third board on our snapped lines. Once those boards were tacked in place and perfectly straight, it was easy to fill in the two rows between, even with long runs of decking. We set the infill boards in place and straightened them with wedges, just eyeballing the gaps to keep the spacing even.
Layout. Whether we are laying out an enclosed porch or an open exterior deck, we always start with the basic deck board layout. Decks or porch floors that are simple rectangles are obviously the easiest. In those cases, we typically start at the rim of the deck and work the layout back towards the house.
The math comes down to determining the distance between the leading edges of every third board. It’s easy to set up a few boards to verify the spacing. Because we have always fastened the boards with stainless trim-head nails, those nails (which are about 1/8 inch wide) became our spacers. For most of our floors with 1×4 ipe decking, three boards at 3 1/2 inches plus three 1/8-inch gaps yield a total distance of 10 7/8 inches between the leading edges of the first and fourth boards (leaving space for two boards between them).
Adjusting the layout. We mark out 10 7/8-inch intervals along both sides of the deck. It’s nice, but rare, when the layout works out to exactly a full board at the end of the layout, but at this point, we can adjust the gap size to modify the layout if need be.
Optimally, we want the last board to be no less than two-thirds wide, avoiding a narrow sliver if at all possible. A calculator can be a big help here. In the project shown in the photos, the distance between the outer wall of the porch and the house wall was 212 inches. With a 3 1/2-inch board plus a 1/8-inch gap, each row is 3 5/8 inches wide. Dividing the total width of the room (212 inches) by 3 5/8 yielded 58 and a half rows.
The width of half of a board is 1 3/4 inches and half of that is 7/8 inch. To achieve an even reveal at both walls, we simply started the layout 7/8 inch back, or at 10 inches. In most cases, the porch wall material or the house siding will cover the edge of the last board.
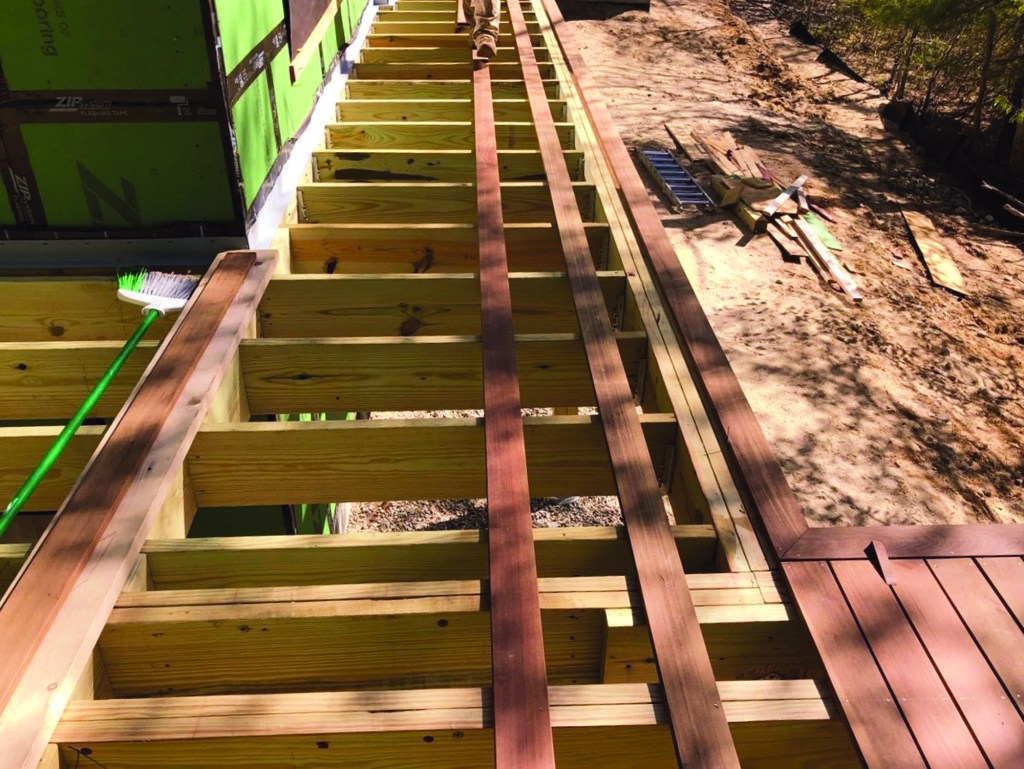
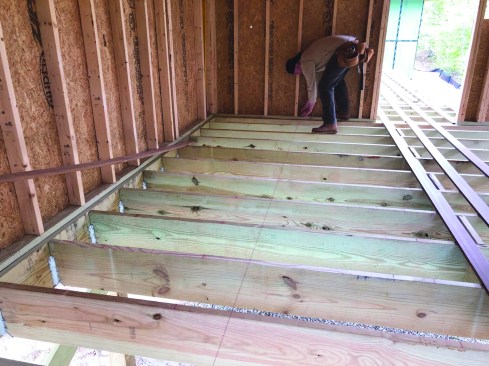
The crew snaps layout lines across the joists for every third row.
They also mark lines down the middle of each joist for nail alignment.
Snap and go. Once we’ve marked the layout for every third board, we snap chalk lines across the joists between our marks. Before installing any boards, we also snap chalk lines down the center of each joist to help keep the nails in a straight line.
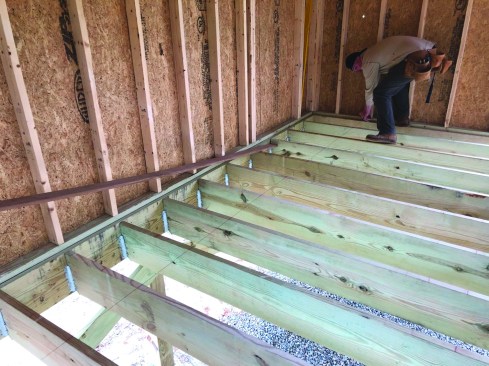
Then they lay the boards down.
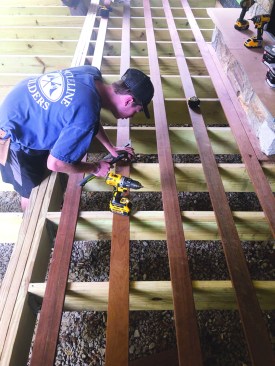
After predrilling, a crew member tacks the decking on the snapped lines.

Once the crew has tacked every third row in place, one person makes a cut list for the infill boards.
With the lines snapped for the leading edges of every third board, we set boards on those lines and tack them in place with one nail driven into each joist about 3/4 inch from the edge of the board. After every third board is tacked in place, a crew member makes a cut list for the infill boards.
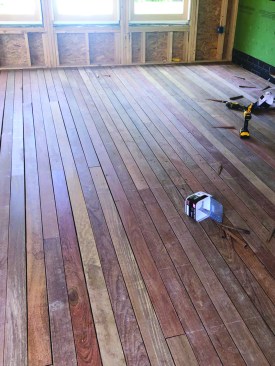
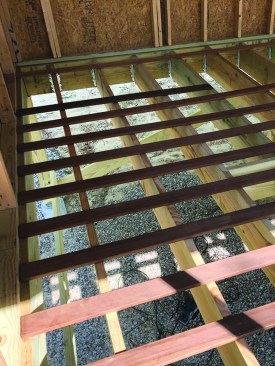
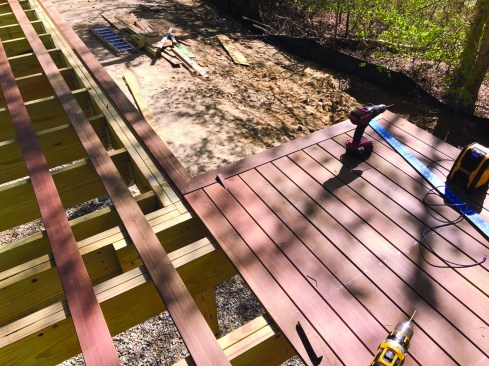
The crew cuts the infill boards and racks them between the tacked boards.
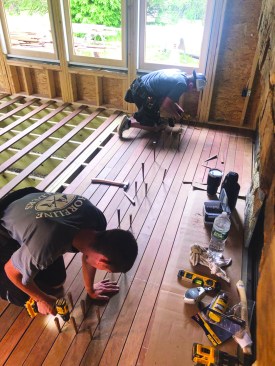
Wedges straighten the infill boards and keep the gaps consistent while a crew member tacks those boards in place.
We cut the infill boards to length and set them in place. Much like “racking” strip flooring prior to installation, we haven’t begun actually installing the boards at this point. When a few rows of infill boards are racked, a couple of crew members can begin installing them, first tapping wedges between the boards to create uniform gaps, then drilling and tacking the boards in place.
Erasable white chalk lines keep the nails in a perfectly straight line.
As the infill boards are tacked down, we snap erasable white chalk lines over the nail locations to keep the nail heads in a straight line. Any member of the crew can then drill and drive the rest of the nails without the installation needing to progress from one side to the other, and crew members can be working on different tasks in different parts of the deck at the same time.
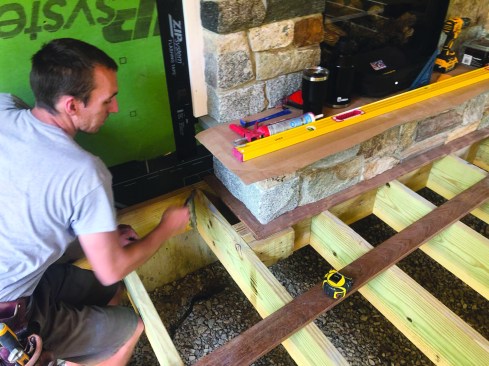
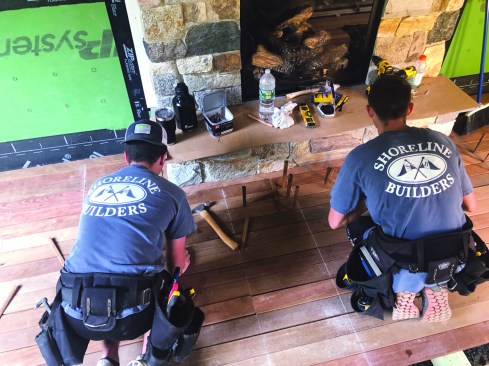
Special situations. In a three-season porch we built recently, there was a stone fireplace on the house wall. Instead of scribing the decking to the stone, the masons built the edges of the fireplace on top of temporary pieces of 3/4-inch-thick PVC trim. When they finished the fireplace, we removed the PVC trim and slid deck boards in to create a picture frame around the fireplace.
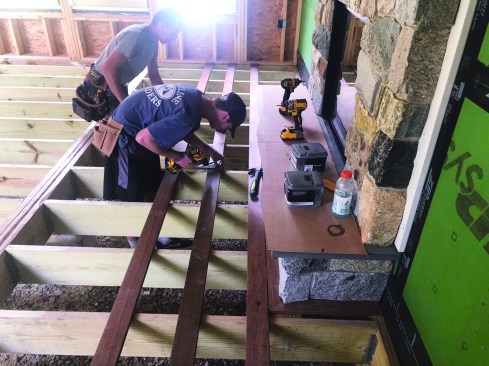
When there’s a fireplace (or similar structure) that the decking layout has to accommodate, the crew first establishes the overall layout, then determines the width of the picture frame around that structure based on the layout.
To determine the width of the frame, we just did our every-third-board layout, and then sized the ipe picture frame around the fireplace to fit within that layout. That particular layout gave us just over five full boards to the house wall, and with the 3/4-inch-thick wall paneling, almost a full board was visible at the wall.
For areas where the decking is continuous from one area into another, the crew lays out every third board in one area, and then projects that layout into the adjacent area.
We also often run into the situation where a deck adjoins a porch or another deck and we want the decking boards to be continuous from one area into the other. Usually, a doorway between the spaces is the critical transition area, so we determine which space is less flexible in terms of layout and lay out that section first. We work the every-third-board layout, and at the doorway, we project our lines through into the adjoining space. We then work our layout in both directions to the perimeter of that space.
For L-shaped decks, the layout starts from the corner where the two sections meet, and extends in both directions from that point.
If the deck has an “L” shape, we start the layout at the corner where one area of the L transitions to the next. Working back from that point, we can usually adjust the size of the gaps slightly so that we have a full board at the outside edge of both sections.
Efficient workforce. The decking installation method described here won’t work with every fastening system, but for face-nailing or screwing down deck boards, it works incredibly well. After a small investment in time to figure out the layout and snap the lines, installation is faster, and the decking ends up perfectly straight and evenly spaced.
Best of all, this system doesn’t require a high level of skill. We usually break in new employees on the decking crew, and they become master decking installers after just a day or two.


