
After locating all the footings, I generally dig the holes by ha…
Every porch or deck I build starts with level footings and solid, plumb concrete piers – insurance that my projects will stand for many years to come. I use 12-inch-diameter cardboard tube forms (usually Sonotubes), rebar, and a sack concrete mix. Here’s my process.
After locating all the footings, I generally dig the holes by hand. If there are more than six, I’ll consider hiring an excavator. Even though I always call Dig Safe ahead of time, there’s still the chance I could run into an obstruction, and digging with a shovel gives me more control if I do. As I dig, I keep all the dirt and rocks in separate piles close by. This makes shoveling the dirt back in a lot easier, and allows me to place rocks where I want them.
I dig my holes 2 feet in diameter so that I have some flexibility if I need to slightly adjust the placement of the tube. Also, the wider the hole, the easier it is to remove dirt as I dig deeper.
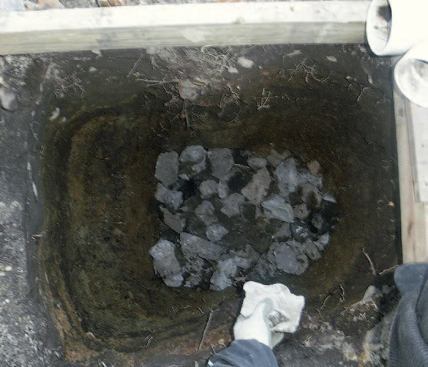
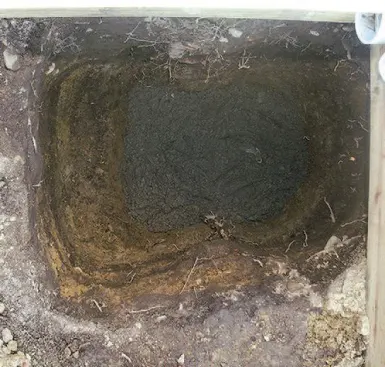
When I reach our local frost depth of 48 inches, I add about 6 inches of stone to the bottom of the hole. This provides a good base for the footing, which consists of 6 inches of concrete to tie all the rock together and an additional 6 inches for anchoring the tube form.
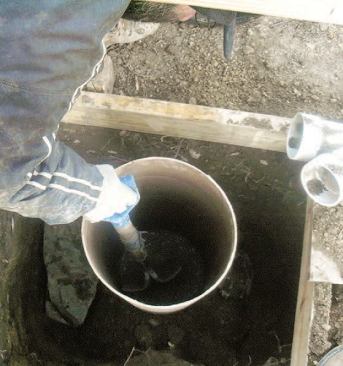
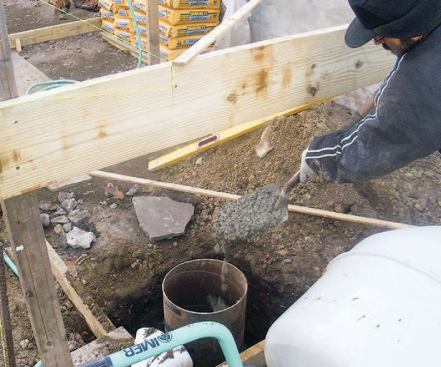
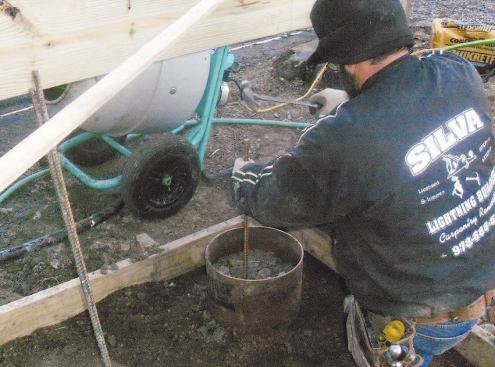
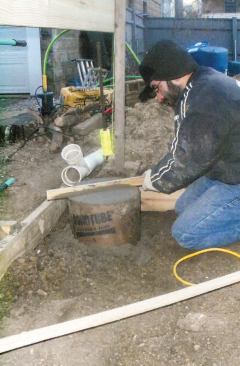
I press the bottom of the tube a couple of inches into the wet concrete, careful to keep it plumb, level, and at the proper elevation at the top. I add dirt and rocks around the tube, tamping as I fill to prevent voids, until I’m about halfway up. I then place concrete inside the tube, filling it about a third of the way up and checking for plumb, level, and elevation as I go.
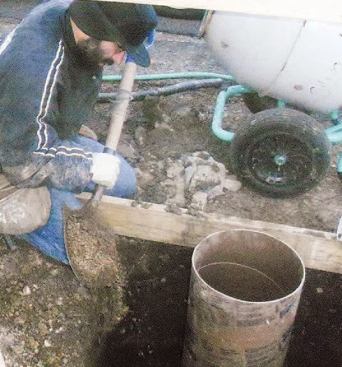
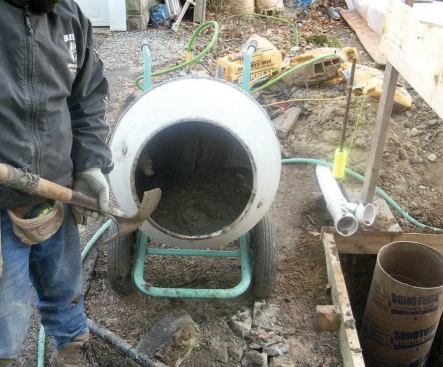
I use an Imer Rollbeta mixer (imergroup.com) that cost around $600 eight years ago; it can handle two 80-pound bags at a time. Each tube and footing requires eight bags of concrete mix.
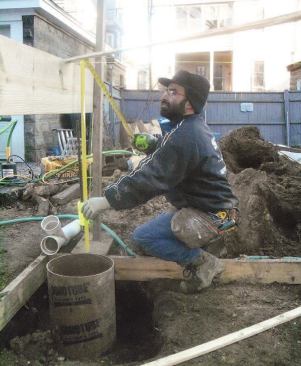
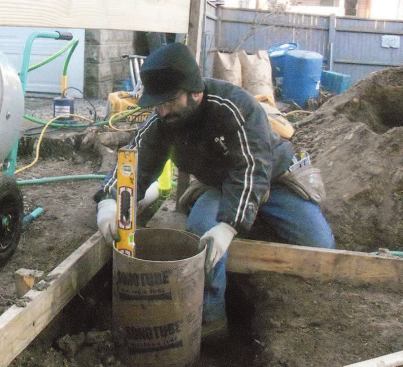
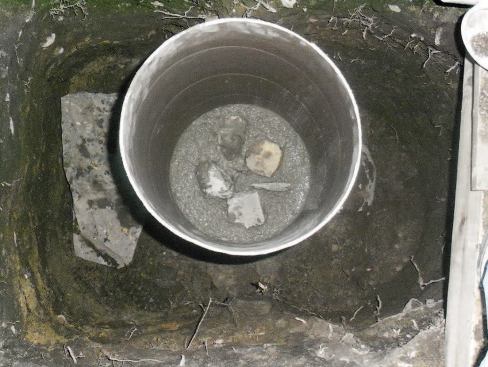
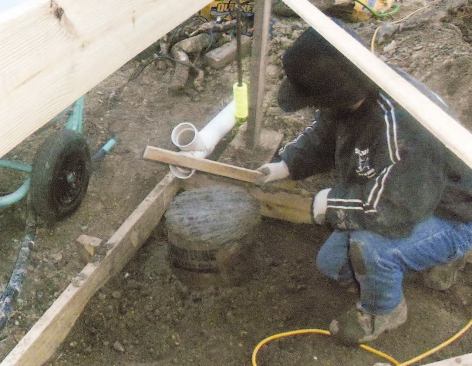
As I fill the tube, I add in clean rock, careful to keep it in the middle of the pier so there are no voids on the outside surface. After every 6 inches of additional concrete, I measure the top elevation and check for plumb. If the top drops, I simply pull up on the sides of the tube to bring it back to its correct height. If the tube leans, a light tap on the side will bring it back to plumb. Repeated checking keeps me on target as I go.
Before I place the last 6 inches of concrete, I install three lengths of #4 rebar. I drive them all the way to the bottom of the footing, which should prevent the footing and pier from ever separating. I embed the top of the rebar at least 6 inches from the top of the tube so that when I secure my post bracket there will be no contact between the wedge anchor and the rebar.
After placing the last of the concrete, I let it set for a few minutes, then tap the top surface with a straightedge to help push down any aggregate. I then run the straightedge across the top in a saw motion to smooth the surface. Within a few minutes, bleed water will find its way up to the top as curing begins. I sweep away the water with a broom, completing the pier. It will be ready to build on in another seven days.
Manny Silva owns Silva Lightning Builders, a remodeling company in North Andover, Mass.


