Tim Uhler
My pencil fits right into the notch and is centered on the layou…
For me, framing a curved staircase has always been something that separates those who can frame from those who are simply framers. Ever since I saw a diagram in Will Holladay’s book A Roof Cutter’s Secrets to Framing the Custom Home showing how to frame a circular stair, I’d been itching to frame one. It turns out that it isn’t particularly difficult. With guidance from Holladay’s book and a framer named John Kirkpatrick who routinely does this, I was able to frame a free-standing curved stair in less than eight hours.
Codes
When building a curved stair, the first step is to know the codes. The free online code explanations from the Stairway Manufacturers Association are handy for this. [Editor’s note: A more current version of Visual Interpretation of the Stair Building Code, published since this article was written, can be purchased from what is now known as the Stairbuilders and Manufacturers Association.]
Before starting to frame my first curved staircase, I spent a lot of time making sure I understood how to lay out the stair according to code and checking that the designer had drawn the stair correctly on the plans.
It was time well spent, since it turned out that the plans for the stair weren’t right—the radius was too tight, so the winder treads didn’t meet the minimum depth at the walk line. And, since it’s my job as the framer to build it right, I had to adjust the layout.
Layout
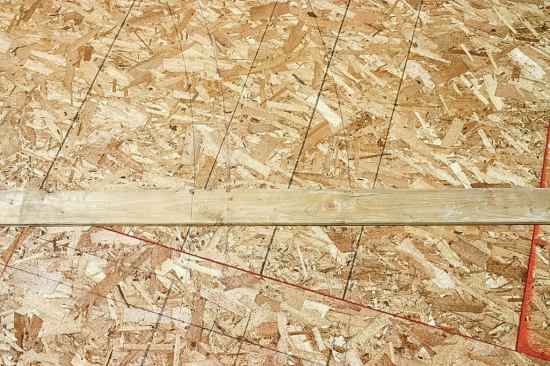
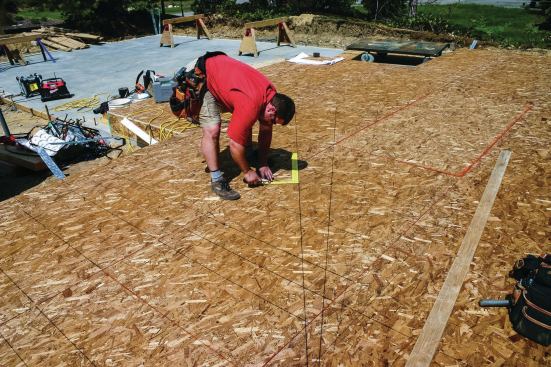
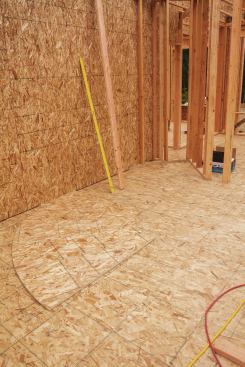
Using black chalk—so it’s permanent and won’t wash away in the rain—I snapped the stair layout at the same time as the rest of the wall layout. This allows some flexibility if we need to move things around a bit for a better fit and also helps shift my brain into gear.
To accurately lay out the stair, the “walk line” must be correctly located. According to the 2009 IRC (Sec. R311.7.3), the walk line should be 12 inches in from the inside edge of the stair, and the treads at their narrowest part on the inside curve must be at least 6 inches deep (R311.7.4.2). As long as you have a minimum tread depth of 10 inches at the walk line and no part of the stair tread is less than 6 inches, the code allows for a difference in tread depth between the straight section of the stairs and the winders. (Note: Under the 2012 IRC, the minimum tread depth has been increased to 11 inches.) If I needed to make things fit in a tight space, I could adjust the tread depth, but in this case I had a large, open area in the entry and didn’t need to make adjustments.
I began layout by snapping the line of the top riser, which was also the edge of the top landing. Next, I found the radius as defined on the plans, and made a trammel from a piece of strapping. I put four marks on the trammel—the outside distance from the center; the inside curve (both sides of the 2×4 wall); and the walk line 12 inches from the inside end of the tread—then used it to draw the edges of the curved section of the stairs. With a square along the top riser line at the walk line, I marked 10 inches in front of the top riser and snapped a line through this mark for the next riser. I repeated this, sliding the square until the 10-inch mark touched the walk line, snapping a new line for each riser.
Framing
Before framing the stair, it’s best to wait until the upper floor is framed so you can take exact floor-to-floor measurements. You also need to know the thickness of the finish floor material at the top and bottom of the stair. For this stair, both floors and the treads were getting hardwood, so every riser was the same height.
To idiot-proof the riser heights, I began by making a story pole. I entered the subfloor-to-subfloor height—119 3/8 inches for this house—into my Construction Master calculator and divided that by 16 (the number of risers on the plans) to arrive at a 7 7/16-inch riser height. (The 2009 IRC maximum riser height is 7 3/4 inches. In the 2012 IRC, it drops to 7 inches.) I then hit “M+” to store this number. Next, I entered “+ RCL M+ =” and got 14 15/16 inches. For each stair, I just hit “=” to get the next riser height; the calculator does the rounding so that every riser will be exactly the same (7 7/16 , 14 15/16 , 22 3/8, 29 7/8, 37 5/16, etc.).
For the story pole, I used a 2×4 that’s a few inches longer than the total floor-to-floor height. I hooked the bottom end of the 2×4 with my tape, marking each number my calculator gave me along its length, then squared across. Each line represents the bottom of a tread. In this case, I had 3/4-inch hardwood on both floors and on each tread, so I didn’t have to do anything except cut the story pole to the total subfloor-to-subfloor height. If I’d had different floor or tread thicknesses, I would have drawn these on the story pole to keep track of everything so that each riser would be the same height. (See the online version of this story for more about this.)
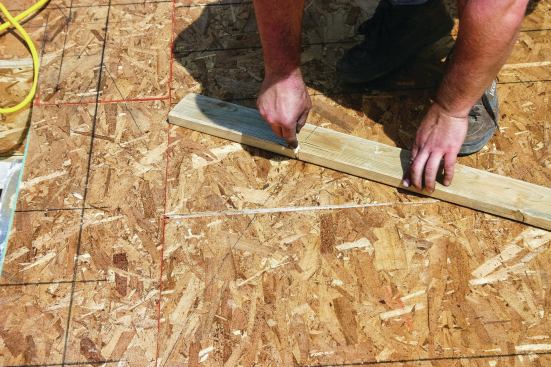
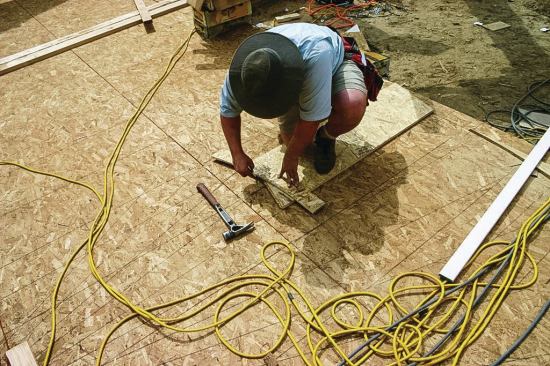
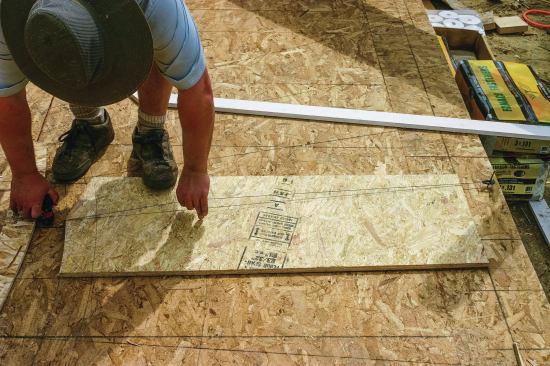
The next step was to physically scribe each tread directly over the marks on the floor and then set the cut treads on their marks. I marked each tread with a number and put that number on the floor so I’d know what goes where, making sure that the treads are cut perfectly to ensure that each step lines up correctly and follows the layout. I also cut 2x12s for the risers (using good-quality Doug fir or LSL) and the 2x4s that will serve as the cleats each tread will be fastened to, and set these in place on the snapped-out layout as well.
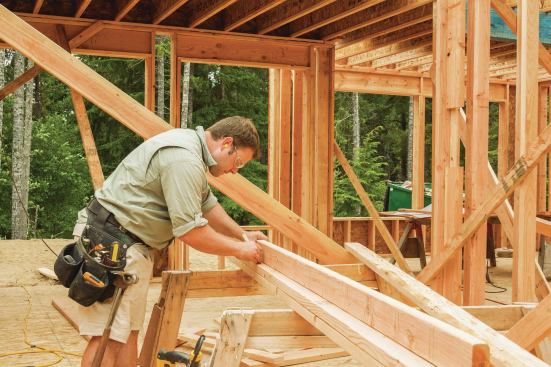
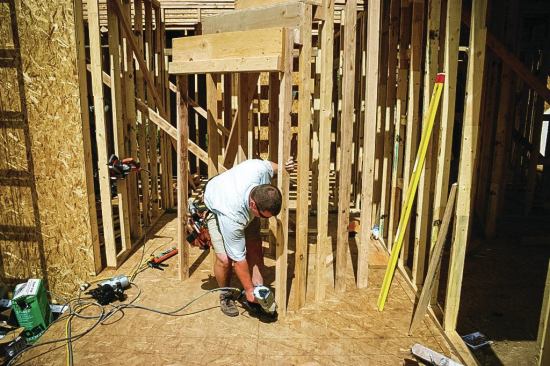
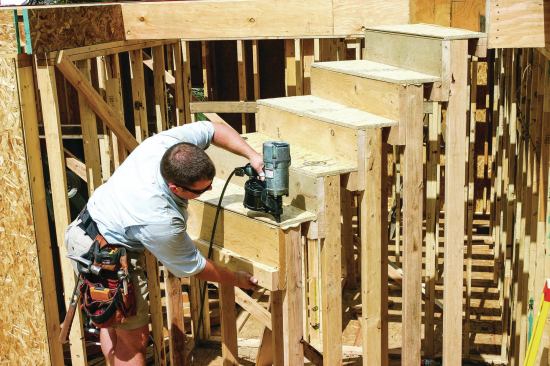
Next, I cut the pair of 2×4 “legs” for each stair. I set the story pole over the pair of 2x4s, marked the length (height) for each riser, and cut the pair using the Big Foot saw so that they’re an exact set. I marked each pair to match the corresponding tread label marked on the subfloor.
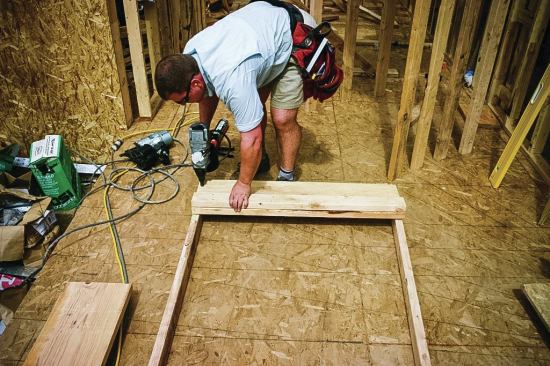
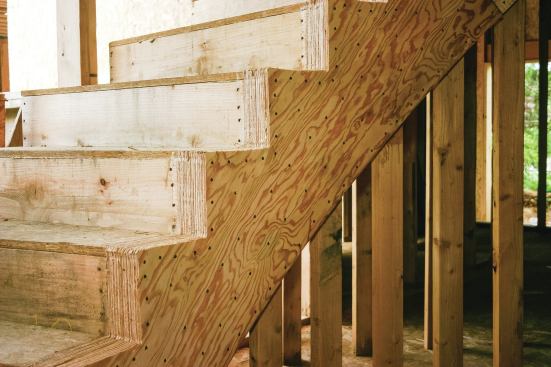
With everything cut and ready to go, I began gluing (with PL Premium) and nailing a 2×4 cleat to each 2×12 riser, then gluing and nailing this assembly flush to the top of a pair of 2×4 legs. It’s easy to nail the 2×12 to the 2×4 legs, then stand the assembly up and toe-nail the legs directly to their corresponding marks on the floor.
Before moving onto the next set of legs, I glued and nailed the tread to the previous riser cleat, locking each step in place. At each step, I’d double check for plumb to make sure I was staying over the layout on the floor. By starting at the top and working down the run of stairs, I always had something solid to nail into and I didn’t need to brace the stair at all. (Depending on the stair width, some additional 2x4s may be needed along the outside wall supporting the stairs so that the drywall J-channel has enough support to make a smooth curve.)
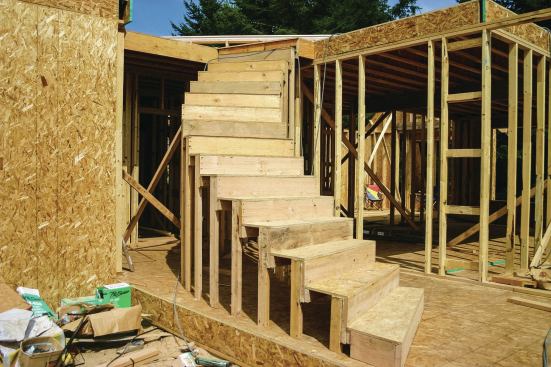
Free-standing Stairs
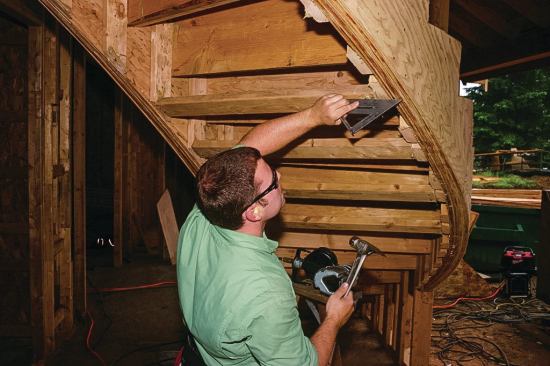
We build free-standing stairs the same way, but add a load-bearing laminated stringer from many layers of 1/4-inch plywood, then cut away the supporting 2x4s.
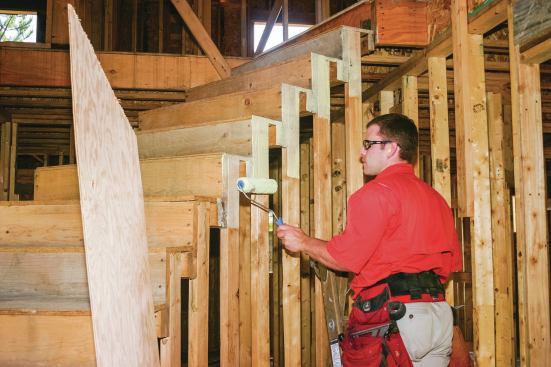
To make the laminations, we cut 16-inch rips, then generously apply Titebond II with a paint roller. We glue and staple the first layer onto the studs, then use the paint roller to completely coat each subsequent layer of plywood with glue before stapling on a new layer. We rout out the tread and riser profile in each layer as we go. For the stairs shown here, we installed a total of 14 layers, nailing through the last layer with a framing nailer to make 3 1/2-inch–wide structural stringers.
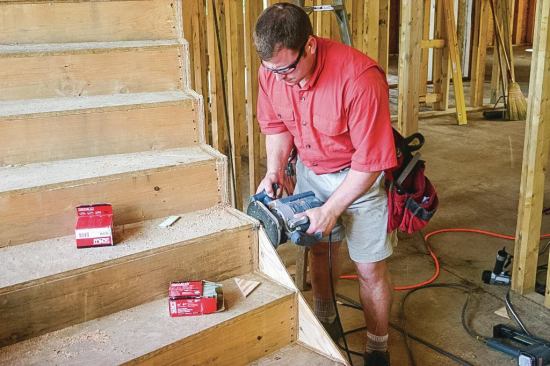
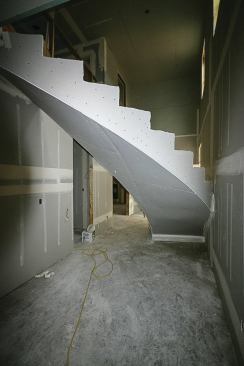
We let the glue dry for a week before cutting the 2×4 legs flush with the underside of the laminated stringer. To test stiffness, we had our heaviest guys bounce around on the outside of the stair. It deflected about 1/4 inch along the walk line with almost no vibration at all.
The sides of the stringers and the undercarriage were finished-out in drywall before the hardwood treads and handrail were installed by the finish crew.
Tim Uhler is lead framer forPioneer Builders, in Port Orchard, Wash.


