Putting a new kitchen in an older home can be a real challenge. The cabinets need to go in level and even, and most old floors are neither. One option is to shim and scribe all the cabinets to find a compromise between the high and low points of the floor, but that works best when the adjustments are small and are confined to one area. On a recent project, I opted instead to tear up the old floor and create a new, perfectly flat and level surface. This gave me a solid floor to work from and saved me tons of time and aggravation in the long run.
The second-floor kitchen was part of an ongoing project that we had started a couple of years earlier. I had taken most of the bounce out of the sagging floors by re-supporting the center beam in the basement (see “Shoring a Sagging Floor,” JLC, Mar/12). That beam supported stacked bearing walls, and the one on the second floor needed to come out to create a bigger space for the new kitchen. (To pick up the ceiling joists, I replaced the wall with three 11 7/8-inch LVLs glued and screwed together.) After stripping all of the old plaster and floor coverings from the room, I was ready to tackle the floor.
Carter Silva
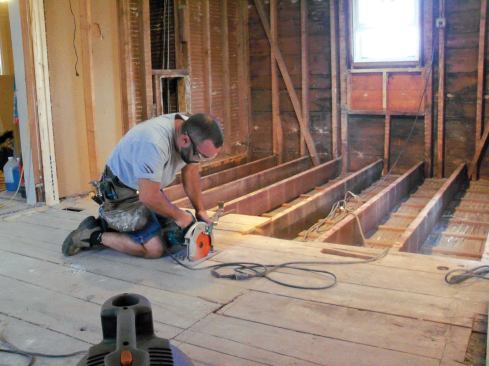
The quickest way to remove the old subfloor was to first saw alo…
Tear Out
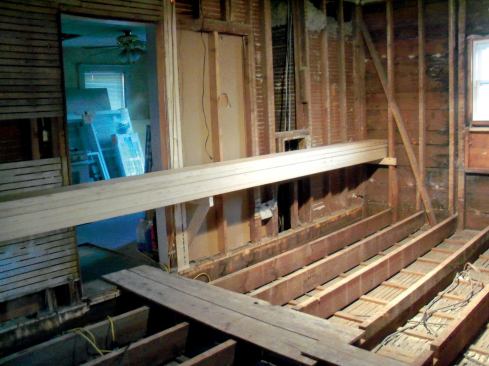
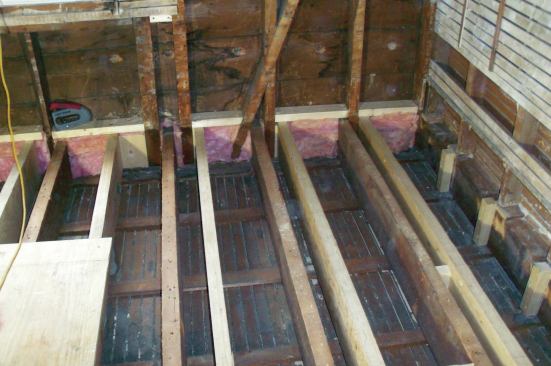
The existing subfloor in the room consisted of 1-by boards nailed to the old joists. I gave the floor a quick check with my laser level, which confirmed that the floor was high in one corner and sagged almost 1 1/2 inches in the middle—in spite of there being a supporting wall below. (I hadn’t tried to take the sag out when I beefed up the center beam for fear of causing cracked plaster and misaligned doors in the rooms above).
The quickest way to remove the old subfloor was to first saw along one of the joists near the middle of the floor. I set the blade of my circular saw at a shallow depth, so that I didn’t inadvertently slice through anything under the floor. (Supply pipes for the old heating system had been turned off and drained.) The nails holding the old subfloor didn’t offer much resistance to my long pry bars, and once I got an end separated from the joist, the rest of the board popped out quite easily.
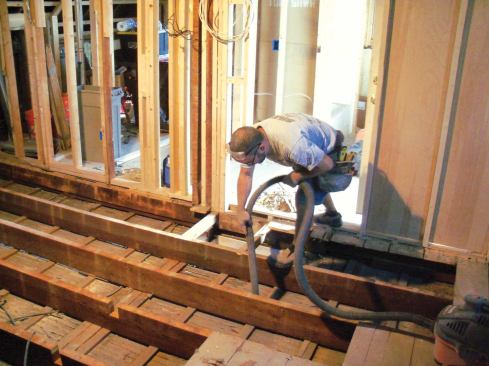
Where the boards ended at a wall, removal was fast and simple. But where the boards continued under an interior wall, I made an initial cut about 6 inches from the wall, which let me quickly remove most of each board. Then using a reciprocating saw, I cut back the remaining stubs flush with the wall framing. As you can imagine, dirt and debris from several decades had accumulated in the spaces between the joists, along with loose cellulose insulation that had been added at one point. To give me a clean starting point, I vacuumed the bays thoroughly as I tore out the old subfloor.
Prepping for the New Joists
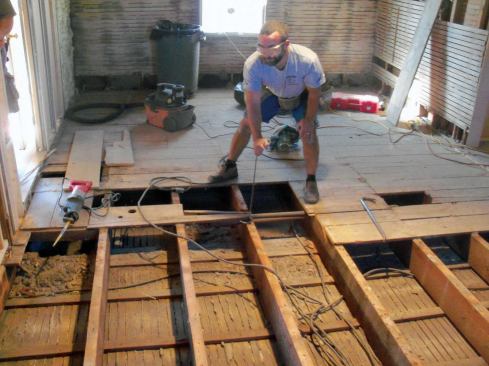
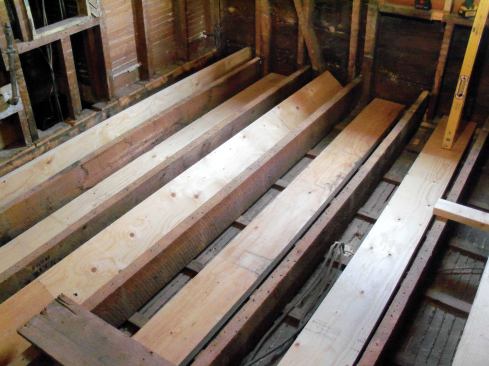
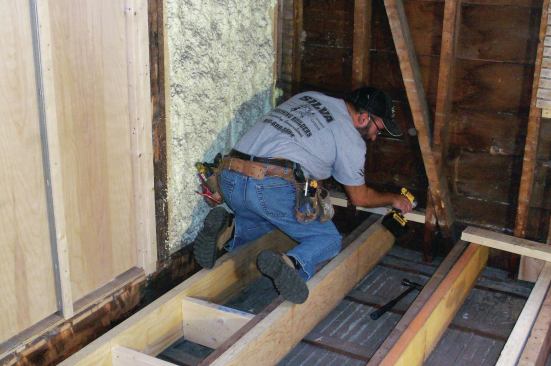
With all of the floor boards removed and the joist bays cleaned, I brought in an electrician to move the wires that would be in the way of the new joists. The original joist spacing was 19 1/5 inches on-center, a frugal layout that required less material. But fewer joists resulted in a weaker floor that had sagged severely over time. Notches in the joists for plumbing didn’t help matters. My plan was to lay out the new joists 16 inches on-center and to ensure that they were long enough to sit solidly on the plates at both ends, just inside the exterior sheathing.
Keeping your balance as you walk on the edges of joists can be tricky and dangerous, so I tacked down a few of the old boards for safe footing. Because storage space in the house was at a premium, I built temporary supports out of scrap 2x4s and loaded all the LVL joist stock into the room.
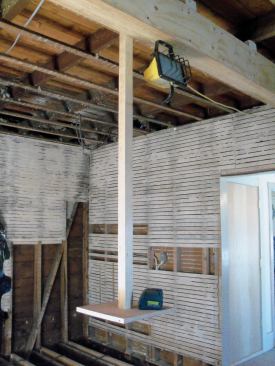
It became obvious that I would need a place out of the way to position my laser at a consistent height while I installed the joists. I ended up building a small platform that I suspended from the ceiling near the middle of the room. Then I set up my laser level and confirmed my high point to start the framing. With the joists cut to fit just inside the exterior sheathing, it would be tough to slide them by the stools on the two windows, which faced each other from the center of opposing walls. My solution was to cut notches in the framing for the joists to slip through. That allowed me to distribute the rest of the joists along the floor.
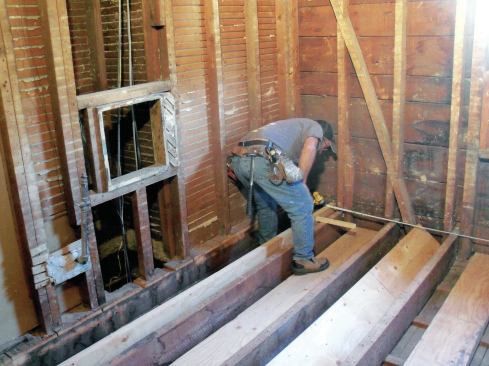
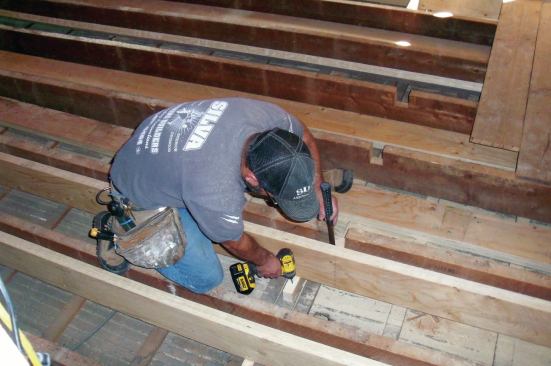
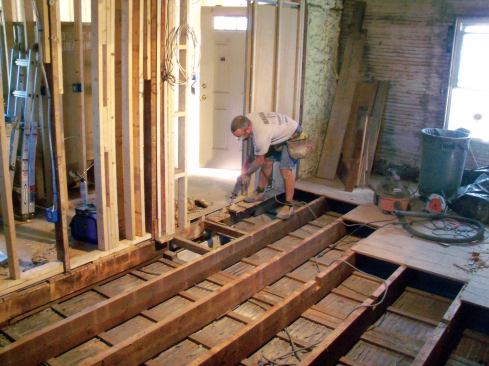
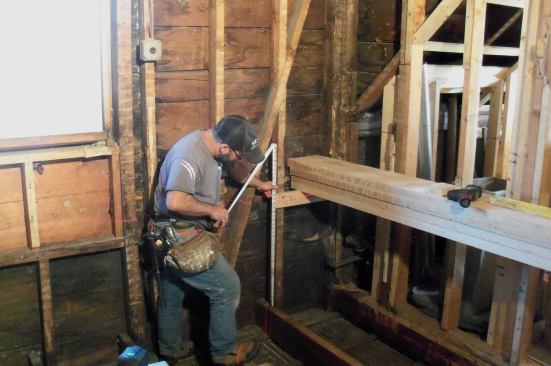
I began the installation in the highest corner. Pulling the layo…
Installing the Joists
I began the installation in the highest corner. Pulling the layout from the opposite wall, I locked the first new joist in position with a scrap screwed to the nearest old joist. With the high point set, I measured the height from the joist to the laser, then shimmed up the other end of the joist until the measurement matched. At the midpoint of the joist, I measured the gap between the joist and the top plate of the supporting wall below and cut a block to fit. The first joist set the height for the rest of the floor, so it was just a matter of working my way across the floor, bringing each joist up to that level.
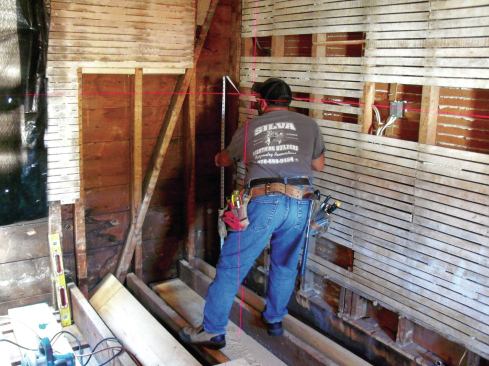
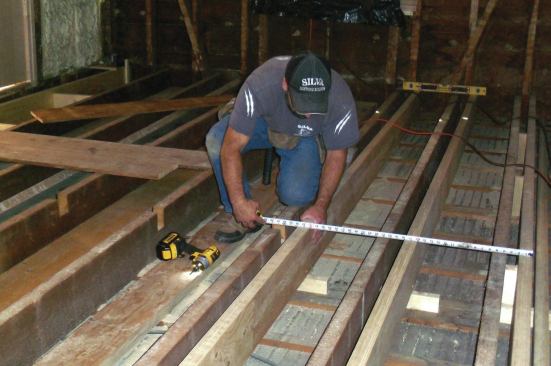
The exterior wall was framed at 16 inches on-center except under the windows, so I was able to use the studs to set the rough layout for most of the joists. The studs also gave me a place to attach the joist ends. For each joist, I checked the layout at both ends, and if they didn’t land next to a stud, I added shims or blocking to the nearest one. As with the first joist, I measured and cut a block to fill the gap between the bottom of each joist and the wall below. After slipping the block under the joist and screwing it to the plate, I pulled the layout for the joist and toe-screwed the joist to the block to lock it in place.
Final Framing Details
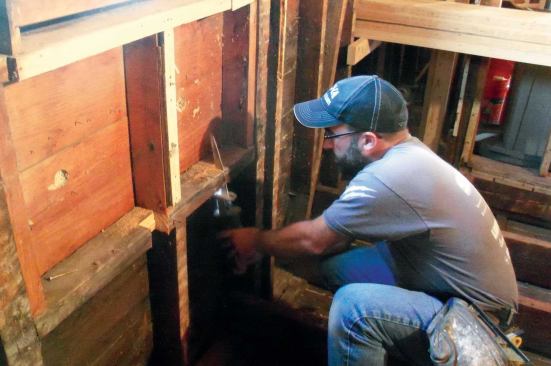
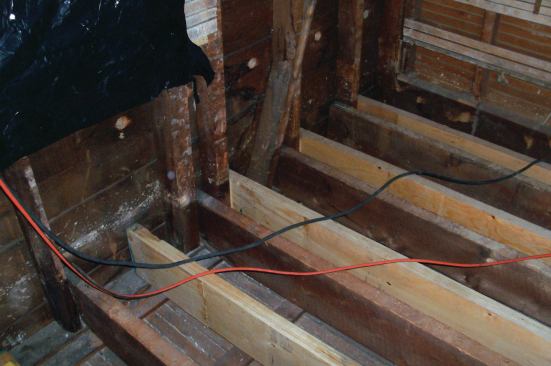
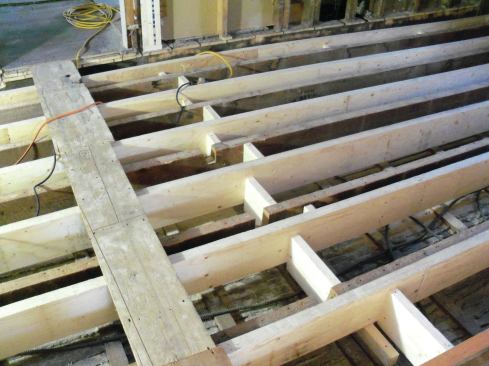
To stiffen the floor, I glued and screwed solid blocking between the joists in three separate spans across the floor, and I blocked every space between the new joists and the old joists. At the ends of the joists, I added horizontal 2×4 blocks between the wall studs to close off the bottoms of the stud bays and to provide nailing for the wallboard.
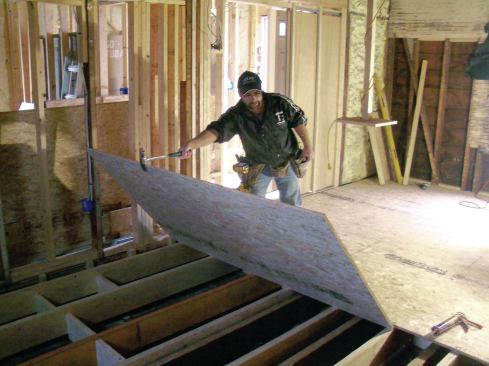
I needed to provide attachment for the subfloor along the walls running parallel to the joists, but it would have been wasteful to run a full LVL joist where I just needed a “nailer” below the studs. Instead, I screwed vertical blocks to the beam that forms the plate every 16 inches to catch the edge of the OSB subfloor. Finally, I insulated the ends of each joist bay against the outside wall with fiberglass batts. To complete the floor system, I glued and screwed 3/4-inch OSB subfloor to the joists, staggering the end seams as I went along. In the end, the extra time I spent paid off. The floor was completely flat, level, and solid as a rock—a perfect foundation for the new kitchen cabinets.


