Use the right tools and a methodical approach to get the job don…
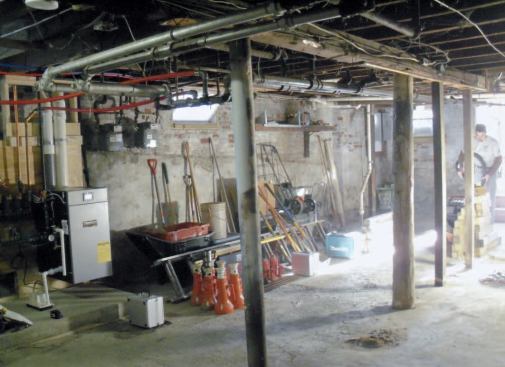
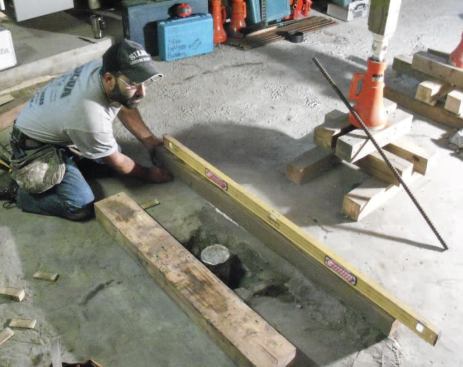
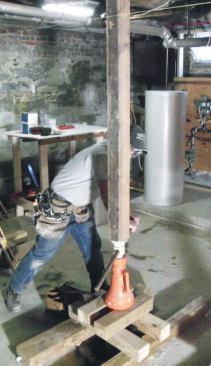
The area where I work, north of Boston, is full of old houses ripe for remodeling. It’s natural for homeowners who want to update their living space to first address sagging and bouncing floors, and make sure any structural work done upstairs is solidly supported below. That was the case on the job shown here. The home’s central girder had been unprofessionally shored over the years with steel posts, pressure-treated 4x4s, and even a cedar log (below). But in spite of the effort, the first-floor was still bouncy, and the spans between posts were too long. So I installed five new 4-inch-diameter lally columns on reinforced concrete footings, reducing the spans between supports to 6 feet.
Tools and Materials at the Ready
To do this job right you need the proper tools. I used to rent a Ridgid-brand column cutter for $50 a day from a rental supply. When they offered to sell it to me six years ago, used, for $285, I accepted. It was a good decision: I’ve cut about 80 columns since that time, and the tool still has the original cutting wheel. A year later, I bought a 3-foot Ridgid pipe wrench for around $200, which I use to keep the columns from spinning as I cut them. Although I could have saved some money by buying the cast-iron version, I went for aluminum for its lighter weight.
I also use a wheelbarrow-style concrete mixer – an Imer Rollbeta – that I bought almost 10 years ago for around $600. It’s still going strong and is great for small batches of site-mixed concrete.
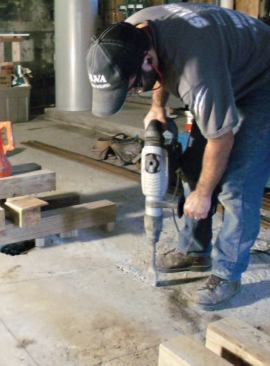
I have a dozen 20-ton Jet screw jacks that I’ve accumulated over the years; they cost around $125 apiece. Seven were needed on this job. Finally – in addition to my standard tools – I bring my Bosch 11241EVS hammer drill for breaking through the existing concrete.
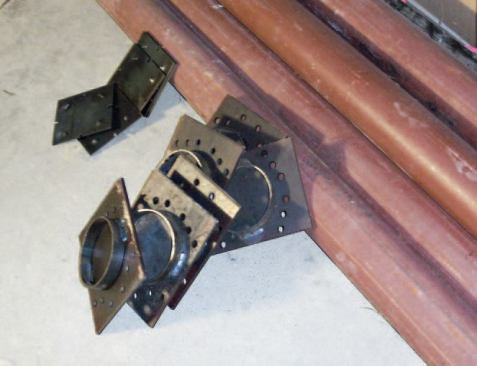
Before beginning work, I stock the job with 80-pound sacks of concrete mix, some 1/2-inch rebar, and a stack of pressure-treated 4x4s for cribbing. I also have the columns delivered and bring them inside to protect them from the weather. On this job, I ordered Springfield plates for the caps; these have a welded ring of steel that prevents the column from moving sideways. They run about $20 each, but are worth the extra cost. For the bases I got standard dimpled plates, knowing that after I was finished the owner planned to pour a new concrete slab that would lock in the columns.
Laying Out the Footings
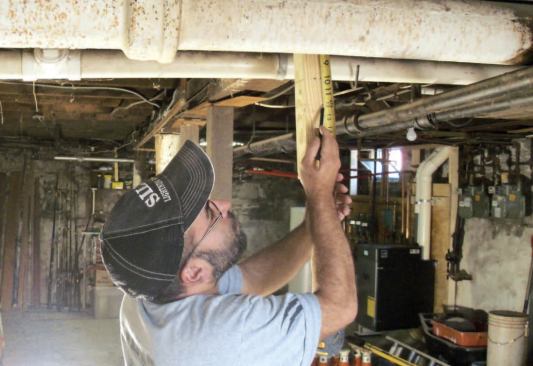
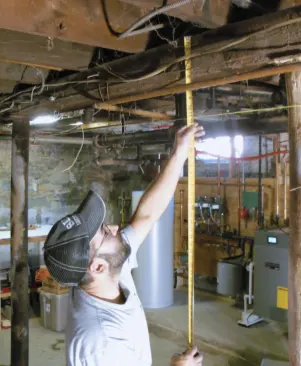
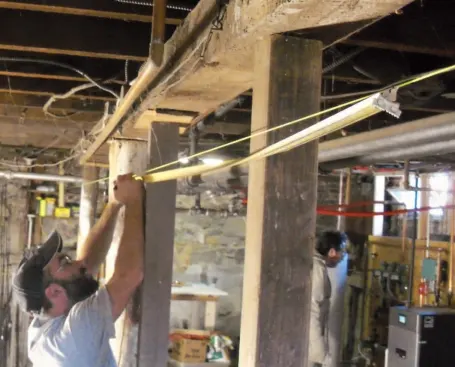
Before doing anything else, I want to get a sense of how badly the girder is sagging. So I run a string 12 inches below the bottom of the joists from one end of the basement to the other. At its worst, this beam had taken on a 3/8-inch sag – not enough to worry about, and certainly not worth jacking straight, which might cause problems upstairs with door swings and cracked plaster.
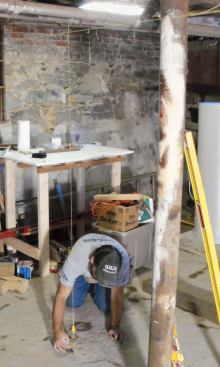
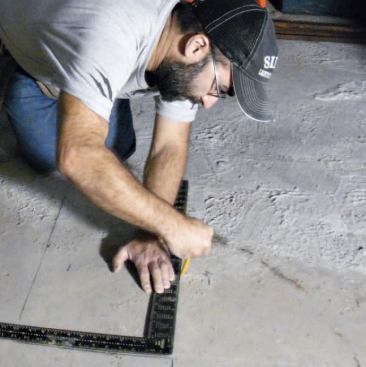
Next, I measure along the string in 6-foot increments and mark off the centers of the new footings with a Sharpie. Then, attaching my Tajima plumb bob to the beam at every mark, I plumb down and lay out the 24-inch-by-24-inch footings.

Once the footings have been laid out I can set up the temporary …
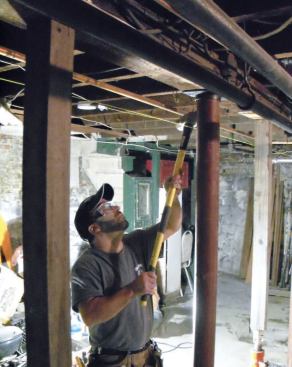
Providing Temporary Support
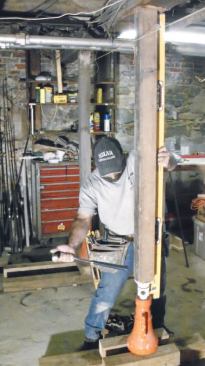
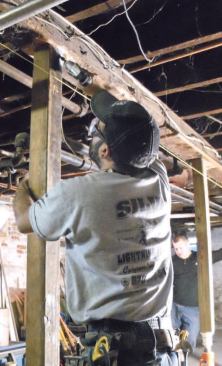
Once the footings have been laid out I can set up the temporary supports. I spend some time making sure the cribbing is dead level and firmly fastened together. I need to be cautious, because the houses I work in are occupied and my inspector will not allow me to load my new footings until the concrete has cured for seven days. I want to be sure the temporary posts aren’t going anywhere.
I plumb the posts, screw them to the beam above, then jack them just enough to make them tight and to loosen the existing columns.
Digging the Holes
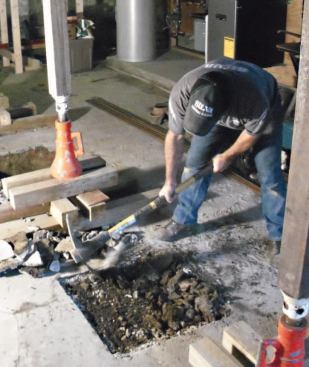
With all the jacks in place and the old columns removed, I chip around the perimeter of the footing layouts, then break up the concrete on the inside. After removing the old concrete, I finish digging by hand, first with a grub hoe, then with a shovel, leaving a 2-foot-square hole 12 inches deep.


