In “Custom-Built Radiused Starter Steps” (Jul/19), I described how to make two starter steps with radiused ends. It turns out that those were not the only curves this project would throw at me. At another location in the house, the floor stepped down two steps to a lower level. Instead of calling for standard steps, the plans had the floor above ending in an arc with a radiused step below that. I had to draw on a completely different set of skills from those I wrote about in the July article.
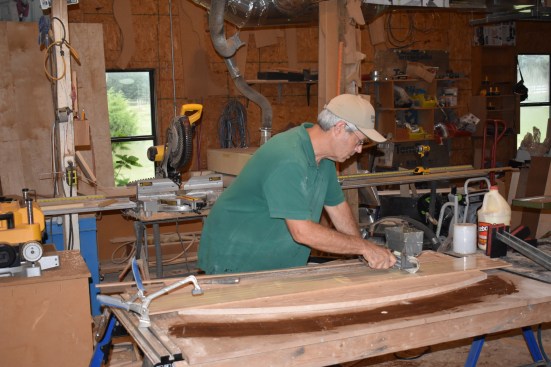
The same framer who had built the rough starter steps roughed out these steps, creating sturdy rough risers from 2-by stock installed vertically. However, he set the height of the rough tread so that the tread blank needed to be 3/4 inch thick—probably figuring that I would use standard-thickness oak flooring for the tread. The flooring contractor ran the oak flooring over to the edge of the top step, so it was up to me to calculate and cut the arched tread from the blank I glued up out of 3/4-inch stock.
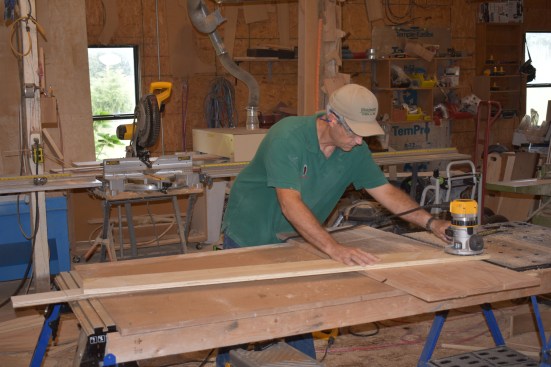
Mathematical formula. I could have scribed the inside and outside curves for the tread, as I did with the radiused ends of the starter steps, but I needed the curve of the tread and the nosing to be as perfectly even as possible. The easiest way to make that curve would be to swing the proper radius with a router, but to do that, I needed to calculate the radius of the outer curve of the step.
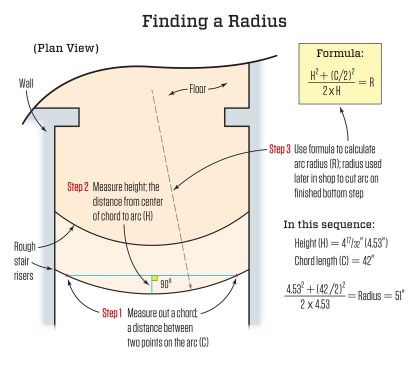
I recalled a mathematical formula that I’d seen in the past for calculating the radius of an arch—something that comes in handy if you need to make curved trim for an existing archway in a home. The formula is actually quite simple (see illustration, Finding a Radius, below).
First, mark out a chord (C in the formula), which is a line between any two points on a curve—in this case, the outer curve of the rough step. For our purposes, let’s make that chord 42 inches long. From the center point of the chord, draw a perpendicular line to the curve. The measurement of the line between the center of the chord and the curve is the height, or H in the formula, which in this case turned out to be 4 17/32 inches. Applying those numbers to the formula gave me a radius of close to 51 inches. (Note that the height changes with the length of the chord, so the radius stays constant with any chord length).
Tim Healey
To create a perfectly smooth arc for the stair tread, the author needed to calculate the radius of the rough tread. In Step 1, he measures out a chord (C), a straight line between two points on the arc. In Step 2, he measures the height (H), or the perpendicular distance from the center of the chord to the arc. Plugging those numbers into the formula in Step 3 gives him the radius (R). Note that because the height changes proportionately with the length of the chord, the formula works for any length chord.
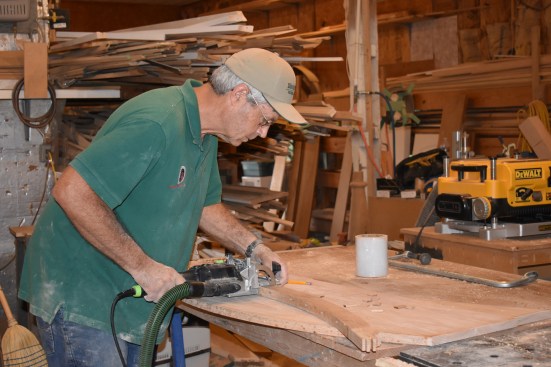
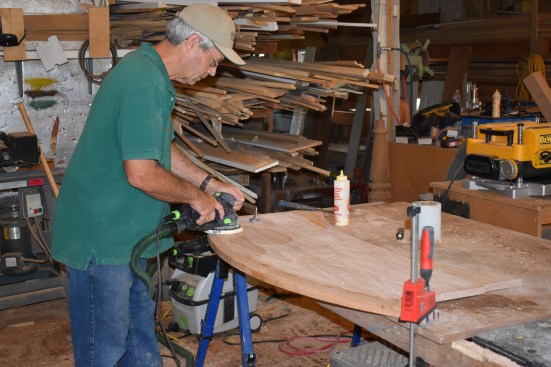
Router setup. Armed with that info, I headed to my shop to cut the curve on the tread blank. After clamping the blank to one end of my worktable, I set trammel points on a straight length of 1-by, using a solid metal point and a pencil point set 51 inches apart. To find the pivot point, or center point, of the arc, I put the steel point on the blank about 5 inches away from the corner and swung an arc with the pencil end on the benchtop. I repeated the same thing from the other side of the blank, and where the two pencil arcs crossed was the center point for marking and routing the arc. To make sure the arc fit within the step blank, I reversed the trammel with the metal point at the pivot, and I swung the arc to mark the outside edge of the step.
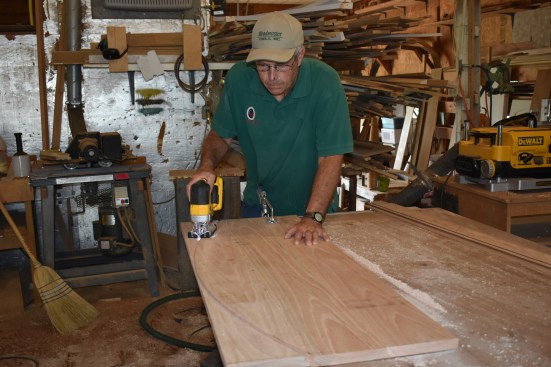
I chucked a 1/2-inch-diameter dado bit into a router and mounted the router on a length of 1×6 that would act as a trammel board. I drilled a hole in the center of the board 51 inches from the inside edge of the router bit. After putting down a scrap of 1-by to raise the trammel board even with the surface of the blank, I screwed the trammel board to the bench with pivot points aligned.
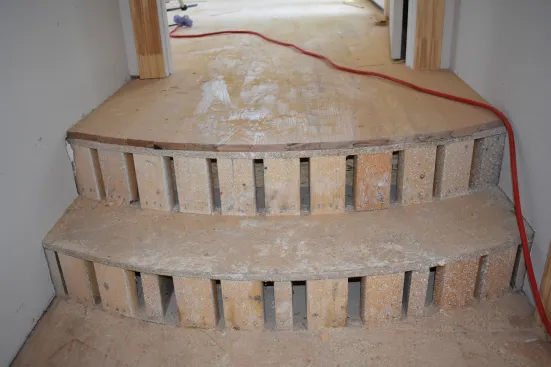
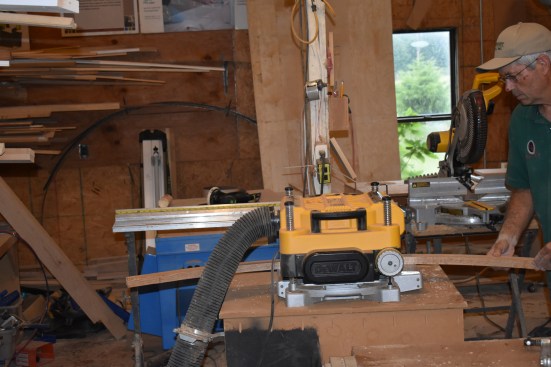

The framer roughed in the curve for the steps using 2-bys on end…
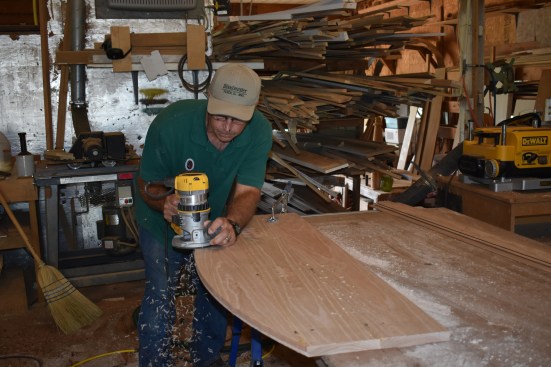
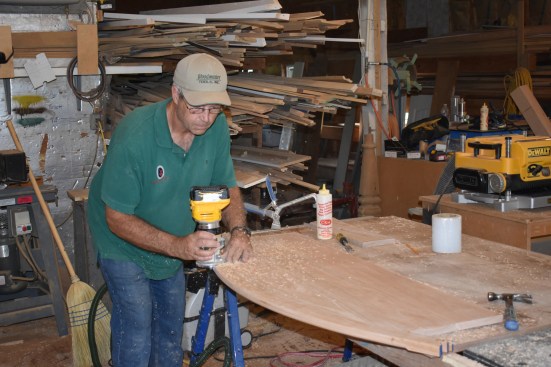
Cutting the curve. With the board secured at the pivot point, I started the router off the stair blank and swung the router to cut a 3/8-inch-deep groove at a perfectly even arc. The inside edge of the groove was the proper arc, but rather than cut through the blank in one shot, I rough-cut the rest of the way through with a jigsaw, keeping the blade away from the inside edge of the groove. To finish the arc, I flipped the blank over, and after mounting a bottom-bearing flush trim bit in the router, I routed the edge with the bearing riding on the inside edge of the groove that I’d cut before.
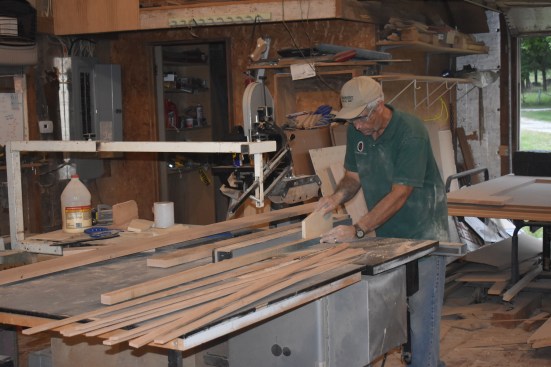
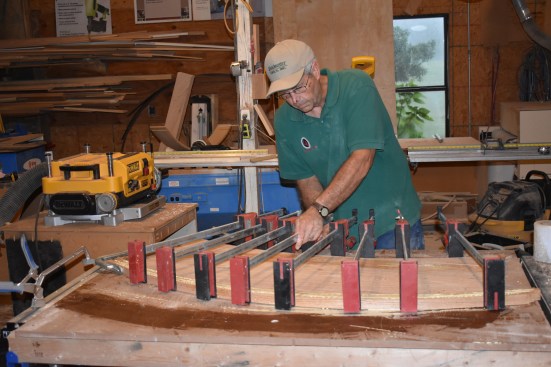
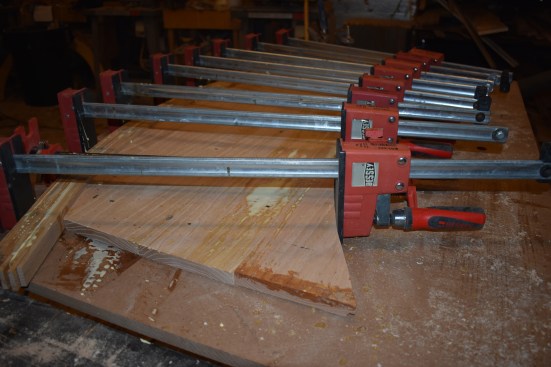
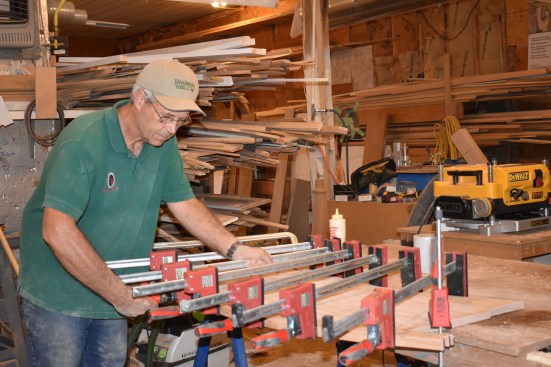
Tread becomes form. With the tread cut to a perfectly smooth arc at the right diameter, I could use it as a form to make the 1-inch-thick bullnose edging that attached outboard of the tread. For the edging stock, I ripped strips about 1/4 inch thick, keeping the strips in their original orientation so the grain would be consistent once the strips were glued together. (I always plane the strips on at least one side to create the tightest joints for the edging). I put the strips side by side on the workbench and applied carpenter’s glue to the exposed side. I then stacked the strips together and clamped them to the stair blank to attain the right curve. I used the corners I’d cut off for the arc to let the outermost clamps draw the strips in radially.
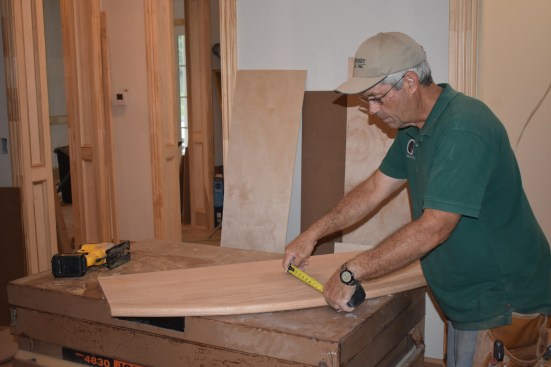
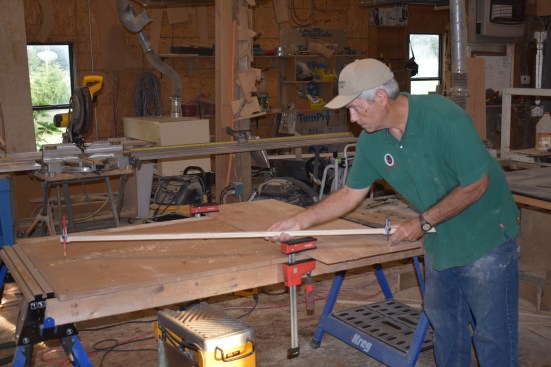
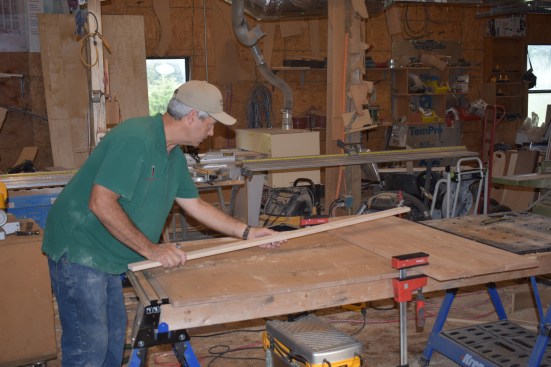
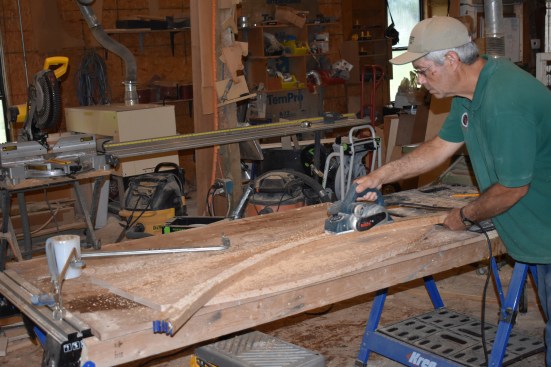
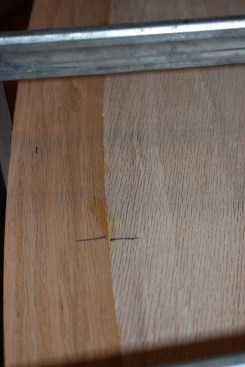
Holding the tape measure at 11 1/2 inches, the author rough scri…
After the glue had cured, I removed the clamps and cleaned up the surface with a hand planer. I then planed the curved stock down to the desired thickness with a thickness planer. I used dominoes to join the edging to the stair blank, gluing and clamping them together. With the edging attached to the tread, I sanded the assembly and routed a bullnose in the outer edge of the step.
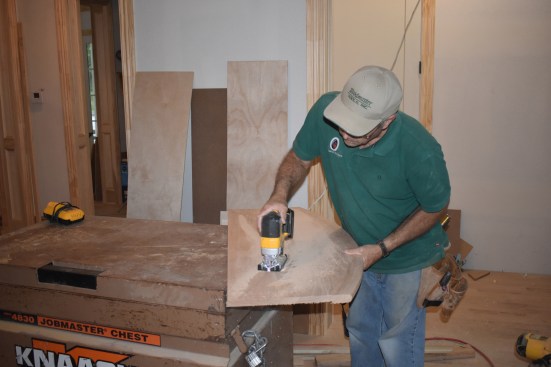
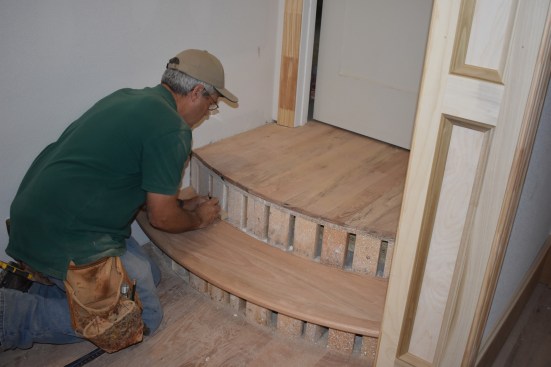
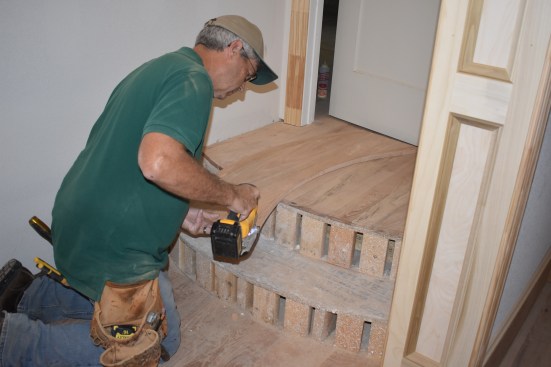
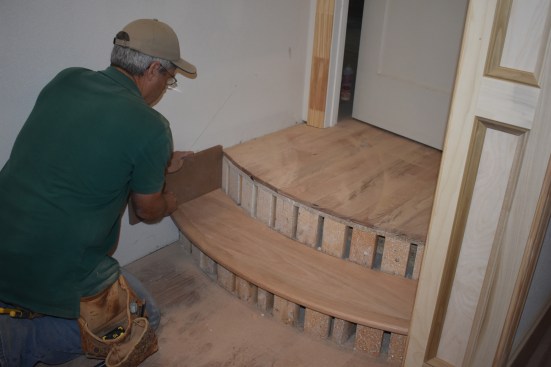
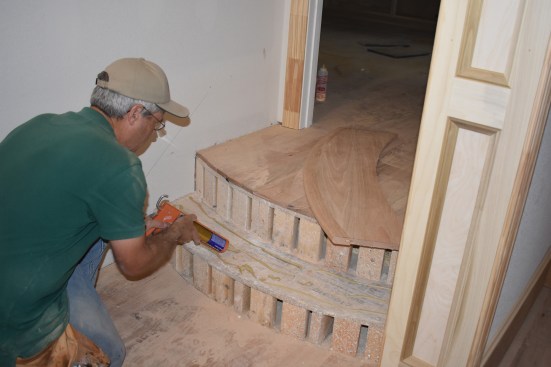
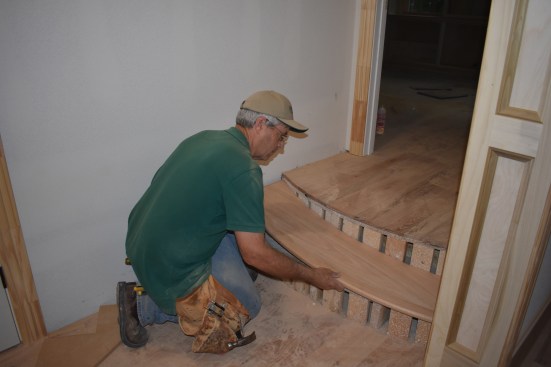
Inside arc. At the jobsite, I rough-scribed a line 11 1/2 inches—the total width of the tread with nosing—from the outside edge. Because the inside arch would be covered by the riser, the curve was not as critical, but I wanted to get it close to the rough riser. So, after cutting the inside curve and cutting the length of the tread to fit just inside the walls, I set the tread in place and fine-tuned the scribe of the back arc using a spiling block. After cutting the curve to fit, I scribed the sides of the tread to fit inside 1-by skirtboards.
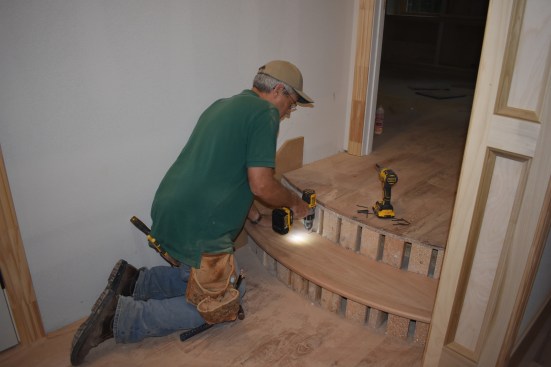
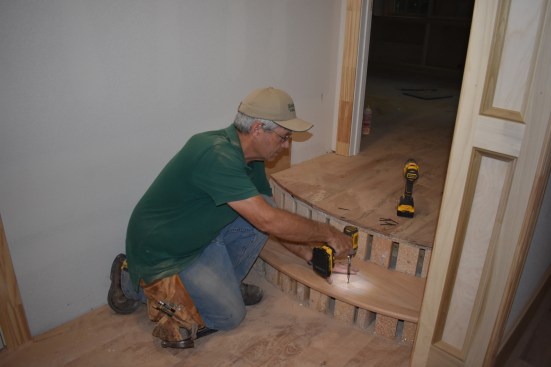
With the cutting done, I installed the step the same way I had installed the starter steps—by applying adhesive to the rough step and then driving finish-head screws to hold the tread in place. The curve of the step was gentle enough that I was able to bend layers of 1/4-inch plywood for the risers.
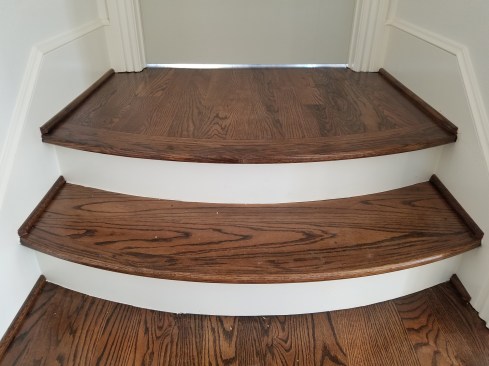
Knowing the radius for the lower step, I fabricated the built-up nosing for the top step on the workbench with clamping cauls set to the proper curve. The flooring contractor cut back flooring to the exact curve and installed the nosing for a nice decorative accent to this transition of levels in the house.
Photos by Gary Striegler


