
We recently completed a lakefront project near Burlington, Ontario, which included a glass elevator made by Savaria. It’s not the first residential elevator we have had installed on a project, and from a general contractor’s viewpoint, this installation went very smoothly.
Savaria
The project was a new home, and my team provided the support necessary to prep the site and oversee the installation, but the owner worked directly with Savaria to buy the unit and have it installed. I preferred that the transaction be managed directly with Savaria, as it freed me from any maintenance obligations or potential liability.
Prep Work
This elevator serves three floors—the basement level, the main living area, and an upstairs, with the top level opening onto a balcony that overlooks the living room and the lake beyond. At the basement level, we needed to a form a “pit” that dropped 3 inches below the slab surface so the elevator cab would land flush with the basement finish floor.
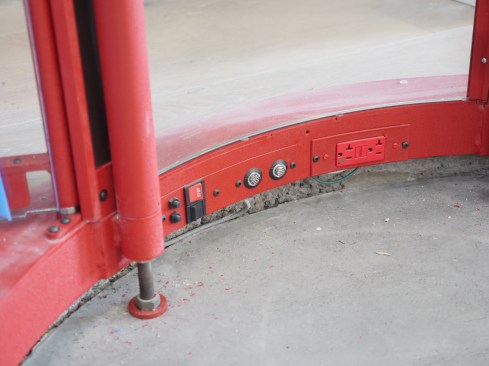
We have had a number of residential elevators installed in the past, but none of them have been as simple as this one to prep for. We didn’t need to provide electrical and data lines in the slab, as we have with other units. We did have to provide 30-amp, 230-volt single-phase service for powering the motor, a 115-volt line for lighting in the cab, and a telephone jack, but the nice thing with the Savaria unit is that all this came from the attic at the top of the shaft and ran down the frame of the elevator.
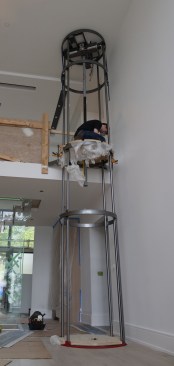
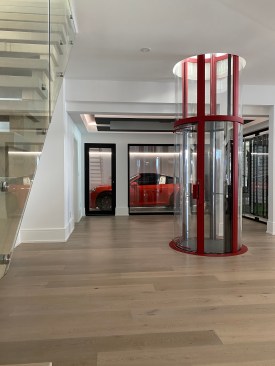
We did form a 6-inch-deep footing at the base when we poured the slab, but the manufacturer did not technically require one, as the load is not that significant. We also headed off a few joists with LVLs and framed in a 50-inch opening in the first floor. We sheathed over this opening, and then used a line laser in the center of the pit below, drilled a hole through the sheathing so the laser projected up to the ceiling, and verified that everything was in alignment. Then we laid out the circle in the floor sheathing and cut the hole for the shaftway.
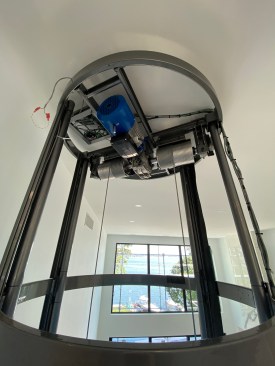
In the ceiling at the very top, we provided blocking to secure the frame. However, this didn’t need to be that rugged; the elevator is not hanging from the ceiling. Rather, the steel elevator frame is the main structure and is secured at each floor level by heavy-gauge metal rings screwed into the floors.
At the top floor level, a glass railing angled out to meet the elevator. The specs for everything we needed to prep were provided on architectural drawings from the manufacturer, so they were clear to all the trades involved. But we waited until after the elevator was finished to order and install the last glass rail panel.
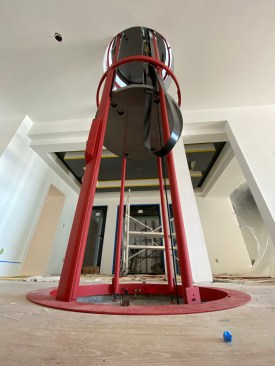
Finally, before the elevator crew came on site, we had all the finished flooring in place and the wall adjacent to the shaftway taped and painted out. We also drywalled and finished the inside of the hole through the first floor, since you see this as the elevator rises up through the floor. Blocking this out and bending the drywall into this curve was probably the trickiest part of the job. But the result looks great. The only thing we needed to do afterward was cut and finish curved sections of hardwood to cover the gap where the elevator came to the first floor.
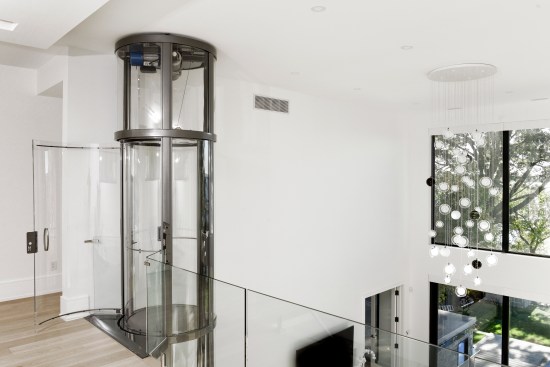
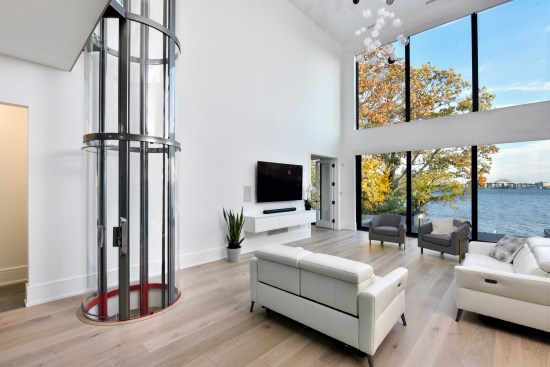
Finished installation of Vuelift elevator – top level
Installation
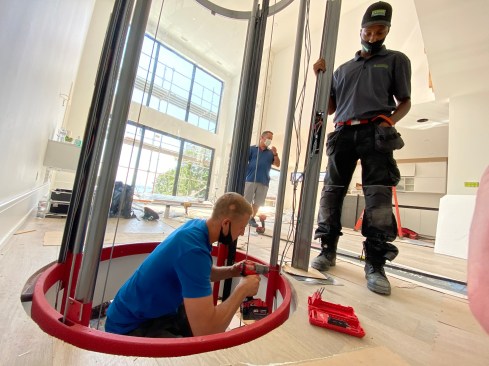
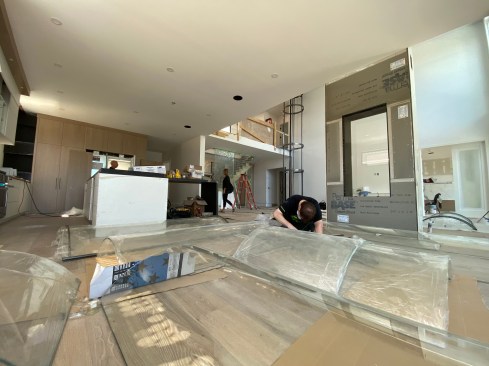
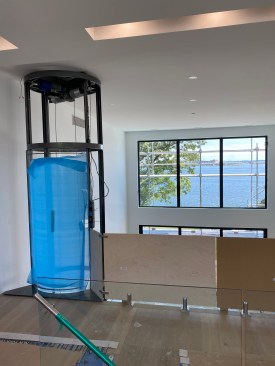
The elevator crew handled the delivery of all the components. All of those parts fit through a 30-inch door, so no special access was needed. The bulkiest parts were the curved glass panels. We kept the living-room area clear so the crew had plenty of floor space to unpack and prep the panels, and we made sure that none of the other trades entered this area while we had the curved glass laid out. The last thing I wanted was to have to replace any of those panels, as that would have delayed the completion of the house. The Savaria crew also handled the installation of all the components. The frame and the hoist went up fast. The cab was installed at the bottom of the shaftway, and the part that took the most time was wiring in the cab and getting it all hooked up and running properly.
The glass panels were the last parts to be installed. We helped with the scaffolding for this, as we wanted to ensure the finish floor was well protected during this setup. And we protected the doors at each level from being accidentally scratched while we finished up the house.


