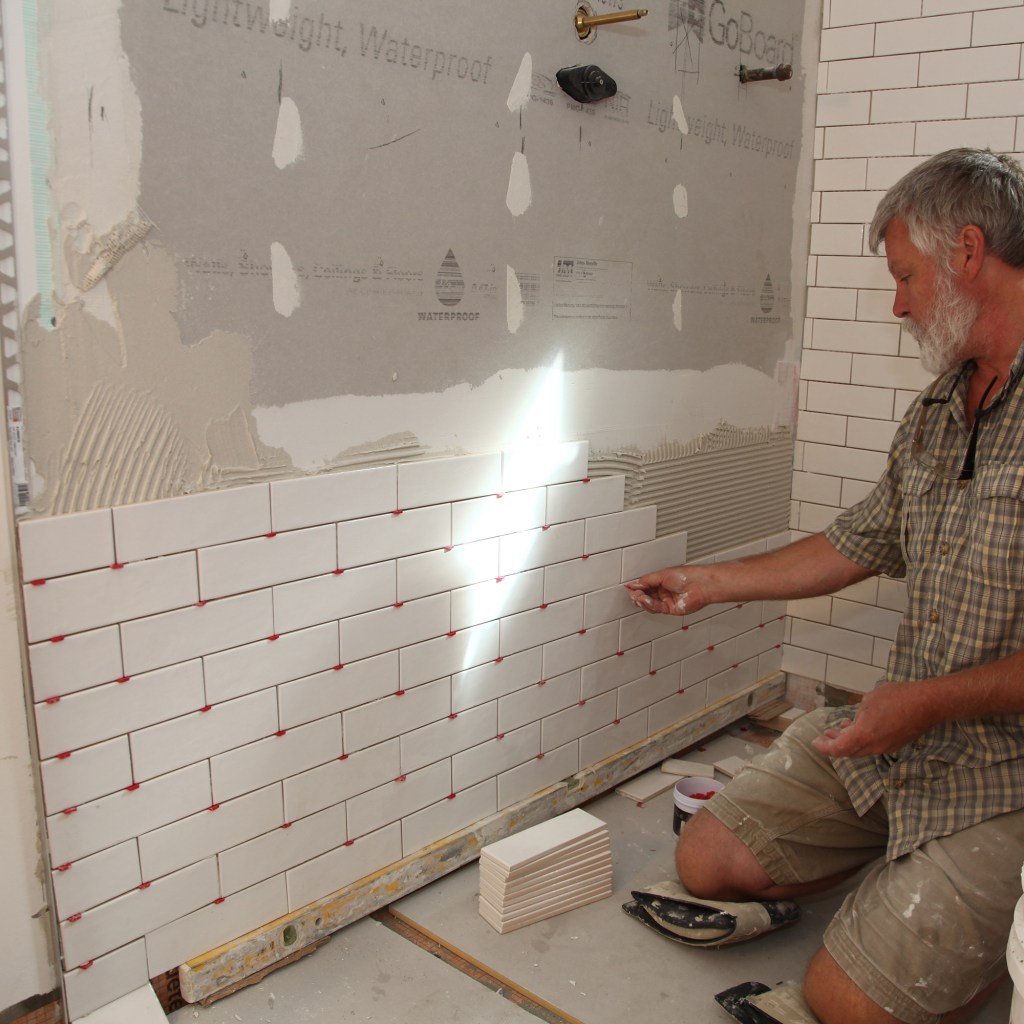
Once the layout is complete, the tile installation goes pretty quickly. A member of the crew staggers the vertical seams of the subway tiles between courses and inserts plastic wedges to set the horizontal grout lines.
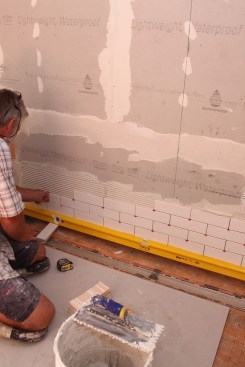
The crew member tiles the back wall first, using a long level as a ledger to support the first course. For the adjacent walls, he sets the ledger below the first course on the back wall and works up from there. After he finishes the walls from the ledgers up, he removes the ledgers and wedges and fills in the spaces down to the floor tile.
All straight cutting is done with a score-and-snap cutter, and cutouts for the faucets are done with a wet saw.
Starting Out
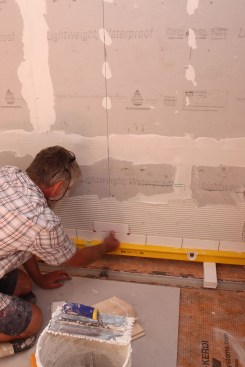
After spreading unmodified thinset on the wall with a 3/8-inch notched trowel, the crew member begins the subway-tile installation with a grout line centered on the vertical layout line drawn earlier.
He continues the installation in stair-step fashion, staggering the courses and using tiny plastic wedges to set the width of the horizontal grout lines and to support the tiles for subsequent courses.


