Running trim always involves joining pieces of molding at inside corners. You could just cut both sides at 45 degrees for this joint, but corners are seldom perfectly square. Additionally, wood that’s cut at an angle tends to shrink differentially over time, meaning that a mitered joint can open up—even if the two cuts were perfect to begin with. The solution is coping, or cutting out the profile on one piece of trim to fit into the trim on the other side of the joint.
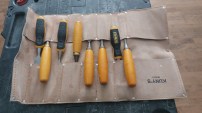
Coping saw. To cut a molding profile, you need to use a specialized tool called a coping saw, which consists of a metal hoop with a handle on one end. A thin blade stretches between turning pins on the handle and on the other end of the hoop, with the hoop keeping the blade in tension. Tightening the handle pulls on the blade to add tension. The pins rotate to allow the blade to follow a profile.
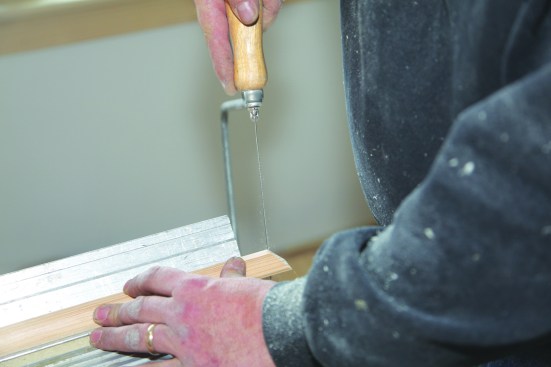
Typically, the blade on a coping saw is mounted with the teeth oriented toward the handle, which means that the saw cuts on the pull stroke instead of the push stroke. When approaching the work, some carpenters prefer to work with the handle facing up while others prefer the handle facing down. I always coped with the handle facing down so that the cutting stroke pulled against the workbench.
Cutting the cope. For a coped joint, one side is cut square and runs into the corner. The other side is coped, or cut to fit into the first side. The side you elect to cope is entirely up to you, but it’s usually easier for right-handed carpenters to cope the right end of a board and for lefties to cope the left end. If the task at hand is running baseboard or baseboard cap (see “Running Baseboard,” Nov/17), plan your cuts so that all the copes are on the preferred ends of the boards.
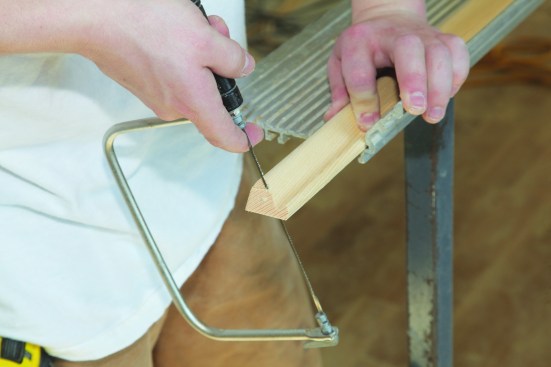
After cutting and installing the side of the joint with the square cut, make a 45-degree-angle cut on the end of the opposing piece. Before coping the joint, measure the piece—by hooking a tape on the long point of the angled cut—and cut it to length. Then set it on the workbench with the angled cut extending just beyond the edge of the bench. Simply follow the profile of the trim with the blade of the coping saw, keeping the saw blade at or beyond 90 degrees to the face of the board. In other words, give the coping cut a back bevel so that only the very edge of the finished face meets the trim on the other side of the joint.
It’s possible to follow the profile from one side to the other, rotating the blade of the saw as you go. But it’s much easier if you make relief cuts at critical points of the profile to let the waste fall away so that you can approach different parts of the trim from different directions.
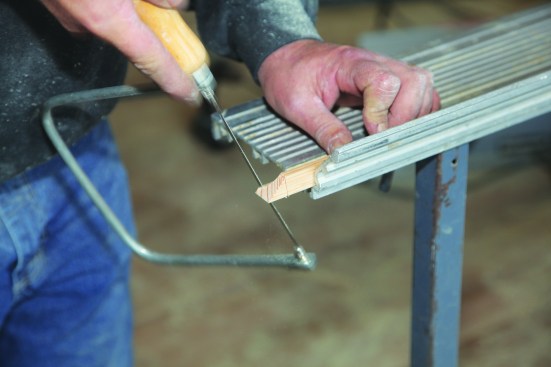
For cove molding, first cut in from what will be the vertical face.
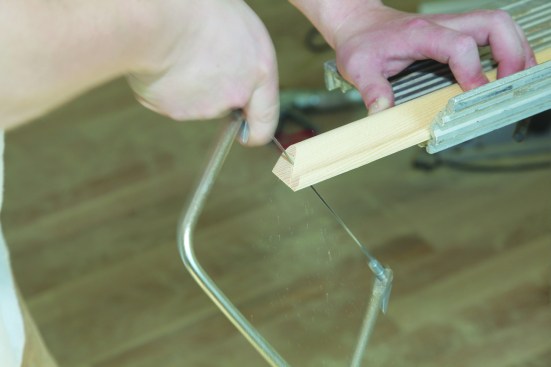
Then cut in from the horizontal side. Because the miter will not be readily visible, the carpenter opts for a square cut on the horizontal side.
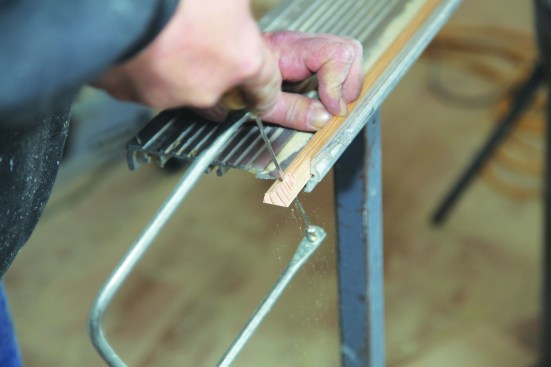
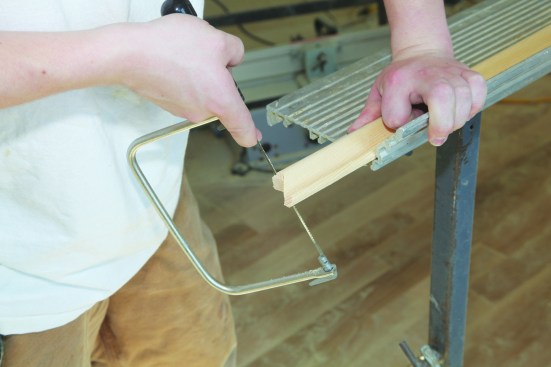
He then follows the profile until the cuts meet, keeping the saw at an angle to create a back bevel.
Giving the end of the coped trim a slight tap helps to close the joint for the final fit.
Let’s look at coping a couple of common profiles, beginning with cove molding. After cutting the end at 45 degrees, use the coping saw to cut into the straight, vertical section of the molding. Then cut in from the other side of the profile. The 45-degree-angle sliver on this side can be fragile, so carpenters often begin with a square cut. Making short, quick strokes with the coping saw, follow the curve of the cove until the blade meets the original cut, which lets the waste fall away. The final cut should then fit snugly into the opposing piece.
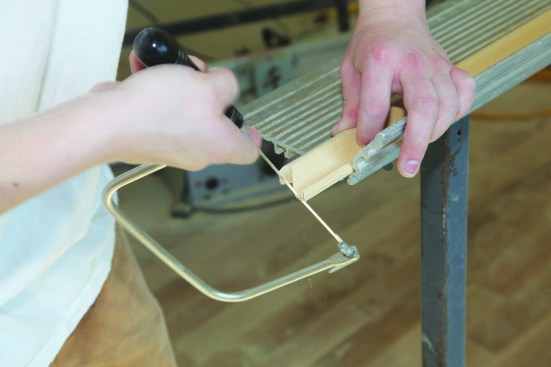
For base cap molding, begin by cutting across the profile from the bottom.
After cutting in from the end …
… cut the curve working side to side.
Coping base cap molding is a bit tougher. After making the 45-degree cut, cut in straight from the bottom of the molding. (Because the molding sits on top of the 1-by baseboard and the bottom of the profile won’t be seen, cutting the fragile point isn’t necessary.) Next, cut in from the end of the board and follow the profile over to the first cut. With a large chunk of the waste removed, follow the profile from the opposite direction until the cuts meet.
Then cut the top profile.
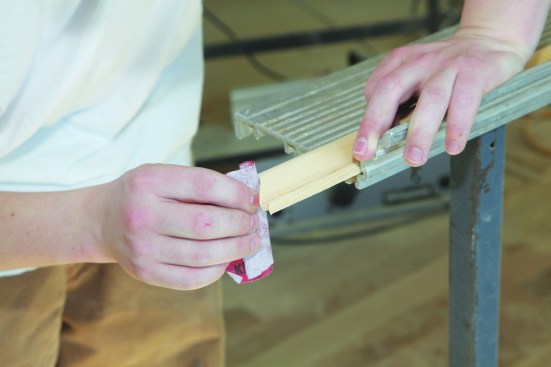
Sanding fine-tunes the cope.
A tight fit
Now, cut out the small profile at the top of the molding. To fine-tune the cope, make a tight roll of sandpaper and work the edge of the cope over to the exposed finished face of the molding. As with the cove molding earlier, you can use a butt cut at the top of the base cap.
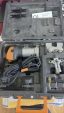
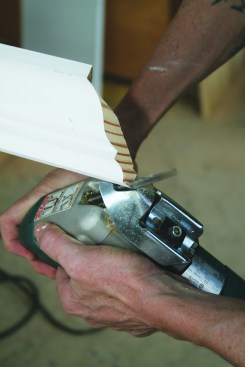
Alternative coping tool. Several years ago, a very inventive craftsman, Dave Collins, developed an attachment for jigsaws called a Collins Coping Foot. The Coping Foot replaces the footplate of a jigsaw and turns it into a coping machine. Collins says that it works best if you make a jig to hold the work—using the jig, you’ll be able to make the cope cuts much more quickly and safely.
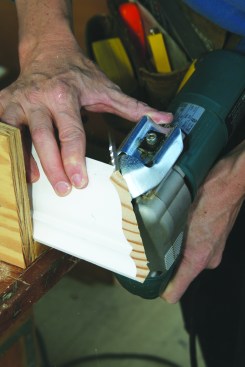
Start with a cut at the top.
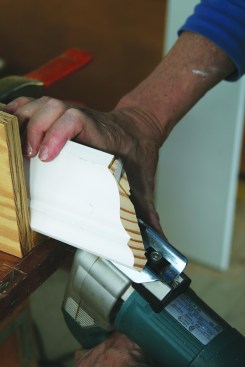
Then approach from the opposite angle to meet that cut.
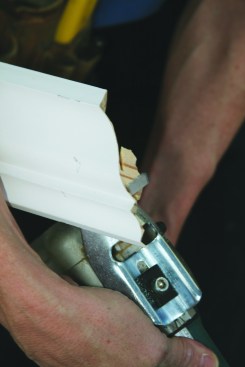
Continue this process back and forth until you have cut out the entire profile.
To cut crown molding with a coping foot, the approach is essentially the same. You start with a cut at the top and then approach from the opposite angle to meet that cut. Continue this process back and forth until you have cut out the entire profile. The key is to have firm control of the jigsaw at all times, with your fingers away from the blade either pushing or pulling the saw.
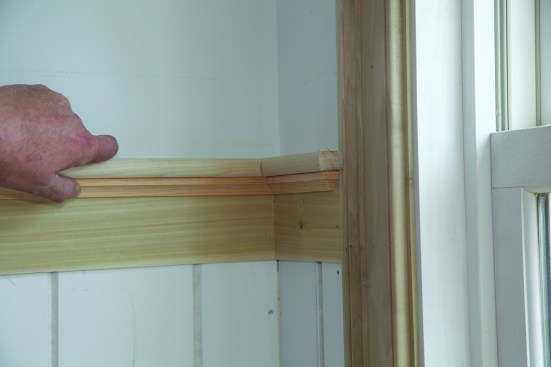
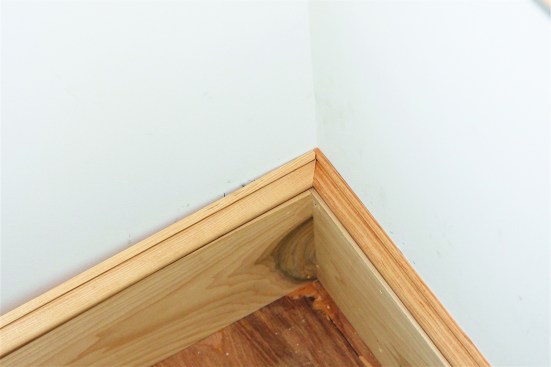
Creating the mitered look. If you’ve executed your cope accurately, the only place where the miter is visible is where the profile returns to the corner. With the base cap, the return is at the top of the profile. With crown molding, it’s at the bottom. For both the cove and the base cap in the photos, the carpenters elected to butt the top of the cope. The alternative is leaving the angled cut and cutting that point to a sliver during the coping process.
For a mitered look, cut the angled sliver.
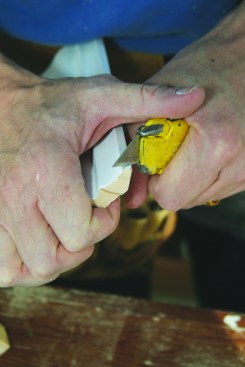
Then make a relief cut in the mating piece.
At this point, many carpenters (including myself) have made the mistake of trying to install the coped side directly over molding on the other side. But because the sliver is so delicate, it is apt to break off as the two pieces come together. Instead, use a razor knife to make a relief cut in the top end of the mating piece. The cut needs to remove just enough material to let the sliver nest into place to complete the look of a mitered cut.
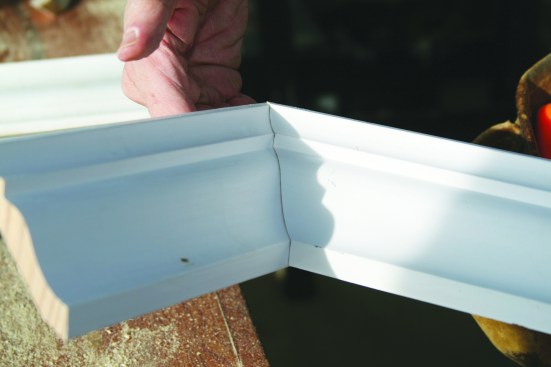
The two sides fit closely together.
One final word about coping: The tighter the fit, the better the coped joint looks. When cutting the coped piece to length, add a little extra to the measurement. As you install the piece, the extra length lets you spring the board into place. The extra pressure makes the coped joint tight and pretty. If the coped trim doesn’t end at an opposite wall, give the free end a light tap with a block and a hammer to take any slack out of the coped joint.
Photos by Roe Osborn and Ted Cushman