A few years ago, a client for whom I had previously done some basement repair work asked me to evaluate the porch on his mid-18th-century coastal New England carriage house. Built in the late 1990s, the porch wasn’t nearly as old as the house, but the wood decking was starting to rot, and the treads on the two sets of stairs leading up to the porch were showing similar signs of decay and suggesting trouble underneath in the framing. The owner wanted to refresh the porch and had some specific—and often conflicting—ideas about what needed to be done to fix it, and the materials he wanted to use.
The original porch decking was square-edged 1×4 painted wood, probably fir, and the owner complained about the annual cleaning and refinishing ritual required to maintain it. Composite decking would have been a good solution, but the owner wanted wood, so I priced out several options including mahogany and ipe.
Meanwhile, the owner conducted his own research and discovered a product called Perennial Wood, an acetylated wood decking product first introduced to the market in 2012. I’d never even heard of it, much less had any experience with it, and suggested that the owner get some samples and stick them in a bucket of water. If he was satisfied with the decking after this water test, I agreed to install it, but only if he bought it and assumed responsibility if its performance didn’t match his expectations.
Demo and Repair Strategy
Though the porch framing was 18 years old, it was in excellent condition thanks to the CCA-treated lumber that had been used to build it. Even the ledger was well-flashed and securely fastened to the house framing. I would have preferred to replace the railings, which had been assembled from a prefabricated composite kit, but they were still serviceable, and the owner wanted to retain them.
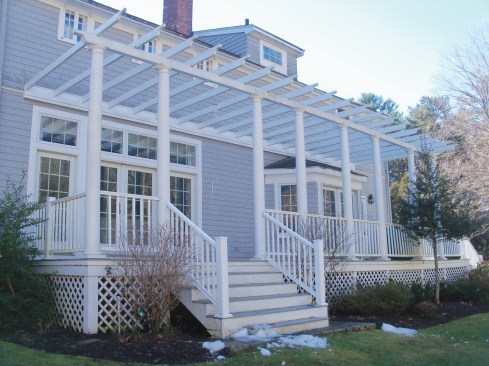
From a distance, the porch looked to be in decent condition, and the original porch framing was sound …
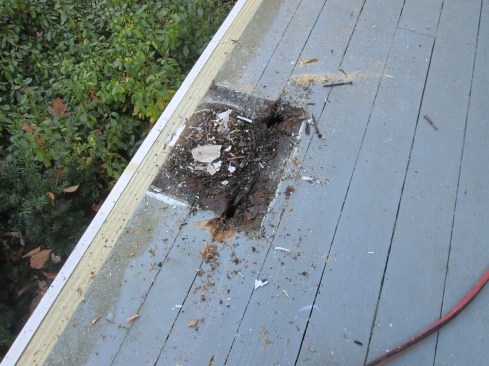
… but on closer inspection, the decking was worn and weathered and needed replacement.
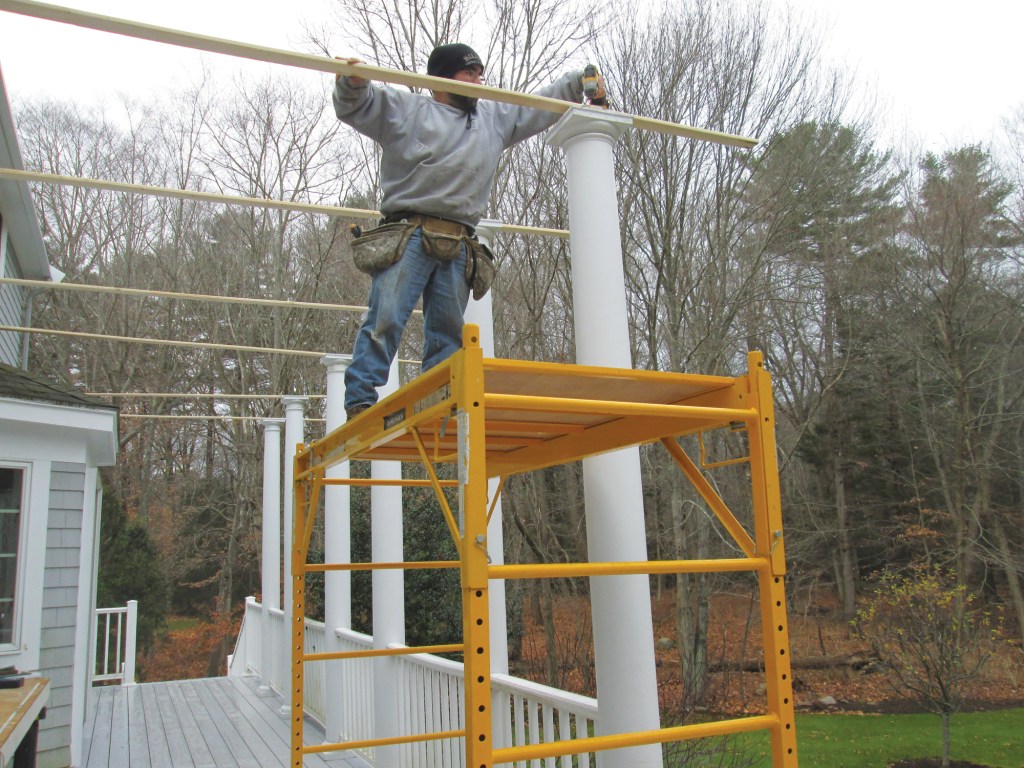
The porch had a pergola supported by PermaCast columns. Because the tops of the columns hadn’t been capped when they were originally installed, water had gotten inside them, causing damage to the decking underneath. Otherwise, the composite columns were in good shape, although the pergola they supported was not. Built with common framing-grade material, the beams and rafters were overdue for replacement.
Fixing a Pair of Stairs
Stairs are often a red flag on a porch renovation project. Sometimes, there’s a code-related issue, such as when the risers vary too much or are too tall, or the treads aren’t wide enough; other times, the problem is structural, such as when rot has developed or when the guard posts are too weak. In either case, it often comes down to the stringers—should they be kept or replaced? In this case, the answer was both; the owner agreed with me that the stringers for the shorter, front flight of stairs should be replaced, while the stringers for the longer, side flight could be retained.
After removing their treads and risers, I discovered that the key element missing from both sets of stairs was adequate support at ground level.
The stringers for the long flight of stairs off the side of the porch were simply bearing on a 2×12 that was on the edge of—but not fully bearing on—a small concrete slab landing topped with stone pavers. After temporarily supporting the stringers midspan, I formed and poured a new steel-reinforced concrete landing pad. With solid support, the old stringers simply needed new treads and risers.
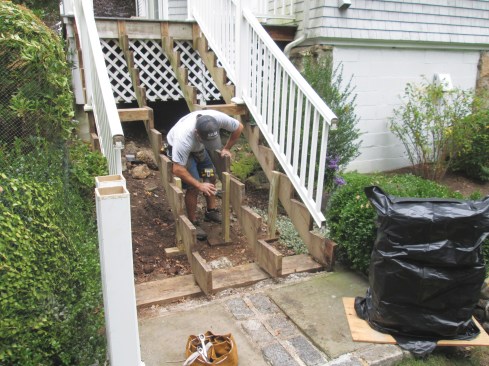
Part of the repair strategy was to retain the stringers for one set of stairs …
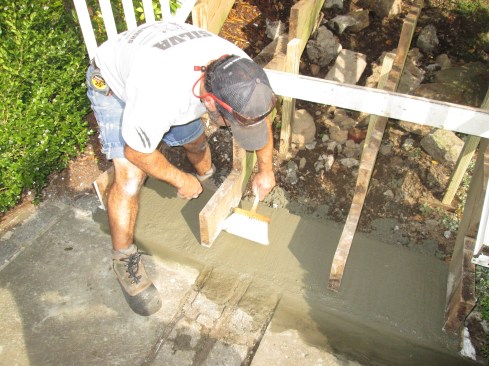
… but pour a new landing pad to support them.
The front stairs were another matter; not only was each stringer cut to a slightly different length to account for the uneven stone paver landing, but there were only five stringers, while the span table for this particular type of 5/4 decking on this width of stairs called for six. I also wanted to improve the header detail so that the tops of the stringers would have a better connection to the deck framing.
Finally, when I removed the posts underneath the composite post sleeves that formed part of the railing system, I discovered substantial rot where the posts connected to the stringers. The owner agreed with my assessment that the stair framing should be replaced prior to installing new treads and risers.
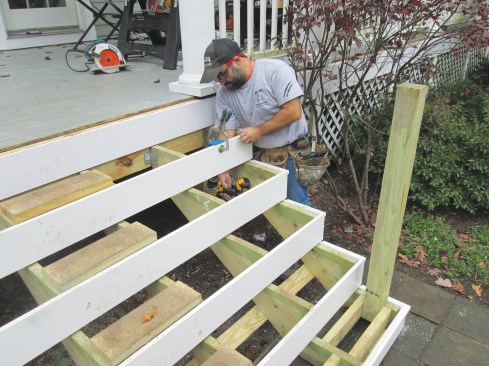
The author reframed the front stairs, cutting new stringers and installing a new dropped header to help support them.
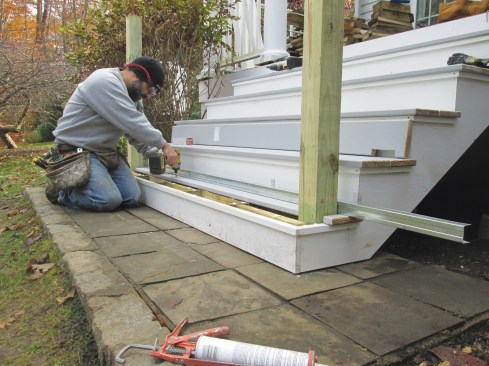
Then he face-screwed new 5/4×6 treads to the framing after the PVC skirts and risers were installed.
Decking
It was clear that the Perennial Wood decking was a premium product—comparable in cost to the best ipe and composite products—when it was delivered to the jobsite. Each board was individually wrapped and blemish-free when removed from its wrapping.
For the treads and picture-frame border, I had specified square-edge 5/4×6 boards, while the field decking was grooved for hidden fasteners, which were supplied with the decking. Because the wood was prefinished, the manufacturer also supplied a quart of matching sealer/finish.
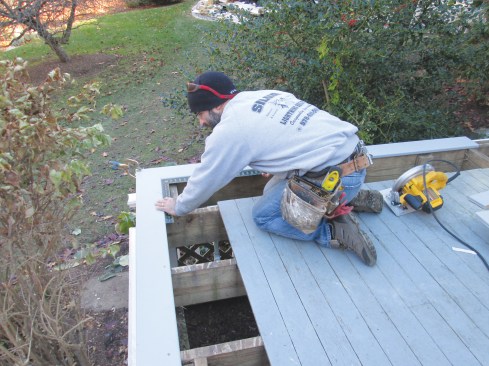
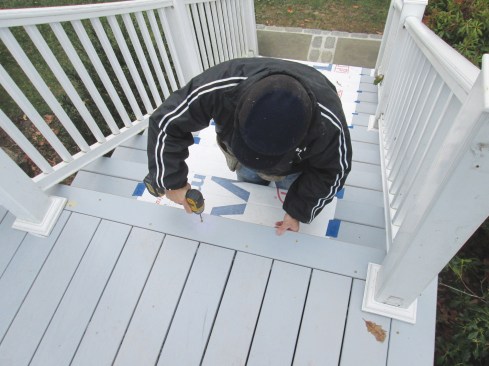
Working from the old decking, the author installed the picture-frame border using 5/4×6 square-edged decking.
The field decking was grooved for hidden fasteners.
Perennial Wood was produced from southern yellow pine but not the same SYP that you find at the lumberyard. This material was cut from long, clear lengths of lumber that had been subjected to a combination of heat, pressure, and a dose of acetic anhydride. This process replaces the water-loving (hydrophilic) free hydroxyls within the wood with water-hating (hydrophobic) acetyl groups, basically transforming the wood’s cellular structure. While Perennial Wood is no longer available, another company, called Accoya, produces modified radiata pine decking using a similar process.
The author drilled counterbore holes for the screws used to face-fasten the border and treads.
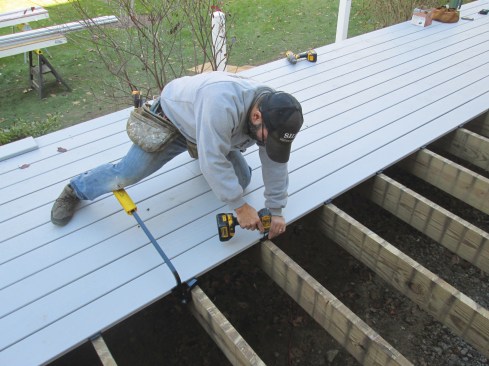
The decking was straight, flat, and free of defects, and installing it was a treat. In the field, I used hidden fasteners, while I face-fastened the picture-frame border and treads. I counter-bored the 3/8‑inch-diameter holes for the stainless-steel screws I used to fasten the decking to the framing, and I filled the holes with custom-cut plugs.
He filled the counterbored holes with plugs that he cut from the same material.

Then he flush-cut the plugs, sanded them smooth, and used a touch-up paint to color-match the plugs to the rest of the decking.
The only hiccup that I encountered with the decking was trying to color-match the cut ends and plugs to the decking. The manufacturer-supplied touch-up coating was supposed to be opaque, but it applied like a translucent stain, even after vigorous mixing and multiple coats.
Columns, Railings, and Rafters
Because the owner wanted to reuse the railings, I carefully mapped out the locations of the columns as I removed them prior to replacing the decking. Then, to ensure that the railings would fit snugly when I reinstalled them, I had to make sure to place the columns back in exactly the right places.
My solution was to cut round plugs out of 2-by PVC stock that could be inserted into the base of each column.
To ensure that the columns could be precisely relocated and have a solid attachment to the porch, the author cut tightly-fitting plugs from 2-by PVC material. He also cut PVC plugs to cap the tops of the columns to block water from entering and accumulating on the decking inside the columns.
I screwed the plugs in place on top of the decking according to my map, and then slid each column into place over a plug for a perfect fit. A few screws driven through the sides of the columns into the plugs secured them to the decking as I reinstalled each rail section.
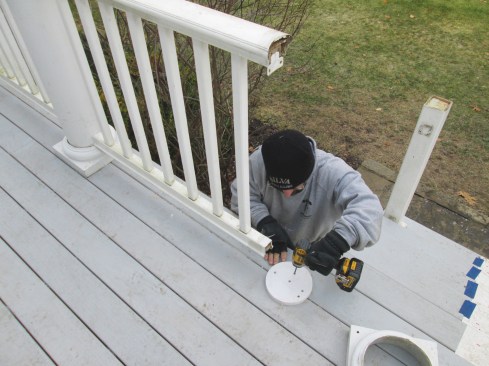
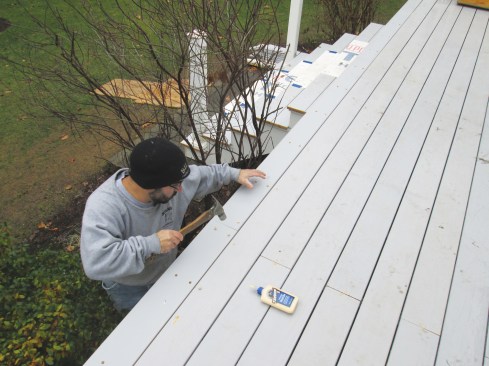
Following a reference "map" that he had made of the exact positions of the columns, the author screwed the PVC plugs to the decking …
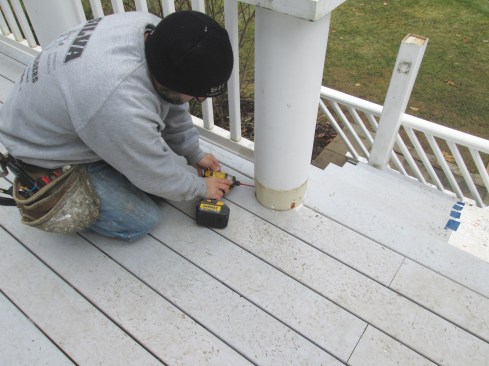
… then slipped the columns over the plugs and screwed them in place. This ensured that the columns would be reinstalled in their original locations and that the railings could be reused.
I wanted to keep water out of the columns, so I also cut round PVC plugs for their tops. I capped the columns with the plugs and a bead of sealant before installing the 4×6 red-cedar beam, which is spliced with a lap joint over one of the columns.
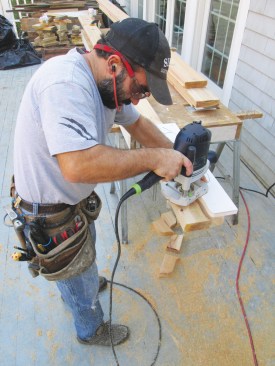
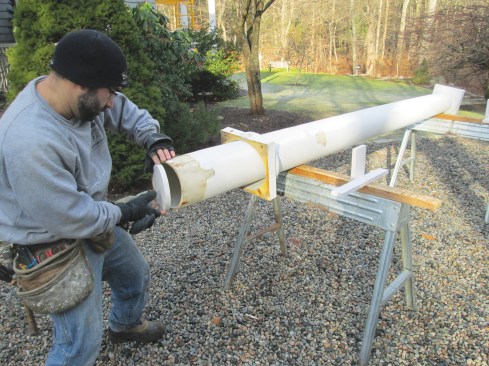
The author pattern-routed the rafter tail profiles.
To duplicate the profile that had been cut on the tails of the original rafters, I made a pattern to clamp to the ends of the new 2×6 red-cedar rafters and use as a template. I cut the rafter tails with a bearing-guided flush bit, and then I primed and painted the rafters.
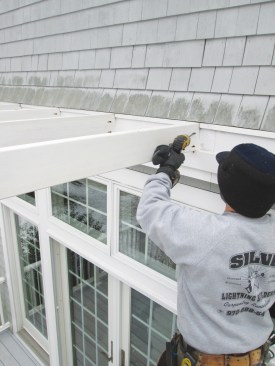
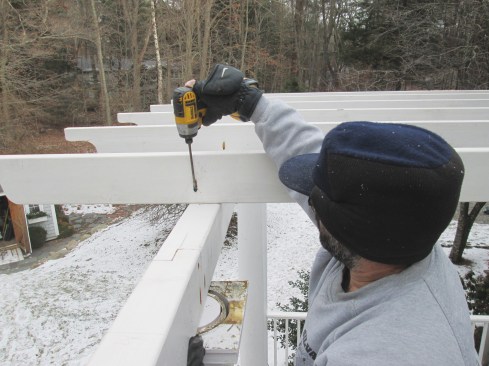
After priming and painting the 2×6 red-cedar rafters, the author fastened them to the house ledger (left) and 4×6 beam (above) with structural pocket screws.
Prior to installation, I used a Kreg jig to cut pocket holes at the house ends of the rafters and in the faces of the rafters where they bear on the beam. Installation was simply a matter of driving coated structural screws through the holes into the ledger at the house and into the beam. ❖
Photos by Emanuel Silva.


