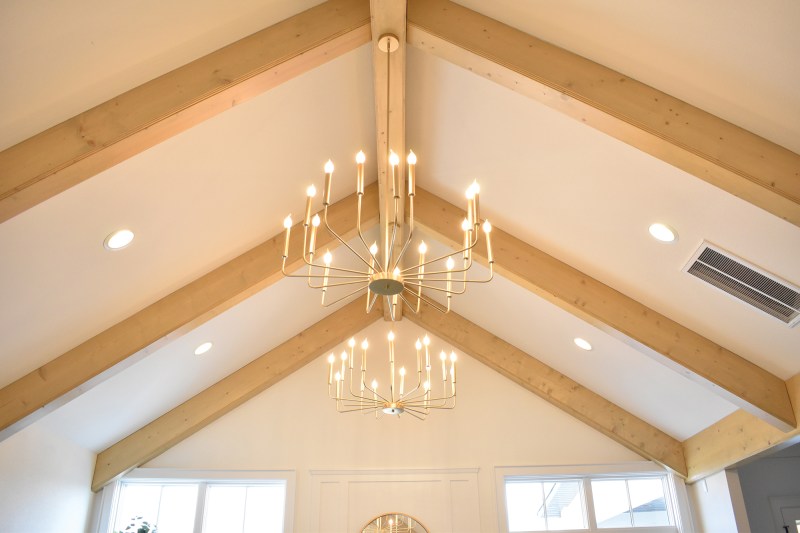
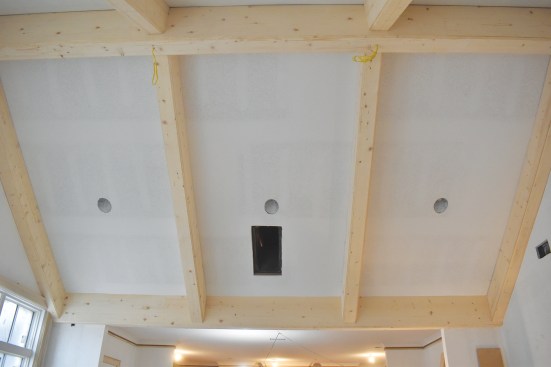
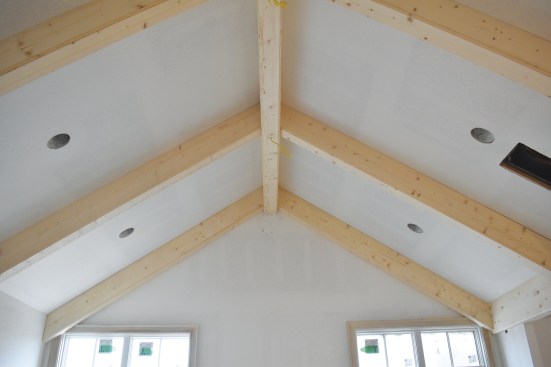
Vaulted ceilings are requested by clients in about a third of the homes I build. Even in contemporary homes, the plans often call for exposed beams. Almost always, the design has a main beam at the ridge with partial beams running up the end walls and a pair of full beams dividing the ceiling into thirds. The rake beams running up the ceiling are usually less than 16 feet long, which makes it easier to find full-length finish material for them. We make those beams 11 1/4 inches deep by 7 inches wide and like to make the partial beams at the wall 5 1/2 to 6 inches wide. Although they don’t carry any load, the beams should look like timber framing, so getting the proportions right is important. To that end, we make the main beam at the ridge a couple of inches deeper than the rake beams.
A couple of our clients have bought solid beams for us to install. They are a challenge to cut, lift in place, and secure. Most of our clients, however, are open to the built-up box beams that we make out of 1×12 pine the local lumberyard keeps in stock. We have used other species, but cost, lead times, and difficulty in getting long lengths make pine our default choice. If the beams are to be paint-grade, then we use an MDF product, with a similar process. The beams shown here are built around 2×6 blocking attached to the ceiling.
Before the drywall is installed, we like to add blocking between rafters since the beams rarely land on a rafter, and the blocking helps to ensure a straight and secure fit of the beams. We ask the framer to add flat 2x6s on 4-foot centers. If that step is missed or a client changes their mind later in the project, the blocking can sometimes be added from above. If all else fails, we have glued a strip of 1×6 to the ceiling, let it fully set, then nailed a 2×6 to that with success.
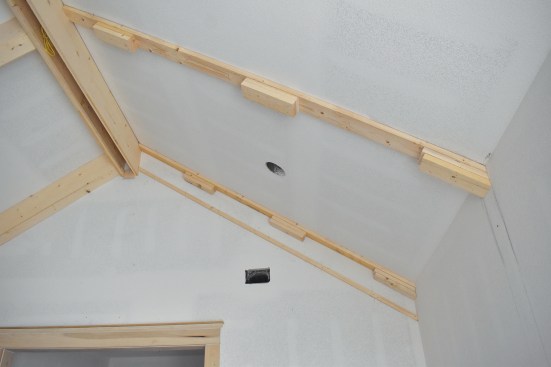

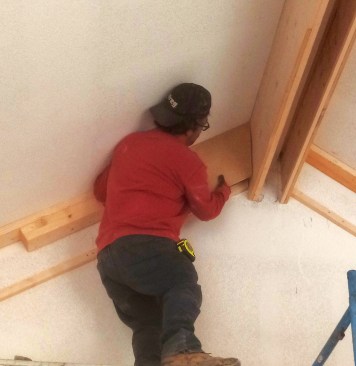
On the ceiling, 2×6 blocking is installed to the backing with cl…
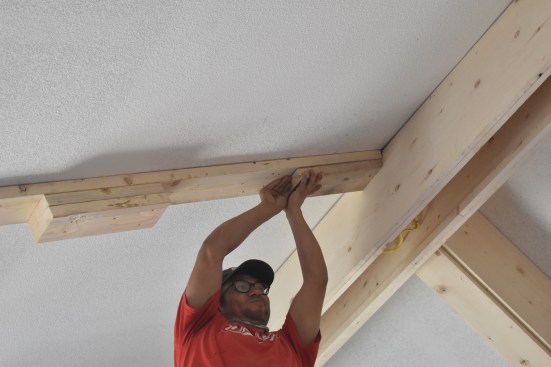
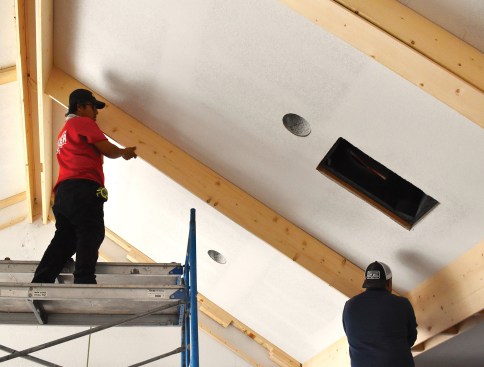
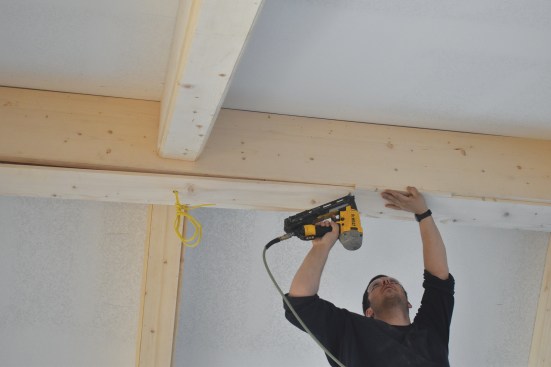
I like making big progress as much as anyone, but I’ve learned that it pays to do a careful layout on the ceiling before we break out the framing nailer. Therefore, I double-check all the measurements before popping chalk lines on the ceiling. I then look through all my 2×6 material and pick the best boards to nail to the ceiling for the first layer. They can be straightened a little as they are nailed up with preinstalled blocking, but starting straight is preferred. The rest are cut into blocks about 16 inches long for the next layers. After the full-length 2×6 is in place, we add two more layers of blocking about every 32 inches, taking care to build straight down from the ceiling for a straight finish.
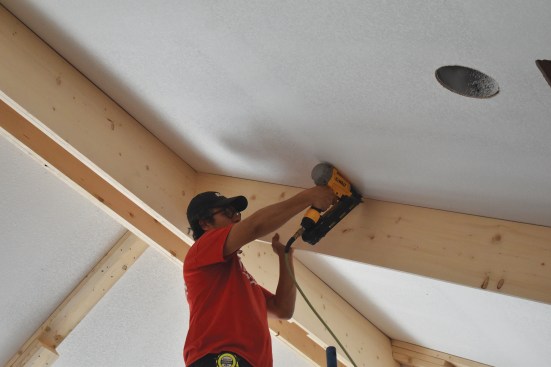
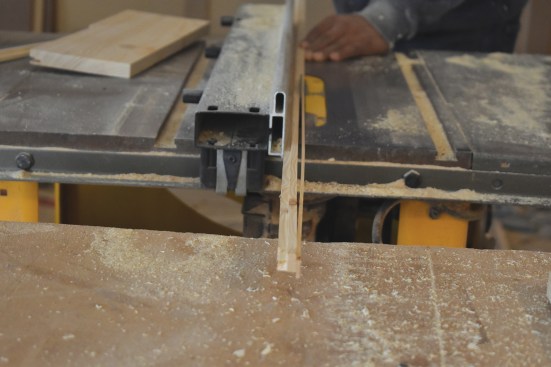
The trim part of the project starts with the side pieces of the ridge beam. This should be 3 to 4 inches deeper than the 1×12 rake beams to look like timber framing. To save time, we use pocket screws and glue to add a 3- to 4-inch ripping to a 1×12. It is a two-person job. One person stands on the pieces to keep them lined up while their partner drives a pocket screw in the hole between their feet. With a little practice, minimal sanding is needed at the joint. To create the length needed, we make a mitered splice with glue and headless pins. All the beam sides have a small ripping attached on the inside flush with the bottom edge as blocking for the beam’s bottom piece.
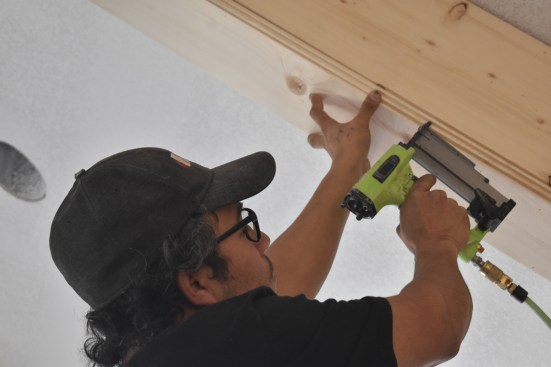
When it comes time to cut and fit the side pieces of the rake beams, we use a test piece to check the cut angle and help us measure an accurate length. We make a mark 12 inches from the end cut on the test piece for both the top and bottom and transfer the marks to the ceiling. We then measure between the ceiling marks to find the length and use the test pieces to cut the ends to the right angle. While installing the sides of all the beams, we work to keep the lengths straight and plumb, using shims as needed.
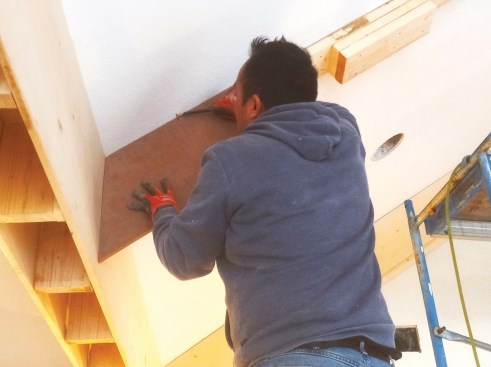
The most challenging part of box beams is the joint between the sides and the bottom. The goal is to make three pieces look like solid lumber. It is hard to make 16- to 24-foot-long joints, especially up in the air, so we make a 3/4-by-3/4-inch offset, then fill in the corner. If you look at timber framing, it sometimes has a decorative edge, usually a cove or bead cut. We can match that look by fitting cove molding or quarter round in the offset corner joint.
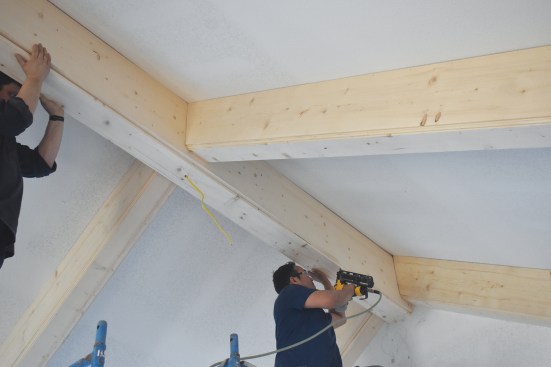
Teamwork is needed again as the bottom panels are attached to th…
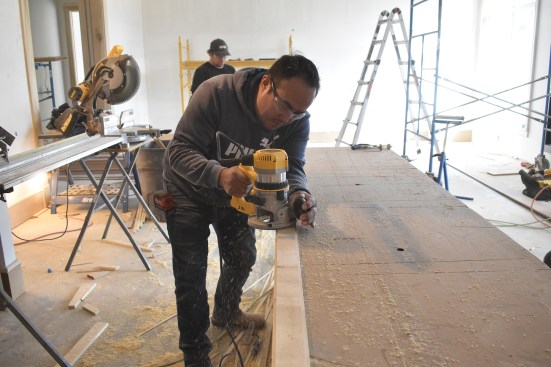
This job had a contemporary look, so we handmade a 1/2-inch trim piece with a 1/4‑inch rabbet out of the corner using wood without knots. We started by making a 1/4-inch rabbet (using a Whiteside Multi Rabbet Set) on the edge of a board, then ripping 1/2 inch off the edge. Then we laid that piece on its side and made a second rip at 1/2 inch. When the homemade trim is installed, the beam edge is a 1/4-by-1/4-by-1/4-inch detail. It takes some time to make and install all the trim (we nail it in place with 23-gauge headless pins), but the results are long joints that look perfect. The process can take a couple of days, but carefully cutting and placing solid beams does too. The ultimate approval is when our clients’ friends ask where they got those giant wood beams.
Photos by Gary Striegler.


