I’ve heard it said that cutting crown molding is a test of a finish carpenter’s skill. Phooey. Cutting crown molding can be just as easy as cutting baseboard, a lot more fun, and you don’t have to wear out your knees. In this article I’ll show you the techniques I use to maintain productivity and precision while installing crown molding. The first step is always careful layout and measurement.

Careful measurements, accurate angles, and some preassembly make…
Layout and Measurement
If crown isn’t installed in a straight line, the molding will wiggle and wobble between the ceiling and walls, and tight margins between the crown and tall door and window casings will be hideously unequal. So I always snap lines before applying the molding.
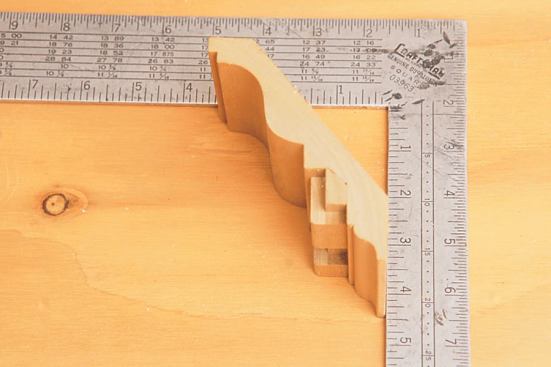
To determine where the bottom edge of the crown will sit on the wall, place a piece of the molding in a framing square, just as it will sit on the wall — with the bottom edge of the molding on one leg of the square and the top edge against the other leg. To help visualize the position of the molding on the wall, hold the square in the air and pretend that the top leg is the ceiling. Rock the crown until both “feet” lie flat against the square, then check the measurement at the bottom of the crown. That measurement is called the rise — the distance from the bottom of the crown to the ceiling.
With the top of the square as the ceiling, the rise of the crown molding is measured to the bottom of the crown.
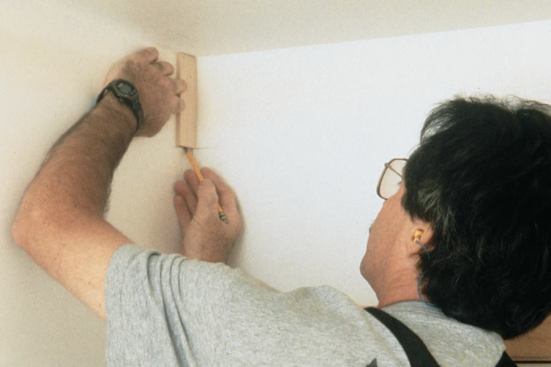
If I’m trimming only one room, I measure the rise of the molding, mark the bottom edge of the crown at each corner in the room, then snap chalk lines across all the walls. (If the walls have already been painted, I use a dry line and pencil in small marks every 6 or 8 feet along each wall.) Whenever I’m installing crown in more than one room, especially on large jobs, I transfer the rise measurement to several small blocks of scrap material. Each carpenter working on the job can then carry the same gauge block so that all the crown will be installed at the same elevation.
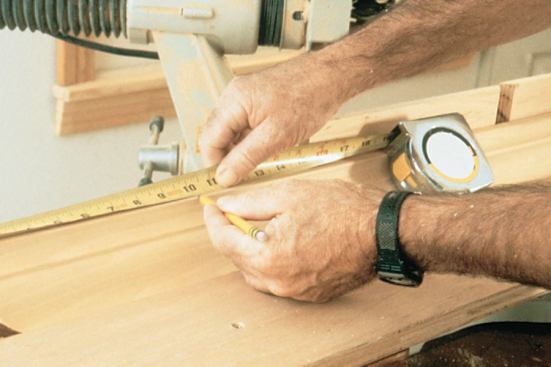
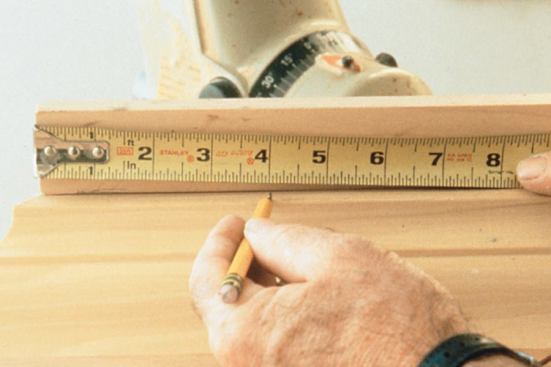
To avoid unnecessary steps up a ladder, I measure the length of each piece while I’m snapping lines on the walls. The measurements are always taken right along the chalk line — not at the ceiling. I write those measurements, in large numbers, just above the line on each wall.
To minimize trips to the saw, I make a cut list for each room. When measuring pieces over 8 to 10 feet long, I add 1/16 to 1/8 inch and spring them into place so that corner joints are tight. For pieces under 8 to 10 feet long, I measure precisely to within 1/32 inch.
I use typical carpenter notations to identify the cuts: Inside corners are noted with a “V”; outside corners are marked “OC”; and self-returns are “SR.” So for a piece that’s 64 inches long, with an inside corner on the left and an outside corner on the right, I write on the cut list: “V 64 OC.” If the angle is 90 degrees, I don’t make a notation; but for other angles — like a 22 1/2 — I make a note next to the type of cut (see “Finding the Right Angles,” for more about this).
Cutting in Position
Crown molding can be cut “in position” or “on the flat.” Each method has a specific use, and clever carpenters should become proficient at both. For each method, I’ve developed simple routines and techniques that increase efficiency and accuracy.
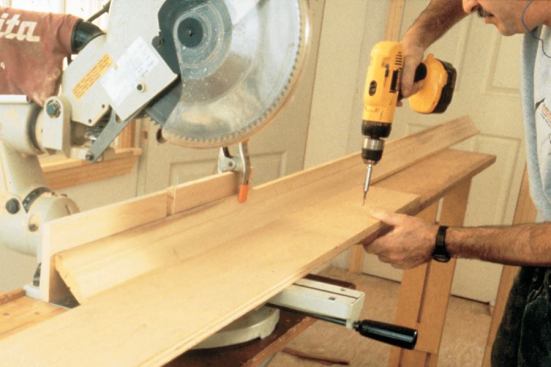
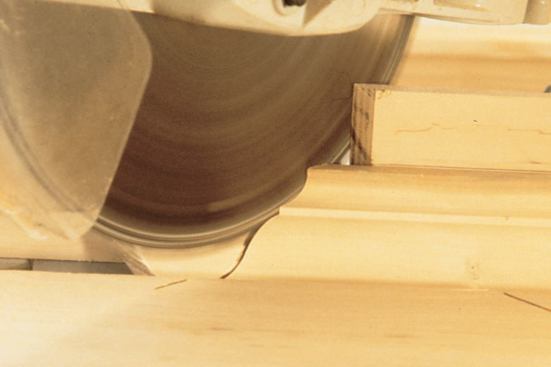
The most efficient way to cut crown molding is in position — with the molding standing upside down and leaning against the miter-saw fence. Cutting in position means that the material is always in the same position on the fence and never has to be flipped end for end; the bevel of the saw is never changed from 90 degrees; and aligning the blade so that it enters the material exactly on the measurement mark is just as easy as cutting baseboard.
Everyone in the trade refers to this method as the mysterious “upside-down-and-backwards” position. No further examination of the enigma seems ever to be required. But carpenters might better imagine that the crown molding isn’t really upside down and backwards — the saw is. The base of the saw is the ceiling.
Whenever I cut crown in position, I always start by placing a short piece of the molding on my saw (upside down). I trace a pencil line across the crown along the fence and along the base, then set a straight piece of scrap material, about 3 or 4 feet long, at the bottom line and fasten it with screws to my extension wings, where it acts as a stop. With the stop attached, the molding is held securely in position, the bevel is cut exactly the same way every time, and long lengths of material are easy to handle.
Visualizing the correct direction of a cut is also easier if we imagine that the fence is the wall and the base of the saw is the ceiling. For inside corners, the long point of the miter and the bevel is always on the wall or fence (just like with baseboard); for outside corners, the short point of the miter and the bevel is always on the wall or fence (just like with baseboard). That rule never changes.
As with baseboard, if the piece has an inside corner (most have at least one), I cut that end first, then hook my tape on the long point and reach across the crown to measure the opposite end. If the piece has two inside corners, I prefer to cut the right-hand corner first — that way I pull my tape from my left side and the numbers are right side up. With the stop in place, the molding never moves while I’m measuring.
For pieces that have two outside corners, I cut one end and align the short point of the miter with the edge of the fence, then hook my tape on the fence and measure to the opposite end of the molding. For long lengths, I align the short point with the end of my extension wing, then hook my tape over the extension wing and measure to the opposite end of the molding.
Also as with baseboard, I first cut any end with a self-return, then hook my tape over the long point of the self-return and measure to the opposite end of the molding.


