More About Scribing
Scribing Basics
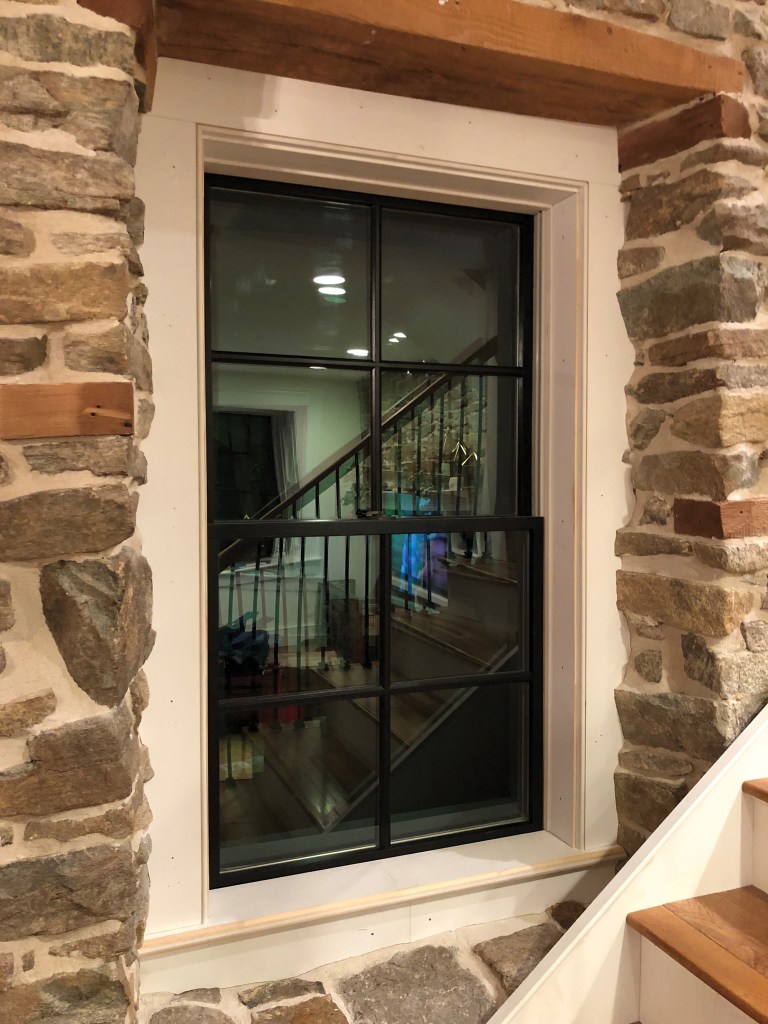
Scribing Wood to Stone
Scribing Cabinets
Scribing the Final Floorboard
Lessons in Scribing
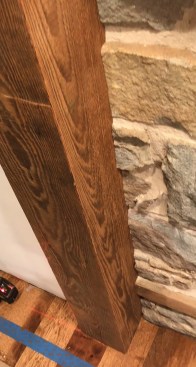
Fitting Post to Stone, Teriyaki Style
Scribing material is a fundamental skill that carpenters use frequently. If you have ever run the baseplate of a circular saw along a straightedge, you’ve scribed something, albeit something that is straight. The same idea can be applied when the edge is not straight.
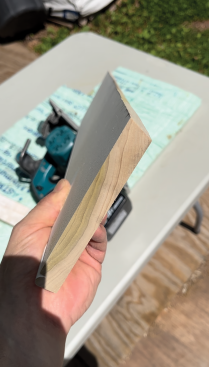
Various tools can be used to transfer the contour of a nearby surface onto a workpiece: a compass, shims, the edge of a pencil, washers, a straightedge, or a site-made jig—whatever can create a line parallel to the edge of the material, however irregular that edge might be. While there are many situations where it is necessary to scribe, I will take you through two common ones: scribing baseboard to an uneven floor and scribing a material to an irregular surface like stone.
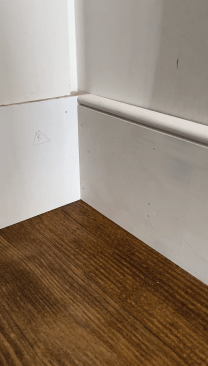
Scribing Baseboard
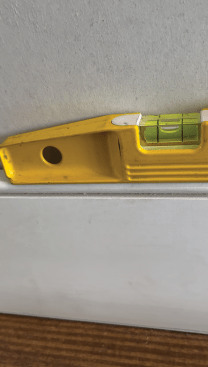
If a customer doesn’t want shoe molding or if the floor is so out of level or humped that the shoe mold won’t cover the gaps, you will need to scribe to the floor. For example, if you have a straight piece of baseboard and the floor has a 1/8-inch bump or irregularity, you can temporarily attach the piece to the wall to prepare to scribe. Set your scribe tool to the depth you need (in this case, 1/8 inch), and follow the contour of the floor.
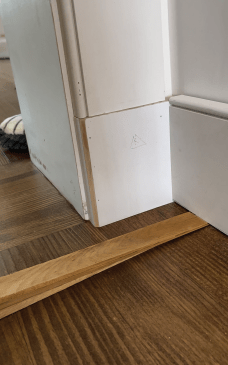
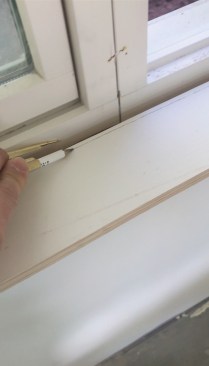
With the baseboard shimmed level, measure how much it needs to d…
If you tack the baseboard in place level, then once it’s cut, it will drop into level. If it was not tacked level, your piece will drop and be parallel to its tacked position. This is important to note, depending on what you need to align with.
A word of caution: In an old house, if a room is 2 inches out of level (not uncommon), and you choose to run the top of 5 1/2-inch baseboard level, the base over the high spot will be only 3 1/2 inches tall. If there are no level features above the baseboard, then it may look better to run the base out of level. The base can still be scribed, just not as much, and be forewarned: your corner joints may get complicated.
To begin, let’s look at a straightforward example of scribing baseboard in the slideshow at left.
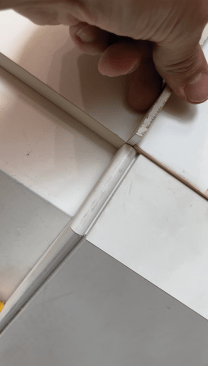
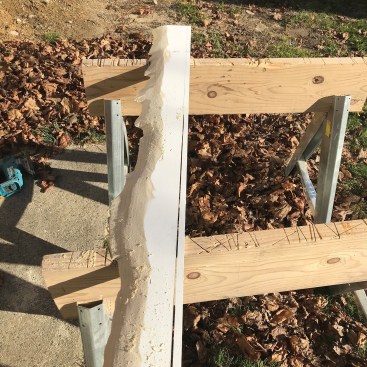
Mating Material to Fit an Irregular Surface
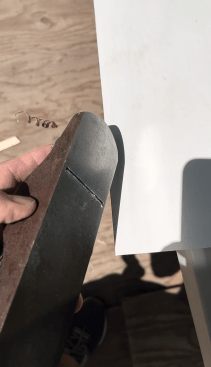
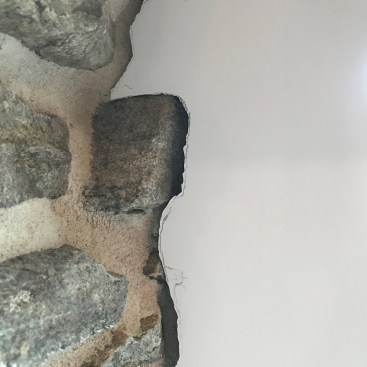
Running finished material into stone is one of the more dramatic looks when it comes to scribing. It doesn’t have to be the most daunting, however, if you are willing to take your time. With a very irregular surface such as stone, it may be necessary to cut the material in stages. You can always remove a bit more material, but if you remove too much, you run the risk of ruining your piece. Follow along with the process in the slideshow below.
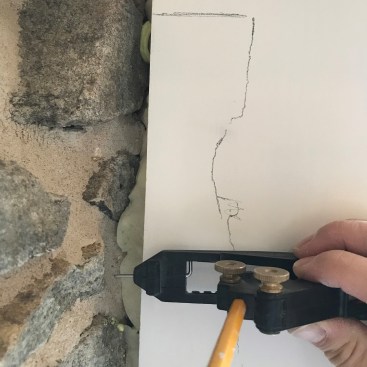
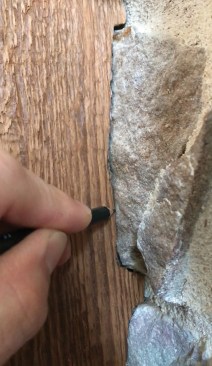
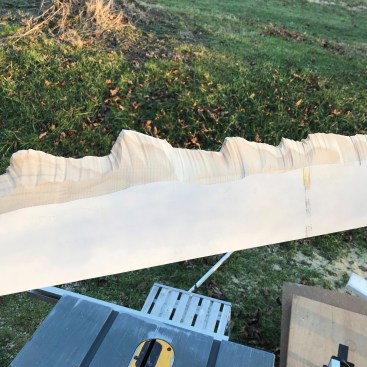

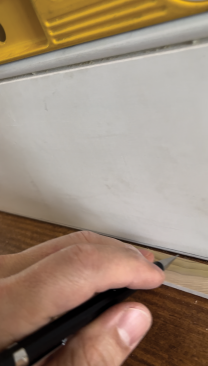
Using an AccuScribe Pro, the author draws the contours of the st…
Remember, too, when you’re scribing, the far edge of the workpiece will move toward the scribed edge by the same amount that the points of the scribes are set apart. Make sure you leave yourself enough material so that far edge doesn’t fall short. Another key concept is that when you’re scribing, the cut edge will be parallel to where the workpiece was when you marked it. If, as you scribe, the workpiece isn’t in line with its ultimate desired position, it will not line up when you install it.
Photos by Nielsen Crist.