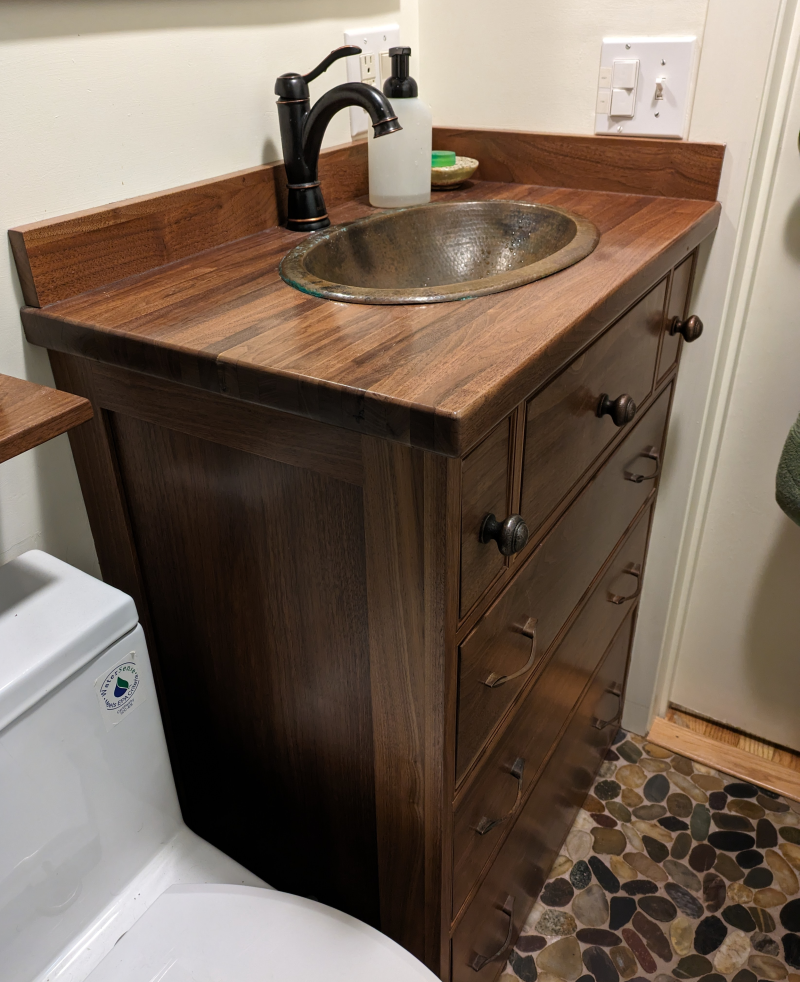
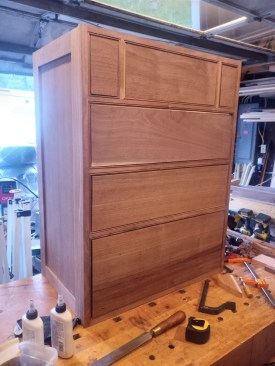
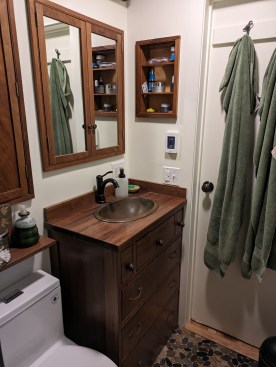
Every good built-in should feel as though it has always belonged in the room. That was the aim with this custom vanity: to create a new piece that matched the existing walnut bathroom cabinets in both material and character.
Crafting the Face Frame
Follow the slideshow below for steps.
1
of 6
Nathan Clark
The build began with the face frame, milled from walnut into nar…
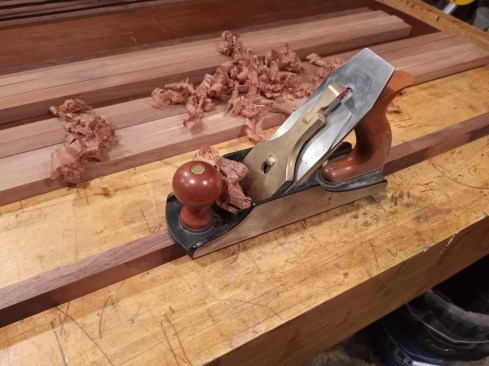
The build began with the face frame, milled from walnut into narrow strips measuring 1 inch wide by 3/4 inch thick. A quick pass with a hand plane removed the saw marks and left the pieces cleaner.
Nathan Clark
Because the existing cabinets use beaded face frames, the new va…
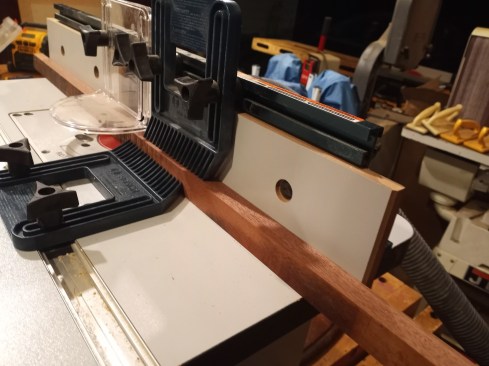
Because the existing cabinets use beaded face frames, the new vanity needed the same detail to feel fully integrated. At the router table, featherboards held the stock firmly against the fence and table, making it possible to cut the beads consistently.
Nathan Clark
The rails—the horizontal members of the face frame—required …
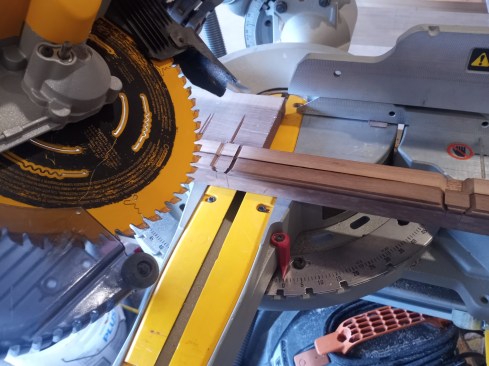
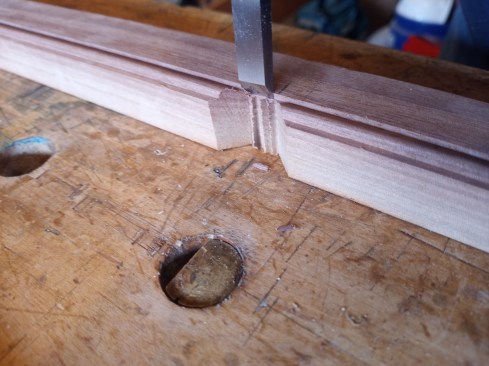
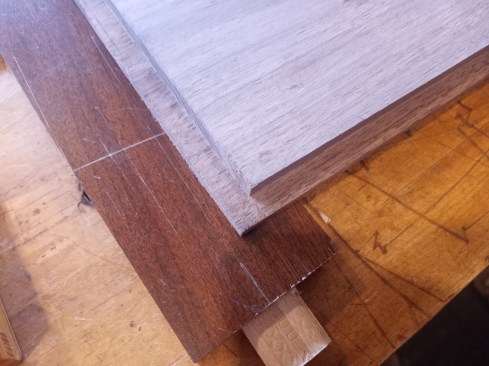
The rails—the horizontal members of the face frame—required extra attention, especially those dividing the drawer openings. The bead detail had to turn the corners without interruption, so the joinery called for jack miters, also known as haunched miters, to carry the profile cleanly through each transition.
After careful setup at the compound miter saw, the haunches were cut into the stiles with the help of a spacer block set for precise depth.
Nathan Clark
The remaining waste was pared away with a sharp chisel, and the …
The remaining waste was pared away with a sharp chisel, and the rails were then cut one at a time to match.
Nathan Clark
Once everything was dry-fitted and aligned, the frame was assemb…
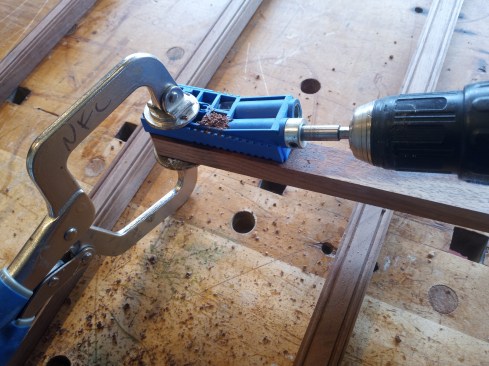
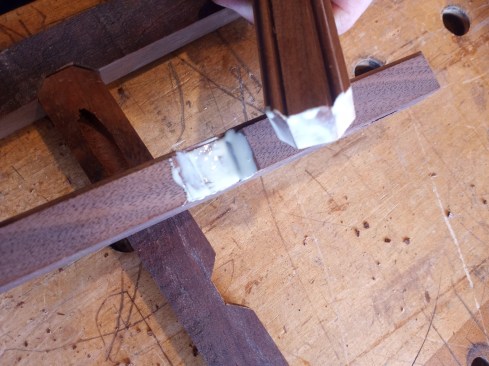
Once everything was dry-fitted and aligned, the frame was assembled with pocket screws and reinforced with wood glue.
Nathan Clark
The result is a face frame that looks delicate but is robust in …
The result is a face frame that looks delicate but is robust in construction, made more satisfying by the fact that the walnut was salvaged from a discarded dining-table top.
Building the Carcass
Follow below
1
of 6
Nathan Clark
One side of the cabinet was built as a traditional frame-and-pan…
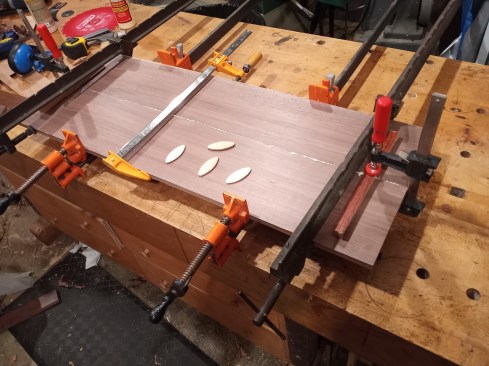
One side of the cabinet was built as a traditional frame-and-panel assembly. The panel began as a rough-sawn board too wide for the thickness planer, so it was ripped in half, planed, and then glued back together using biscuits for alignment.
Nathan Clark
Grooves were plowed into the stiles, and the panel was rabbeted …
Grooves were plowed into the stiles, and the panel was rabbeted on the back so it could sit neatly in place while preserving its full 1/2-inch thickness—important, since that material would later support the drawer-slide hardware.
To connect the frame-and-panel side to the face frame, loose mortise-and-tenon joinery cut with a
domino machine provided both strength and alignment.
Nathan Clark
Matching mortises in the back of the face frame and the cabinet …
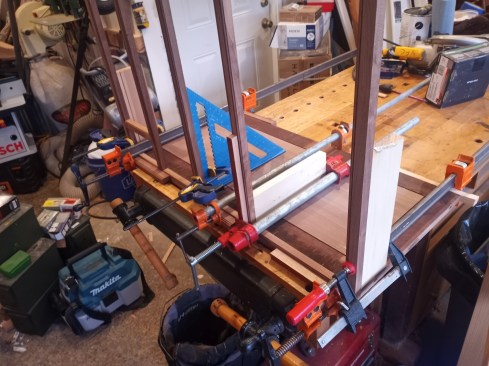
Matching mortises in the back of the face frame and the cabinet side allowed the parts to register cleanly during glue-up. Clamping blocks across the rails kept the assembly square under pressure.
Nathan Clark
The opposite side, destined to sit against a wall, was built fro…
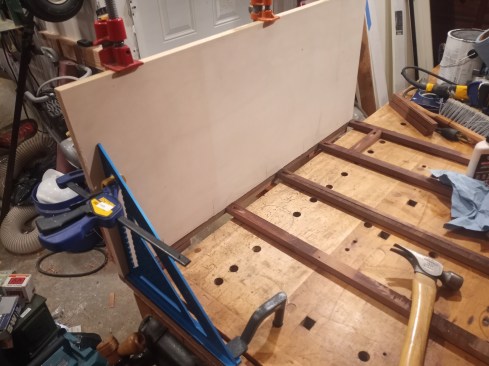
The opposite side, destined to sit against a wall, was built from plywood to save cost where appearance would not matter.
Nathan Clark
With the back and bottom attached using pocket screws and glue, …
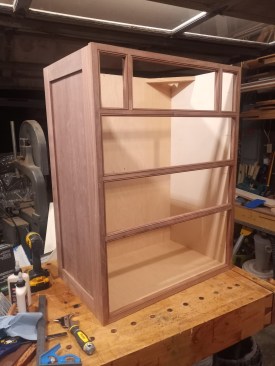
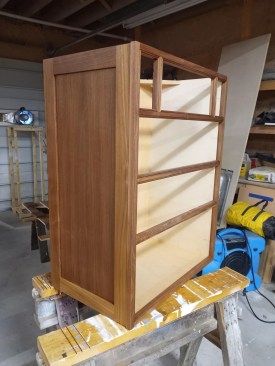
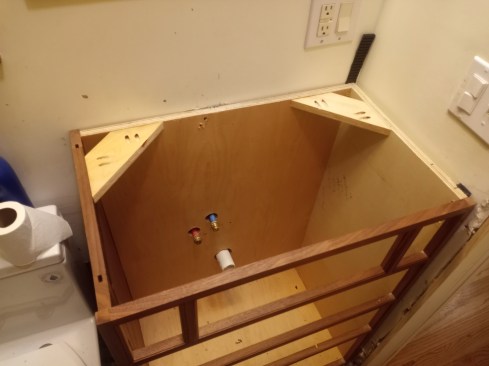
With the back and bottom attached using pocket screws and glue, the carcass came together ready for drawers, sanding, and finish.
Nathan Clark
With the drawer fronts in the cabinet takes shape.
Shaping the Countertopand Finishing for a Wet Environment
Follow below
1
of 7
Nathan Clark
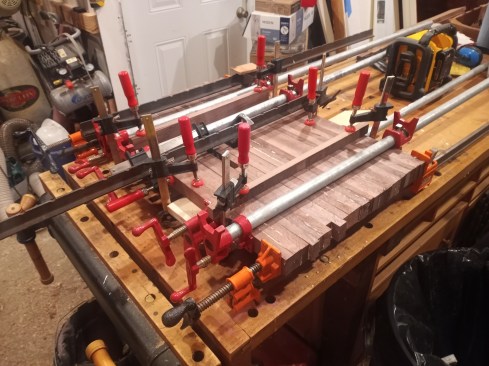
The countertop started as a glue-up of 3/4-inch flatsawn walnut …
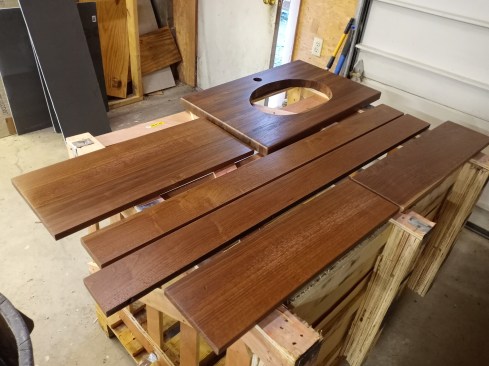
The countertop started as a glue-up of 3/4-inch flatsawn walnut strips, milled and joined into a slab.
Nathan Clark
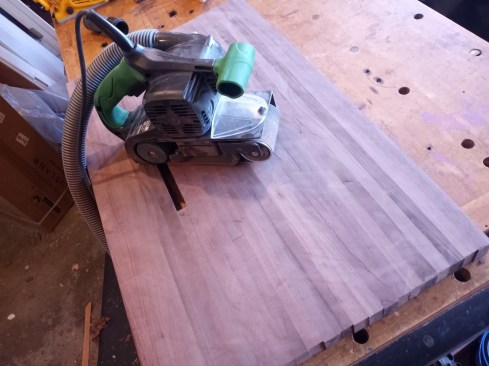
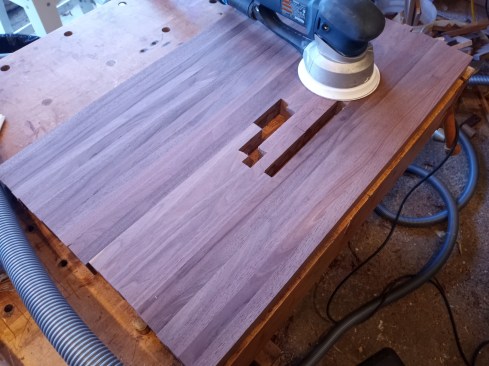
Shorter pieces were placed around the sink area, intentionally l…
Shorter pieces were placed around the sink area, intentionally leaving gaps where the cutout would later be made. After the glue cured, the surface was flattened with a coarse-grit belt sander.
Nathan Clark
Then the top was machine-sanded through 150 grit before being cu…
Then the top was machine-sanded through 150 grit before being cut to rough length with a circular saw.
Nathan Clark
The exposed edge was refined with a miter plane, while the sink …
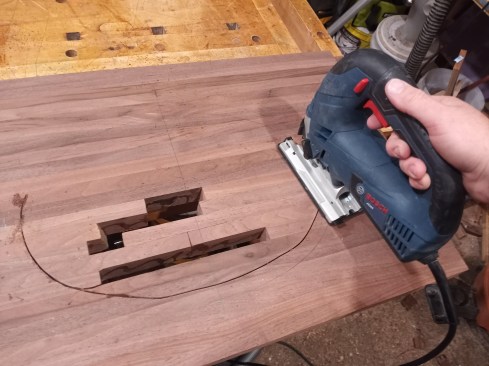
The exposed edge was refined with a miter plane, while the sink opening was cut with a jigsaw.
Nathan Clark
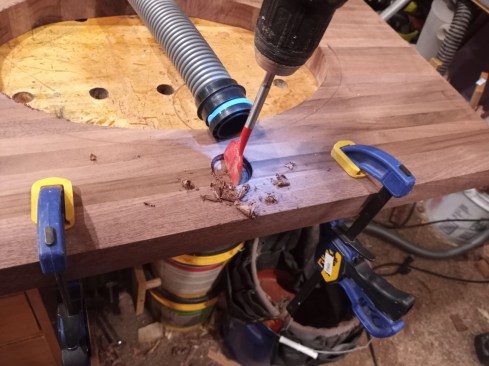
The faucet hole drilled with a spade bit.
Nathan Clark
For a vanity that would live in close contact with water, durabi…
For a vanity that would live in close contact with water, durability mattered as much as appearance. The chosen finish was a two-part conversion varnish, for toughness and resistance to moisture.
Nathan Clark
Spraying the finish ensured an even coat across both the cabinet…
Spraying the finish ensured an even coat across both the cabinet and the countertop while allowing the work to move efficiently through multiple applications. A minimum of three coats would build the protection needed for everyday use.
Installation and Final Fit
Follow below
1
of 5
Nathan Clark
Installation began with the cabinet itself, which was leveled an…
Installation began with the cabinet itself, which was leveled and fastened to the wall studs using shims and screws.
Nathan Clark
From there, attention shifted to the countertop, left with an ov…
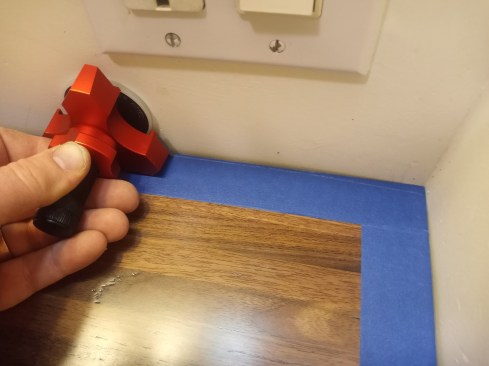
From there, attention shifted to the countertop, left with an overhang of about 7/8 inch at the front and side. To achieve a tight fit to the walls, the slab was scribed in place—blue tape made the knife lines easier to see—then trimmed with a circular saw and fine-tuned with a hand plane. The countertop was secured from below with screws driven through corner blocks, along with a bead of silicone for added holding power and moisture protection.
Nathan Clark
The backsplash was scribed and glued to the wall with silicone, …
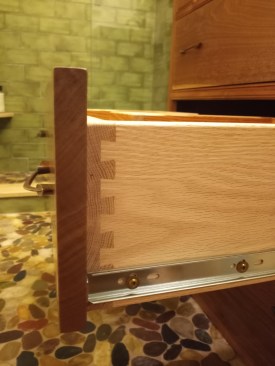
The backsplash was scribed and glued to the wall with silicone, with an additional bead at its base to create a waterproof joint. Then the final storage details were begun: large oak drawer boxes cut with a dovetail jig and smaller cherry drawers joined with hand-cut dovetails.
Nathan Clark
The larger drawers were shaped around the plumbing lines and dra…
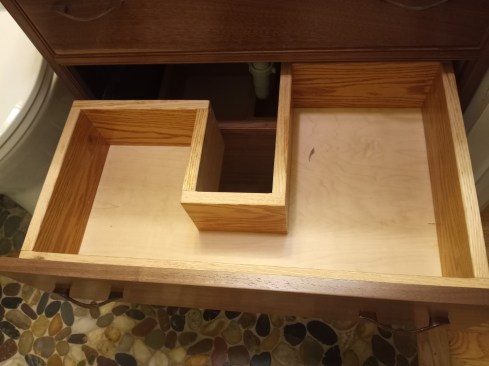
The larger drawers were shaped around the plumbing lines and drain to make the most of the available space.
Nathan Clark
Copper sink basins, an oil-rubbed bronze faucet, and matching co…
Copper sink basins, an oil-rubbed bronze faucet, and matching copper pulls completed the piece, along with a finish that felt both functional and refined.
Keep the conversation going—sign up to our newsletter for exclusive content and updates.Sign up for free