
Carl Hagstrom
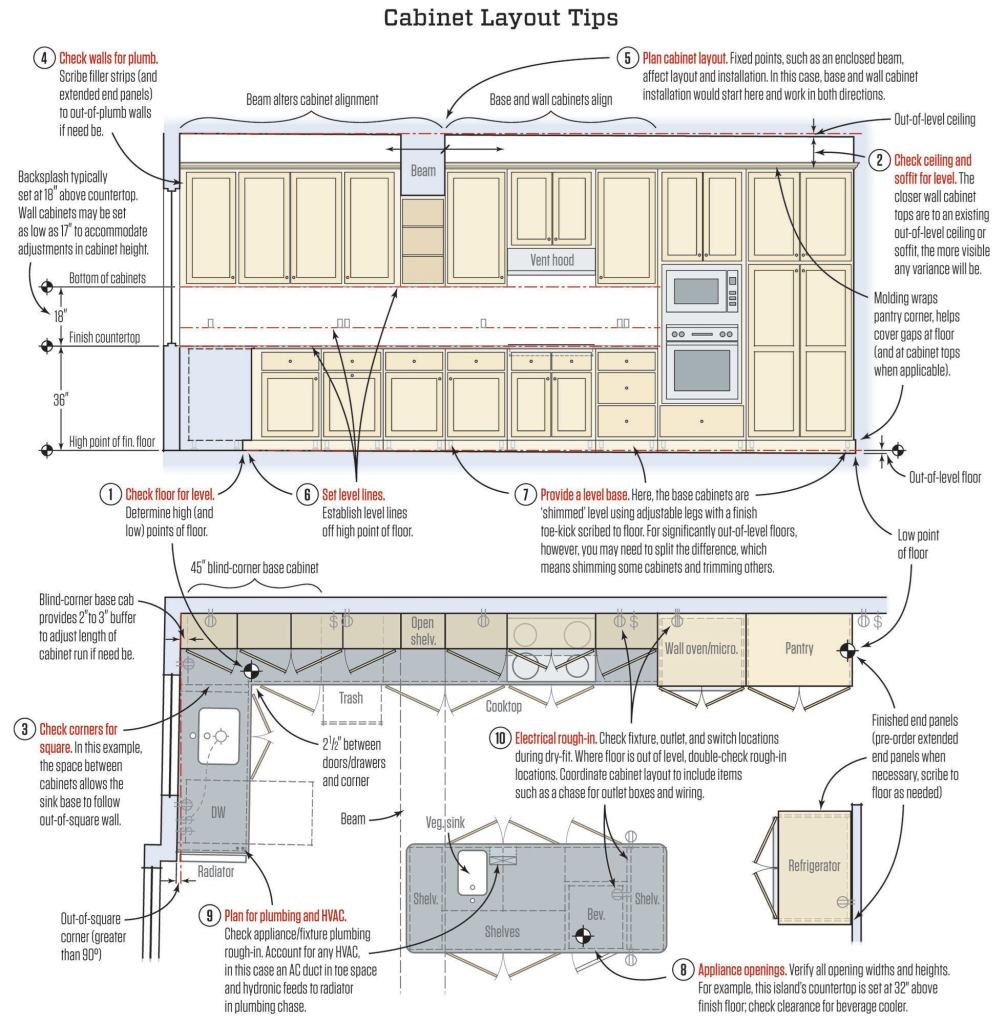
Cabinet Claws are designed to both clamp and align face frames (…
Installing Wall Cabinets
Whether you install base or wall cabinets first is a matter of personal preference. Installing wall cabinets first avoids your having to reach over base cabinets. But where cabinets have to be modified for plumb, level, and square, it may be better to begin with base cabinets. In general, it’s best to start in a corner, but adjustments for plumb and square or the presence of tall cabinets or full-height panels may require a different strategy.
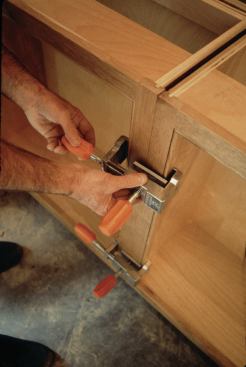
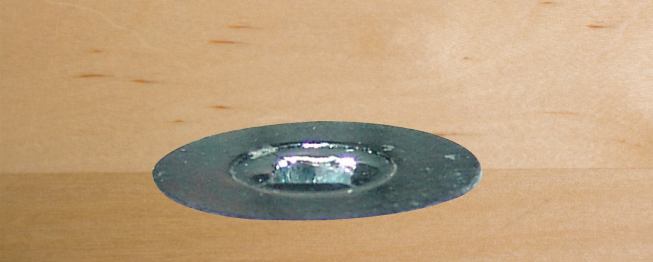
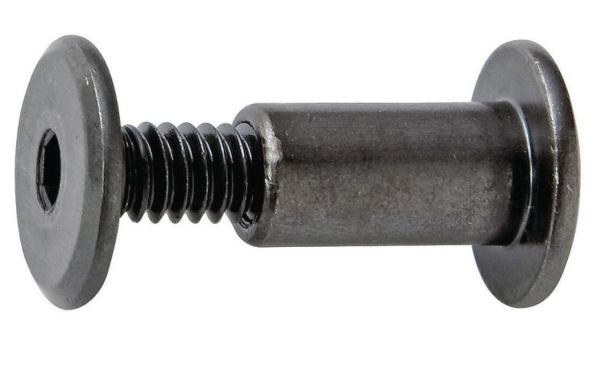
Fasten cabinets together. Either way, alignment is usually easier when several cabinets are installed as a unit. Lay the cabinets on their backs on a flat surface, align the side panels, and clamp them together. Fasten frameless cabinets through the sides with four fasteners—top and bottom, front and back. Because these fasteners will be visible inside the cabinet, some installers use cabinet bolts, which require predrilled holes, #8 or #10 wood screws with finish washers, or Powerhead Screws with or without finish caps.
Face-framed cabinets are somewhat more difficult to align. The face frames on stock cabinets usually extend past the sides, so to keep everything square, add spacers between cabinets at the back before screwing them together. Cut spacers twice the thickness of the overhang (about 3/8 inch total), position them at the fastener locations, and clamp the cabinets together. Fasten the cabinets through the spacers at the back, top and bottom.
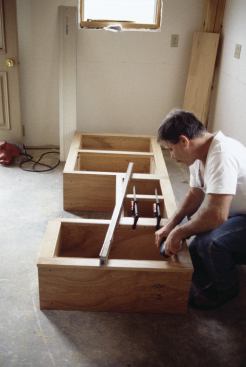
At the front, you can fasten with screws or cabinet bolts through the sides just behind the face-frame stile. Alternatively, fasten through the face frames, being careful to avoid hinge locations; use finish washers or countersink the screws, with or without caps.
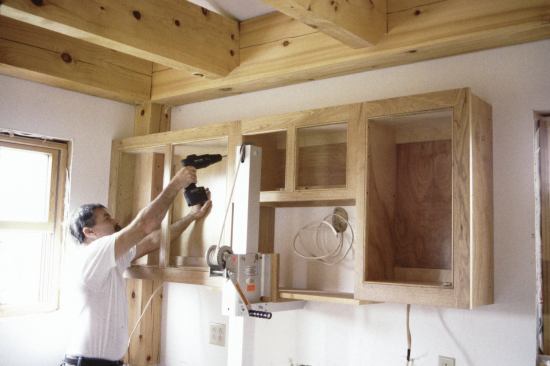
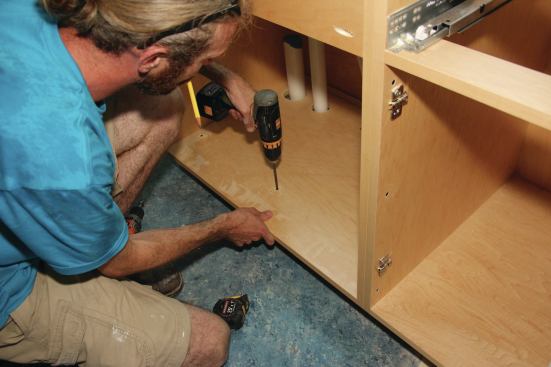
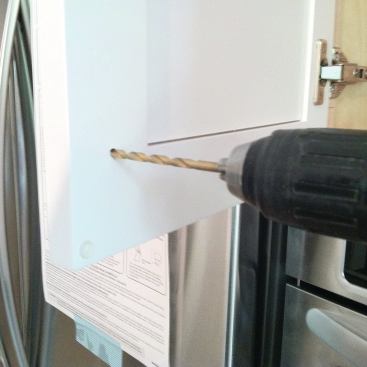
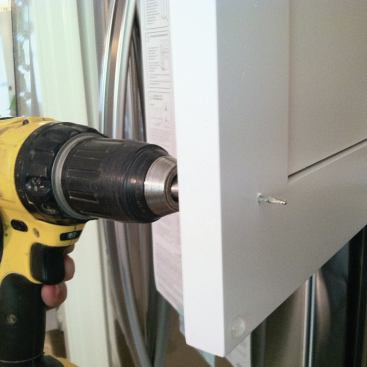
Hanging cabinets. Mark the locations of studs and blocking on the top and bottom mounting rails and, if necessary, predrill for fasteners. A wall cabinet should be fastened top and bottom to at least two studs; where that’s not possible, fastening cabinets together will usually provide enough additional support. When in doubt, install solid blocking; the cabinets will conceal the patch.
Fasteners should be at least 2 1/2 inches long—enough to penetrate 3/4 inch into the studs. For best appearance, use #10 wood screws with matching finish washers, or self-countersinking screws, such as R4 Torx or Powerhead Screws, which do not require predrilling. Avoid drywall screws, which don’t have the required adequate shear strength to support cabinets.
Also locate and drill holes for any wiring that needs to pass through the back of the cabinet. To make installation easier, drill these holes neatly but oversized. Wiring, which typically powers undercabinet lighting, does not require much play, and the holes will usually be concealed by the fixtures. Pipes are less forgiving, but gaps can be concealed with one- or two-piece finish escutcheons.
Before lifting the cabinet into position, drive screws partway into the mounting rails. While not necessary, attaching a temporary 2-inch-wide plywood ledger to the wall on which to rest the bottom edge of the cabinet will make installation easier, whether you’re working alone or with a helper. If working alone, use a lift or blocking to hold the cabinet in place on the ledger or against a level layout line, then drive in a few fasteners top and bottom to snug the cabinet against the wall. Check the face of the cabinet for plumb and, if necessary, loosen the screws and shim the top or bottom. Before fully driving all fasteners, check for signs that the wall is bowed, and shim as needed to prevent the cabinet backs from bending when fastened tightly.
Installing Base Cabinets
Fasten base cabinets together (following the procedure for wall cabinets) and install them as units. As with wall cabinets, mark stud locations in the mounting rails—one stud per base cabinet is adequate, but don’t skip any studs—and drill neat, oversize holes in cabinet backs or bottoms to accommodate wires and pipes. When cabinets are securely in place, shim behind with screws as necessary to prevent bowing of the cabinet backs.
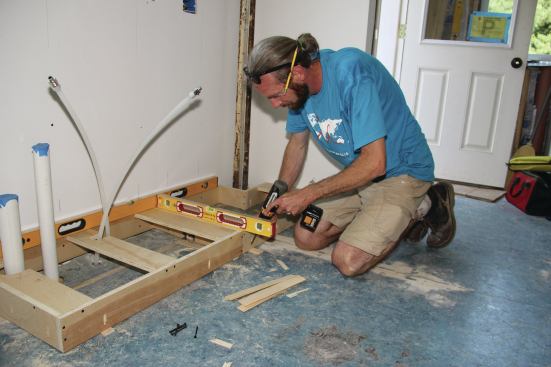
Set base cabinets level and flat, especially in kitchens with stone, pre-cast concrete, or solid-surface countertops. Where the kitchen floor is relatively flat and level, cabinets with integral toe-kicks can be trimmed and shimmed as necessary. Set cabinet height based on the high point in the floor, because shimming is easier than trimming. Where the floor is significantly out-of-level, however, you may need to split the difference, which will mean shimming some cabinets and trimming others. At exposed finish end panels, this may require scribing to the floor contour.
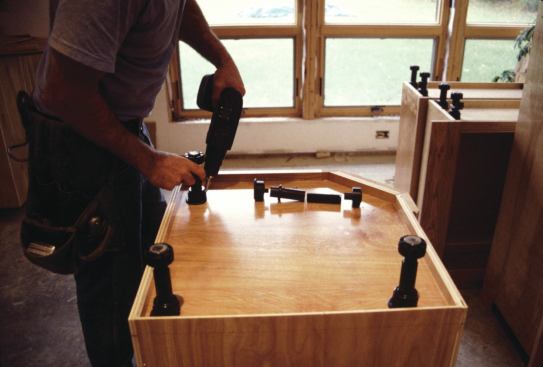
A second option is to build and level a “ladder base” from 5/4-stock or plywood, and fasten it to the floor with pocket screws and to cleats before mounting plain cabinet boxes (without toe-kicks) on top. Attaching solid 1-by for crosspieces or cleats flush with the top of the base will provide ample surface area to receive screws driven down through the bottom of the cabinet boxes.
Leveling legs are a third alternative for dealing with an out-of-level floor. When the toe-kick is integral, leveling legs can be installed behind the base panels and adjusted before a permanent toe-kick panel is installed (some types can be adjusted independently from inside the cabinet). For cabinet boxes with no toe-kicks, leveling legs are available with mated clips that can be used to attach matching toe-kick panels.
Tall Cabinets & Panels
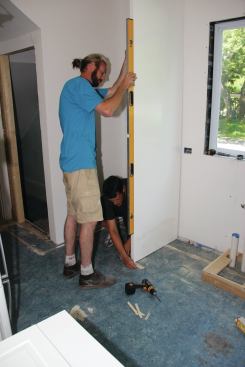
Full-height pantries, wall-oven cabinets, and panels are typically installed last when they are located at the end of a cabinet run, but may need to be installed earlier if they are near the middle. If the floor is out of level, extended-height panels can be scribed to fit; otherwise, shoe mold may be needed to conceal shims at the floor. At an out-of-plumb wall, scribe an extra-deep panel to avoid having to use molding to cover any gaps.
Tall finish end panels are typically fastened to wall cabinets from inside or occasionally by means of interlocking cleats. Anchor the free end using pocket screws, ledgers, or angle brackets from the inside, or pin to shoe mold. Where tall panels support wall cabinets over a refrigerator, make sure that there is adequate clearance on all sides of the appliance.
Special solutions for Islands
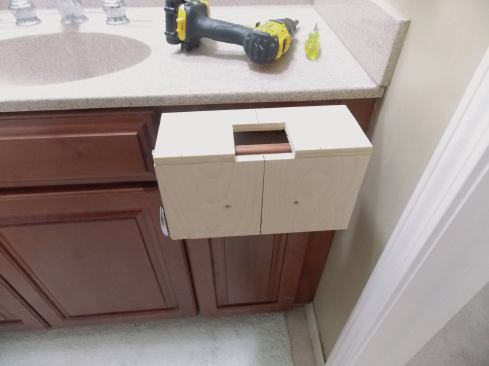
Kitchen islands present a number of challenges, including how to fasten cabinets securely without any supporting walls, and how to accommodate sink drain and vent lines, and the wiring for outlets.
Anchoring island cabinets. With integral toe-kicks, set the cabinets in place temporarily and trace lines where the inner edges of the side panels meet the floor. Then remove the cabinets and fasten cleats along the lines (see Island Base Assembly illustration). Reposition the cabinets and screw through the toe-kick to secure the cabinets to the cleats. For plain cabinet boxes, fasten through the cabinet floor to a ladder base that has been leveled and fastened to the floor.
Plumbing and wiring. Most codes require at least one outlet in a kitchen island, and more may be necessary for convenience. Where an island includes a raised eating bar or half-wall, outlets can be installed in the vertical curb. Otherwise, they can be installed in chases built into or around the cabinets (see Island Receptacle Options illustration). ?
Doors & Drawers?
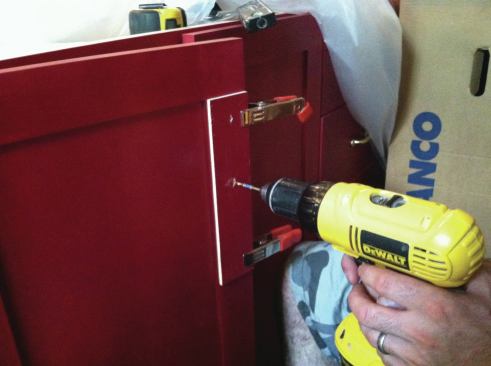
Doors and drawer fronts are typically drilled for pulls and handles while mounted to the cabinets, but this work can also be done at a workbench. Most kitchens have enough hardware to make it worthwhile to use a template to locate and predrill holes. Though commercially made jigs are available, it’s easy enough to build a template for each job or even a custom-made “universal” template that fits the screw spacing for most pulls and works for the most common drawer depths and door-frame widths.
Using a strip of painter’s tape at the rough location of knobs or pulls will make marks easier to see and will help protect the finish. Align the jig over the tape and drill through it. When working at a bench, prevent the wood on the back side from blowing out by drilling through the door into a scrap of plywood underneath it. To prevent blow-out when drilling mounted doors or drawers, mark both sides and drill partway through from the back before drilling from the front.
Thanks to Jim Copen and Dan Tumminaro of YourPunchList.com, Rob Corbo of Rob Corbo Construction, Mike Ethier of Case Design/ Remodel, Andy Hannan of Mark IV Builders, and contributing editors Ted Cushman and Michael Chotiner for their help with information and images for this article.


