Working with architect Rachel Conly and homeowner Will Crosby, T…
Working with architect Rachel Conly and homeowner Will Crosby, Thompson and Johnson constructed full scale mock-ups of the main roof and dormer roof eaves to work out the proportions of the various trim elements. This also allowed the crew to plan and detail the exhaust flow for the rain screen siding.
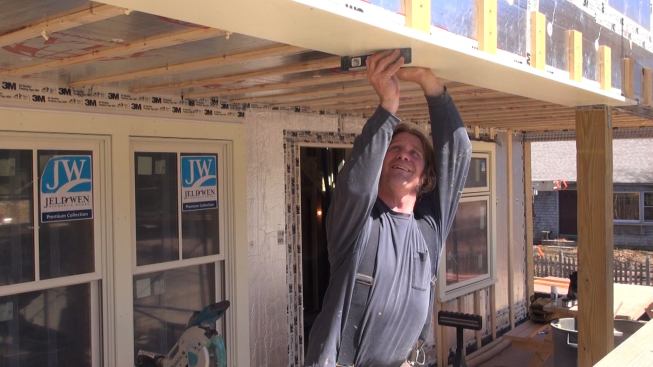
Carpenter Dale Cunningham installs the front porch beam trim.
Care was taken to not interrupt or puncture the air barrier at t…
Care was taken to not interrupt or puncture the air barrier at the front porch beam.
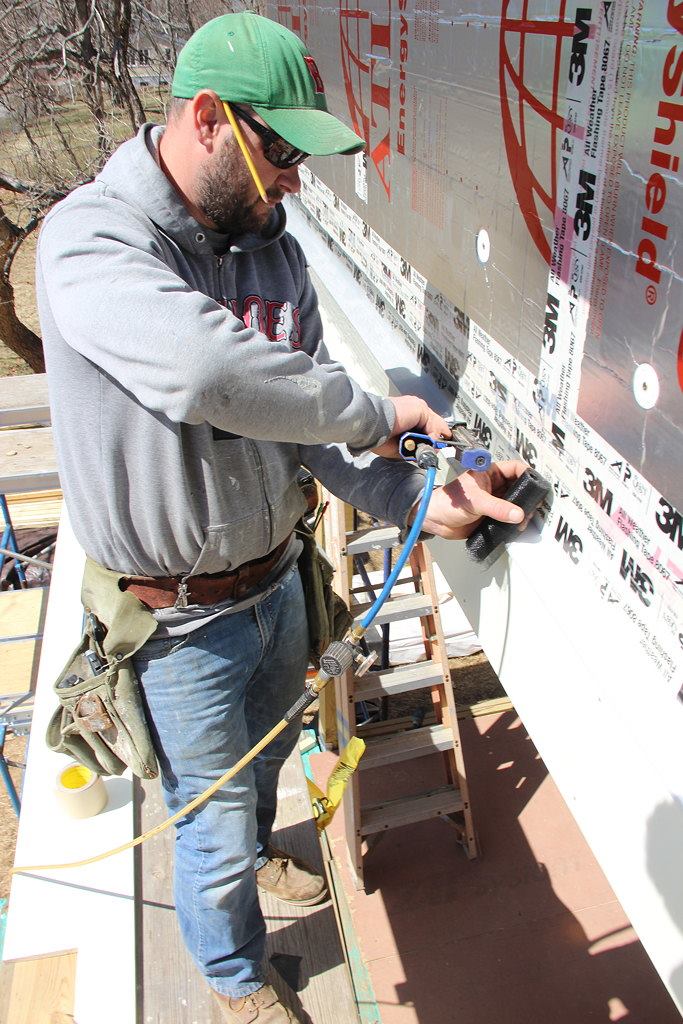
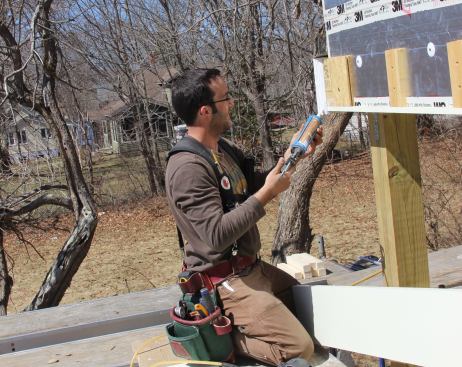
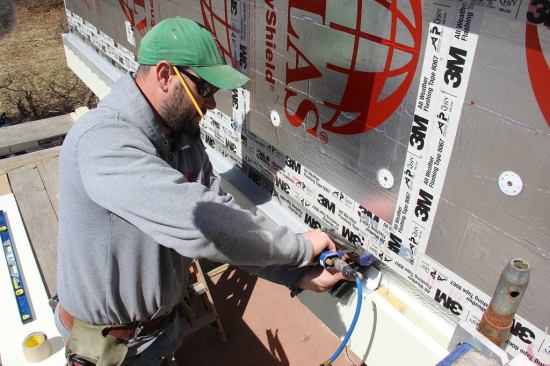
Project lead Mark Pollard applies a polyurethane sealant to the …
Project lead Mark Pollard applies a polyurethane sealant to the primed miter of the beam trim.
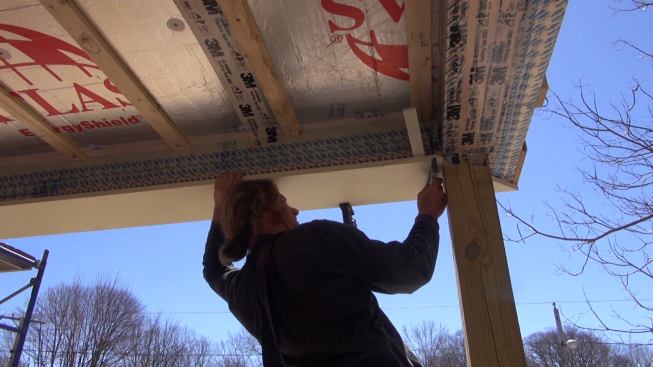
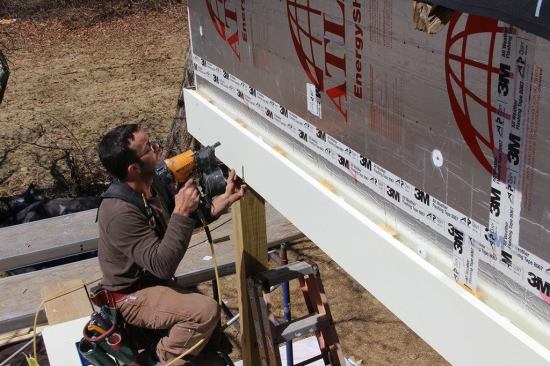
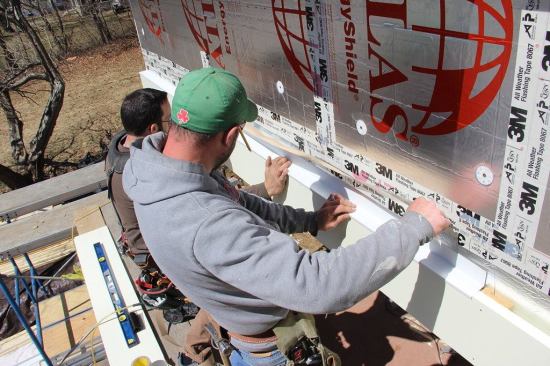
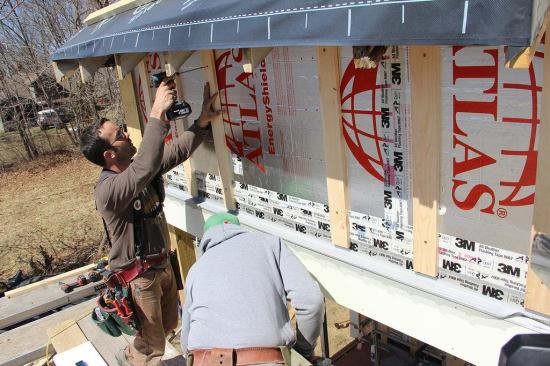
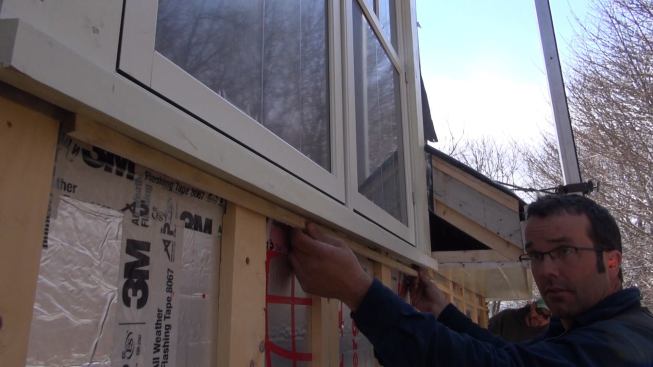
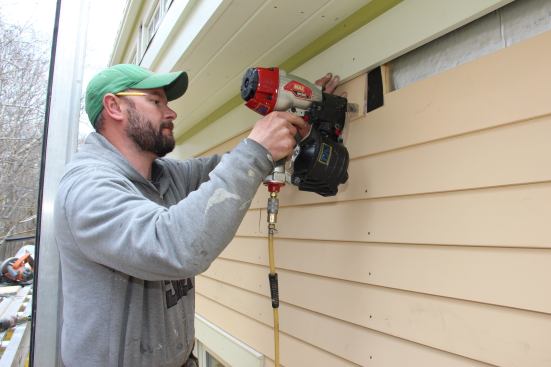
Pollard nails fascia to ¾-inch strapping applied over the…
Pollard nails fascia to ¾-inch strapping applied over the foil-faced rigid insulation. Trim elements are spaced off the foil faced polyiso foam to facilitate the drainage of wind driven water and drying of the wood trim. The beam trim shown here is unusual, Pollard points out: it is the only trim or siding element on the building exterior where the space behind the trim has no air inlet at the bottom or exhaust at the top for air to flow freely. However, the air space behind the wood trim, combined with a coat of primer and first coat of paint, should still add to service life of the wood and the paint job.
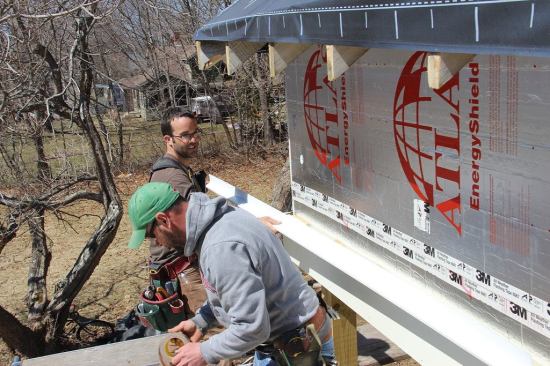
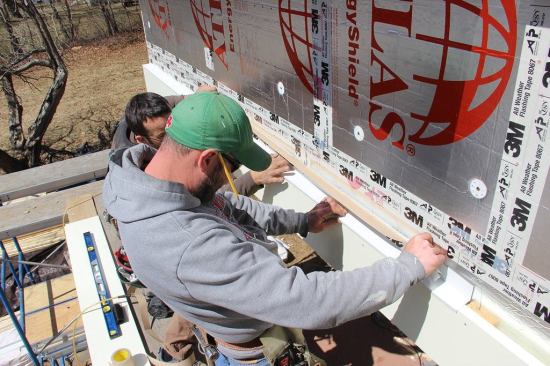
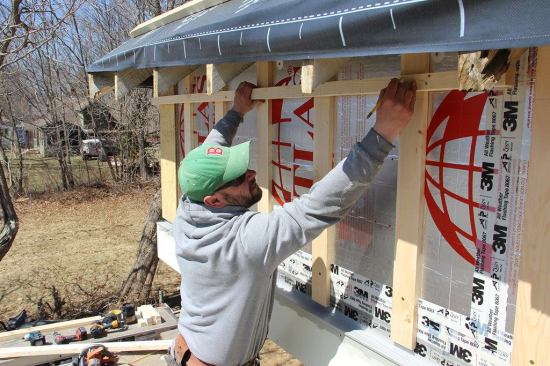
A closer look: Pollard fastens the pre-primed wood trim to the 1…
A closer look: Pollard fastens the pre-primed wood trim to the 1×4 rain screen furring using stainless steel ring shank nails.
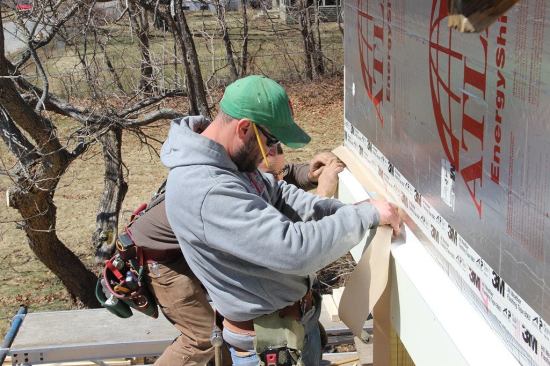
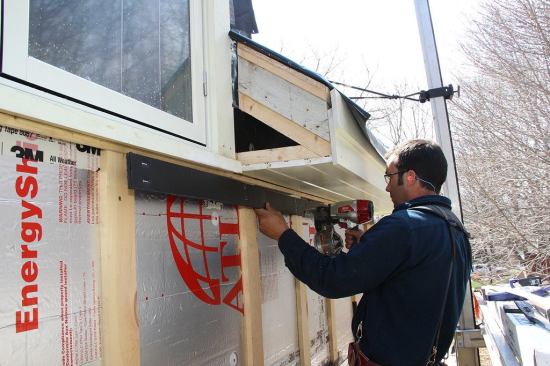
Pollard places a piece of aluminum drip cap flashing over the po…
Pollard places a piece of aluminum drip cap flashing over the porch beam fascia. An air inlet and drain opening for the upper portion of the wall siding assembly will be installed at this location.
Nailing the cap flashing to the wall sheathing through the 3&quo…
Nailing the cap flashing to the wall sheathing through the 3" of continuous rigid foam is impractical; instead, Pollard and carpenter Shane Fenton seal the flashing to the face of the rigid insulation using 3M 8067 flashing tape.
Fenton removes the paper backing from the tape as Pollard lines …
Fenton removes the paper backing from the tape as Pollard lines up the flashing and adheres the top edge of the tape.
The acrylic adhesive tape is tenacious so care is taken to make …
The acrylic adhesive tape is tenacious so care is taken to make sure the flashing is pitched for drainage before being pressed into place. The tape will be pressed into place with a hard rubber j-roller to further increase the bond of the adhesive.
Shane Fenton uses a pneumatic stapler to tack insect screen over…
Shane Fenton uses a pneumatic stapler to tack insect screen over the cap flashing. Later, 1×4 furring will be installed for the rain screen siding and the insect screen will be folded up and onto the face of the 1×4's.
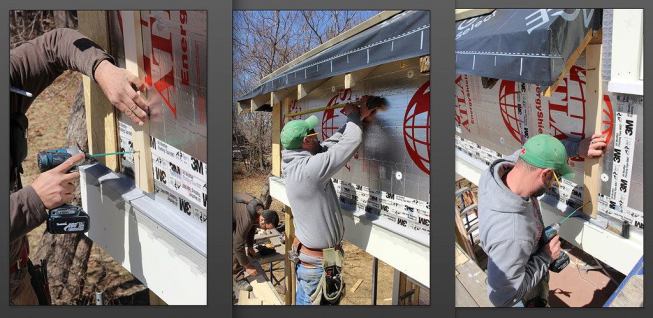
Pollard fastens a piece of 1×4 furring over the rigid insulation…
Pollard fastens a piece of 1×4 furring over the rigid insulation (left), screwing the strapping to the sheathing behind the foam using 5-?-inch screws. Hooking onto the first piece of furring, Fenton lays out the furring locations for the rest of the wall (center), marking on the foam with a Sharpie marker, then screws the rightmost piece of furring to the wall (right).
A look at the mostly furred-out wall shows the key durability de…
A look at the mostly furred-out wall shows the key durability details of the rain screen system: the foil drainage plane sealed with tape, the furring which creates an air space for drainage and ventilation, and the flashing and bug barrier at the bottom which will allow inflow of air into the cavity, equalizing air pressure across the siding and permitting incidental water to drain out of the assembly.
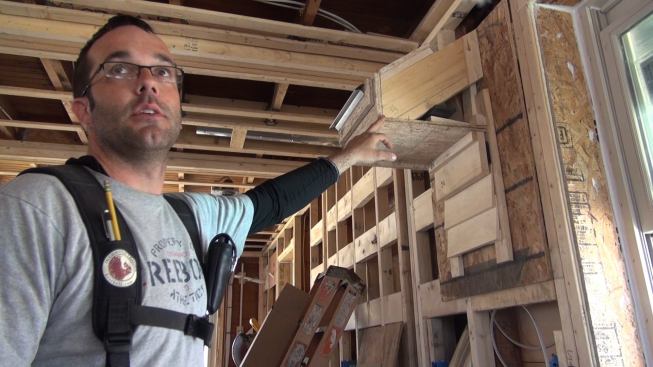
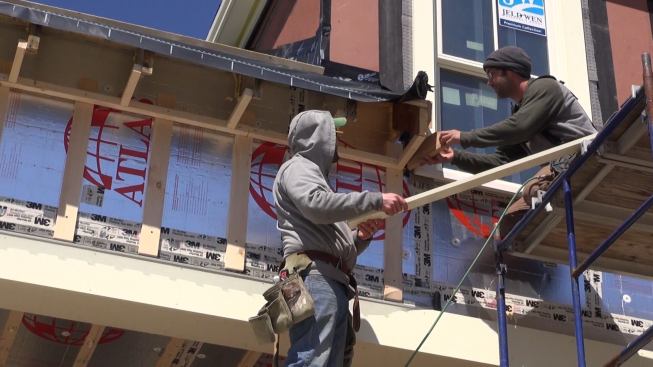
Pollard and Fenton pack out cornice return framing at the junctu…
Pollard and Fenton pack out cornice return framing at the juncture between the roof overhang and the second-story dormer in the building’s hip roof. Roof and trim details for this house were complicated by the inconsistent dimensions of the old home’s original roof framing. Despite meticulous planning and collaboration among the homeowner, designer, and contractor at earlier stages, Pollard and Fenton found themselves having to work out some trim details and arrangements on the fly.
Fenton persuades the tongue-and-groove board for the soffit into…
Fenton persuades the tongue-and-groove board for the soffit into position while Pollard pins it in place near the intersection where the eave meets the dormer window.
Pollard places a thin spacer under the soffit and window trim, p…
Pollard places a thin spacer under the soffit and window trim, padding out the wall to allow an exhaust point for air movement in the cavity behind the siding and trim in the rain screen assembly.
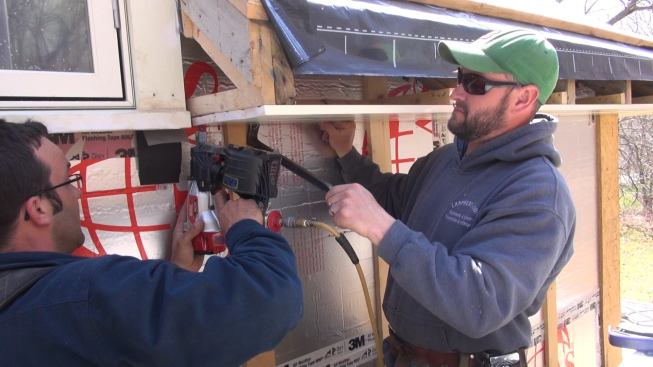
Pollard fastens Cor-A-Vent SV-3 corrugated plastic vent channel …
Pollard fastens Cor-A-Vent SV-3 corrugated plastic vent channel material under the spacer, leaving a ?-inch gap for air to flow through the Cor-A-Vent from the rain screen cavity. This will allow air behind the siding to exhaust to the outside.
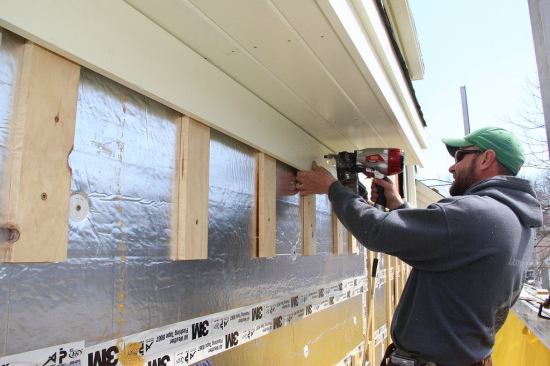
Fenton nails the frieze board over the plastic vent and 1×4 furr…
Fenton nails the frieze board over the plastic vent and 1×4 furring. The top edge of the clapboard siding will slide into the gap between the frieze and the 1×4's, leaving a 3/8-inch gap for the exhausting air.
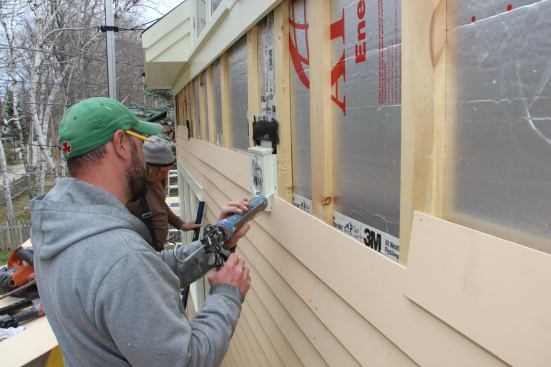
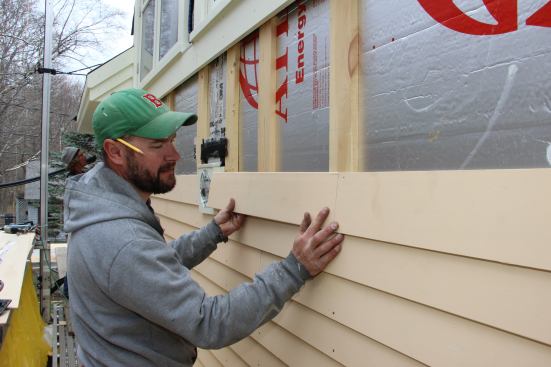
Fenton and Cunningham install the factory primed and first coate…
Fenton and Cunningham install the factory primed and first coated vertical grain red cedar clapboards. Field cuts are end-primed, then then bedded in polyurethane sealant where they contact trim elements.
Fenton “dry fits” a clapboard. He will prime the end cut, th…
Fenton “dry fits” a clapboard. He will prime the end cut, then slip a square of asphalt paper behind the joint for secondary weather protection before pinning the end of the clapboard in place.
Fenton nails the end of a clapboard. Shown here is the scrap of …
Fenton nails the end of a clapboard. Shown here is the scrap of asphalt paper, slipped behind the board to protect against rain intrusion if the joint opens up in service.
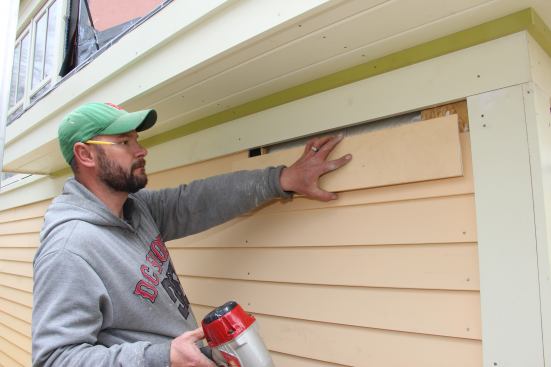
Fenton places the final clapboard at the top of the wall. The ca…
Fenton places the final clapboard at the top of the wall. The carpenters took care to lay out the siding to finish with a full course at the top, where the siding meets the frieze board. This ensures that the thin top edge of the top clapboard will slide up into the gap behind the frieze, leaving a gap between the two pieces for free airflow in and out of the rain screen drainage gap.
Making an old house energy-efficient is a technical challenge, particularly in the severe climate of coastal Maine. JLC has been visiting one job site to follow the work on just such a project: the structural upgrade and energy-efficient gut/rehab of an old summer home on Peaks Island, an island neighborhood a short ferry ride from the Old Port section of Portland, Maine.
Like many homes on the island, the project house was lightly framed and had never been insulated before island contractor Thompson Johnson Woodworking started its ground-up makeover. Structural rehab was the first challenge: last fall, project supervisor Mark Pollard and his crew spent weeks jacking, straightening, and re-framing the structure, creating a new, flat second floor and cranking the racked and sagging roof system into some semblance of straight, plumb, level, and square.
As winter took hold, Pollard said wryly: “We’re almost done with the inside work. Now it’s time to work on the exterior.” From January through spring, through a series of record-setting New England snowstorms, the crew wrapped the outside of the board-sheathed house with an airtight layer of Grace Ice and Water Shield, and then applied two layers of foil-faced foam insulation sealed with tape. As warmer weather crept in, the crew started to side the house. The lower story walls are sided with clapboards, requiring the crew to first apply strapping and vent screens to create a drainable, ventilated rain screen system. On the upper-story dormers, the crew used pre-primed wood shingles applied over an air gap created with MortairVent from Advanced Building Products.
For details of the clapboard rain-screen system, see the slideshow. Check back later for a step-by-step slideshow of the shingle application on the upper story.