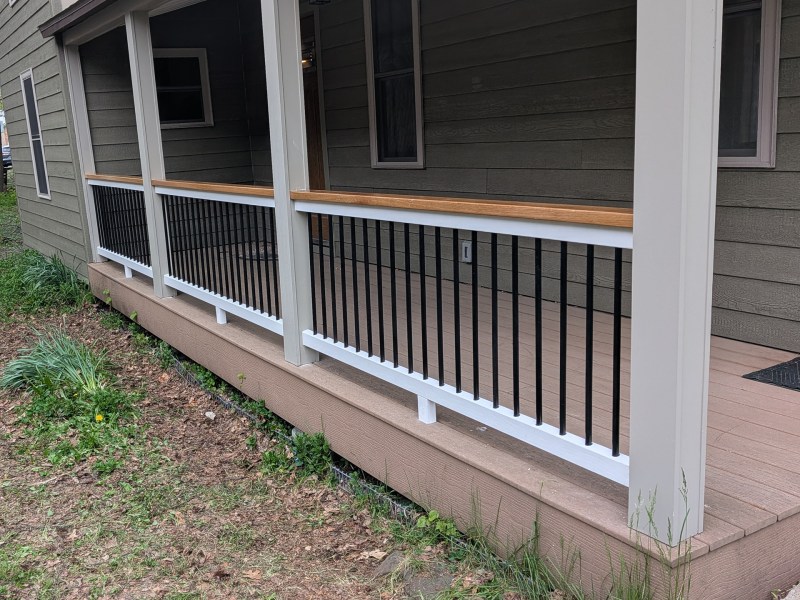
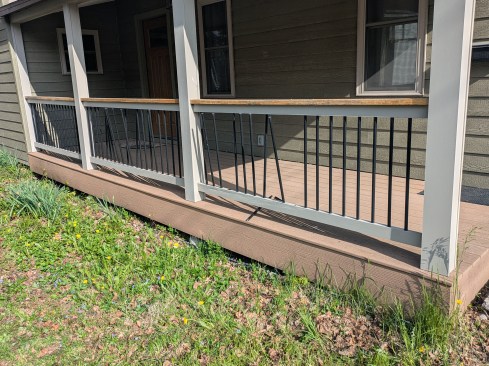
We recently rebuilt an exterior balustrade in white oak, replacing a failed assembly (shown below) that had a clean, modern appearance but did not manage water effectively enough to last.
Nathan Clark
Why the Original Balustrade Failed
Nathan Clark
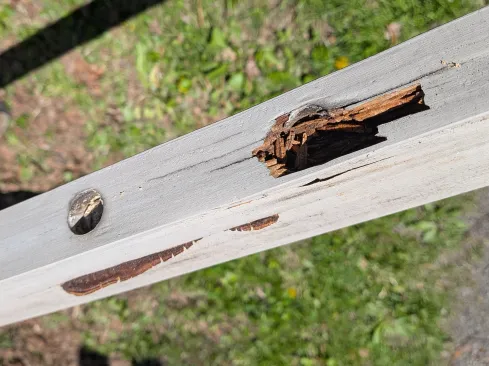
The original lower rail was flat, so water pooled on its surface and worked its way into the shallow baluster mounting holes where it had no reliable path to drain away, causing rot (photo at left).
The upper and lower rails were made from plantation-grown yellow pine, which is prone to decay, and the lower rail lacked mid-span support blocks, allowing it to sag as
it deteriorated.
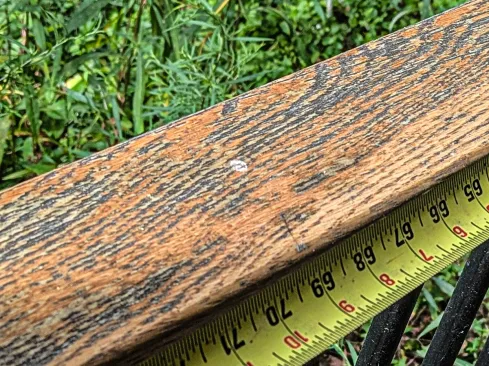
The red oak handrails also had a badly distressed varnish finish; once the finish failed, rainwater entered the open pores of the oak and caused small cracks and finish failure (photo below).
Nathan Clark
Shop Preparation
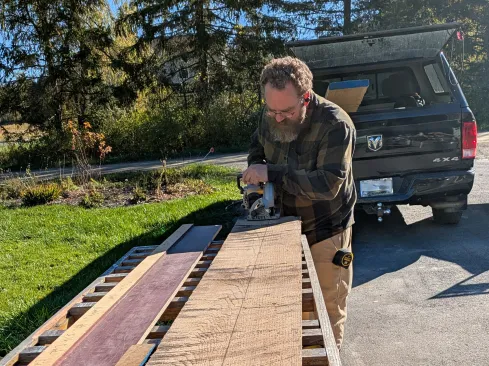
We began at the shop by cutting large white oak boards from the hardwood lumber dealer into manageable sizes, using a circular saw and
track saw (photo below).
Nathan Clark
White oak was chosen because its closed pores make it much more resistant to decay than red oak or plantation-grown yellow pine.
Using the table saw and router, we shaped the boards into three distinct profiles: a lower rail, an upper rail, and a handrail.
Drainage and Durability Details
Each railing section was laid out from field measurements, and deep holes were drilled for the balusters in both the upper and lower rails.
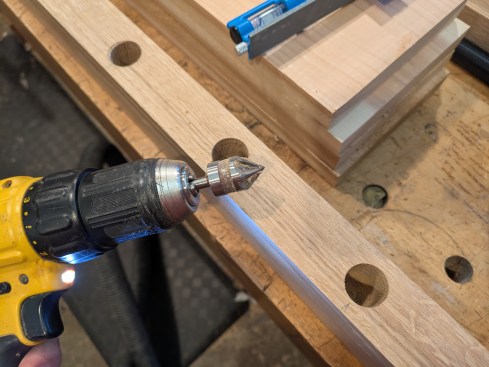
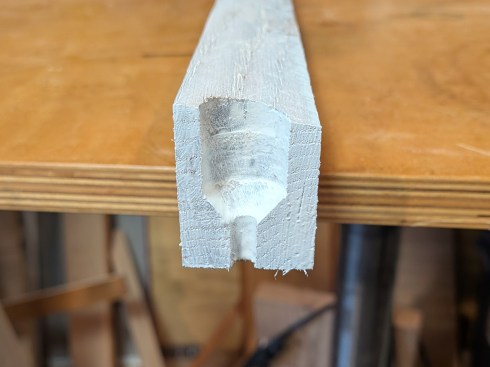
The lower-rail holes were chamfered with a countersink bit, then drilled through with smaller weep holes to allow trapped water to escape (see slideshow below).
Nathan Clark
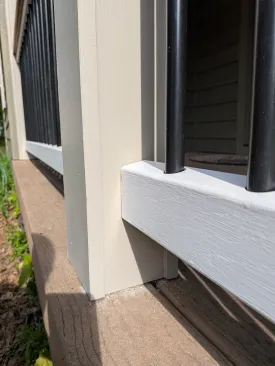
We then ripped the lower rail with a sloped top profile, which discourages water from pooling and helps direct it away from the baluster holes (photo below).
Nathan Clark
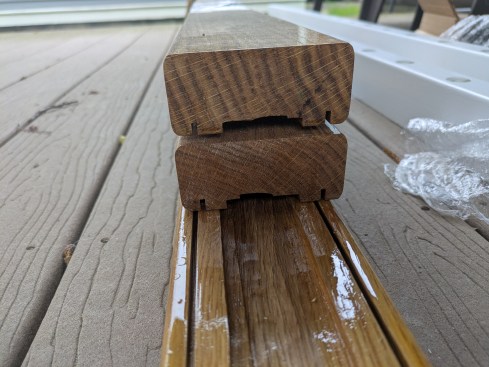
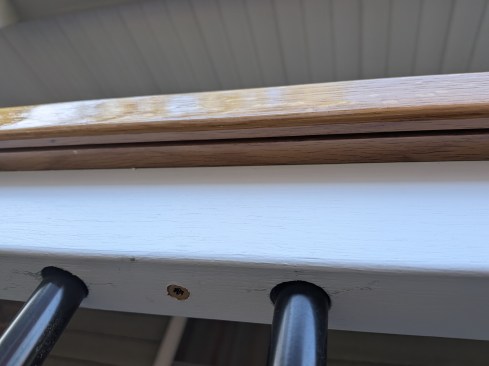
The handrail has a wide dado cut down the center to receive the top rail, made with multiple passes on the table saw using a dado blade.
Two smaller grooves near the underside of the handrail break the surface tension of water, helping it drip away instead of running down onto the lower rail (see slideshow below).
Nathan Clark
This detail I picked up from Manny Silva’s article “A Durable Wood Railing,” 9/24.
Finishing and Installation
The lower and upper rails were primed with two coats of oil-based primer and finished with three coats of exterior latex paint.
The handrail received five coats of Epifanes spar varnish in the shop, followed by a sixth coat after installation.
At the jobsite, one of our workers cut the pieces to their finished lengths, and all fresh cuts were primed before installation.
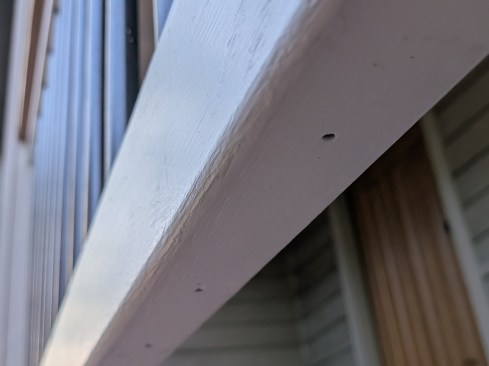
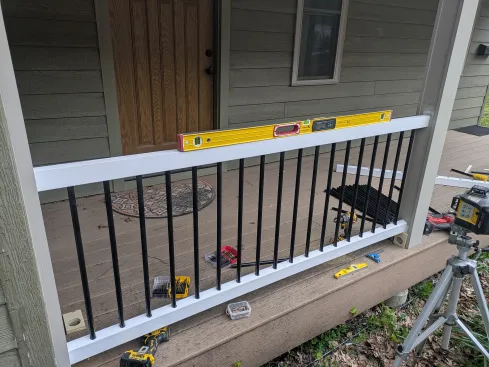
A spirit level and laser level kept the assembly level and plumb, while the lower rails were fastened first with screws toenailed from below and from the porch side (photo below).
Nathan Clark
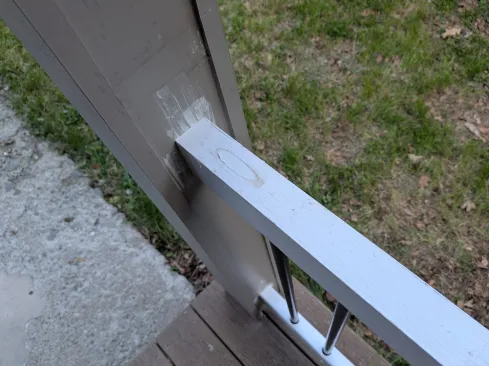
The upper rail was installed with heavy-duty pocket screws from above, and the pocket-screw holes were filled with caulk (photo below).
Nathan Clark
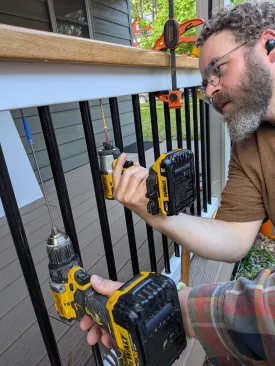
The handrails were predrilled with a long bit and fastened to the upper rail from below with 3 ½-inch framing screws (photo below).
Nathan Clark
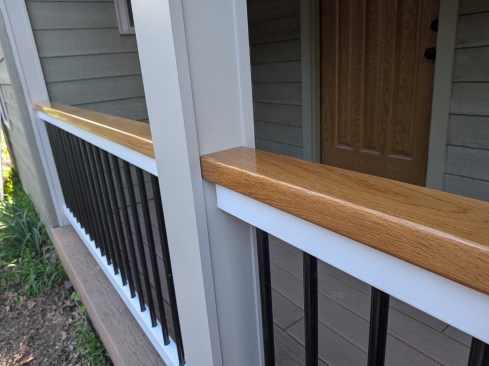
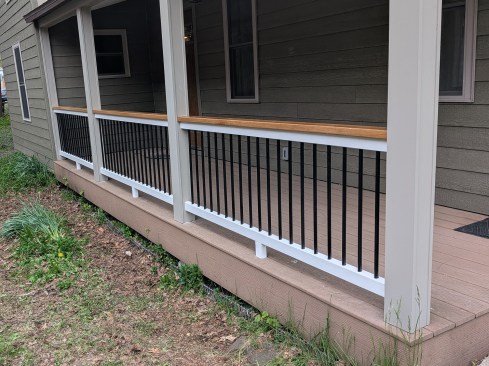
After the joints were caulked and the posts were painted, support blocks were added between the porch floor and lower rail to prevent sagging (see slideshow below).
Nathan Clark
The original look for this railing was a good one that was failed by poor material choice and a lack of details to deal with water. In our rebuild we made sure our choices were focused on long-term durability along with aesthetics. The client should be able to enjoy the look and feel of the railing for many years to come.
Keep the conversation going—sign up to our newsletter for exclusive content and updates. Sign up for free