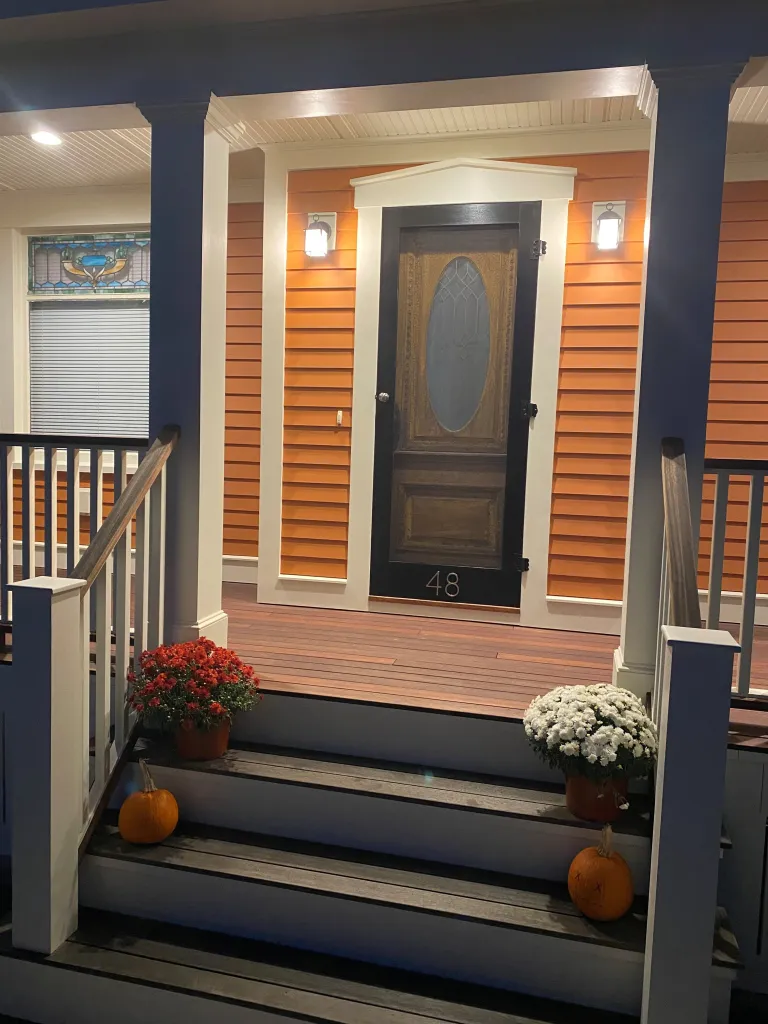
After rebuilding the front porch on my 1890s bungalow in North Andover, Mass., I knew the worn-out original screen door deserved the same level of care. The old door was in tough shape, with multiple layers of paint covering its original white color. The rails and stiles were loose, with some pulling apart due to water damage. As for the hinges and hardware, they too were old and worn and needed replacing. I had done some solid cedar storm doors for Gary Katz for his “This is Carpentry” website so I used some of the things I learned from that experience.
Having a screen door custom-made was too expensive, and the ones my suppliers carried were not of the best quality to stand up to New England’s tough seasons. So, after pricing out the materials needed, I decided to make my own. I wanted the stiles and rails to be thicker than ¾ inch for strength and to help prevent twisting and buckling. Finding 5/4-inch-thick by 6-inch-wide cedar square stock turned out to be a challenge and then they were a little too pricey. Luckily, a local supplier carried 5/4 by 6-inch decking, which was perfect for this project and thick enough for the job.
The materials needed were two 8-foot cedar boards, one 9-foot cedar board, exterior-grade pocket screws and trim screws, glue, primer and paint, hinges and hardware, and finally, a good-quality screen. After gathering all my materials, I was ready to make my screen door.
Emanuel Silva
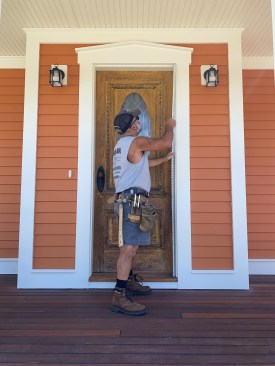
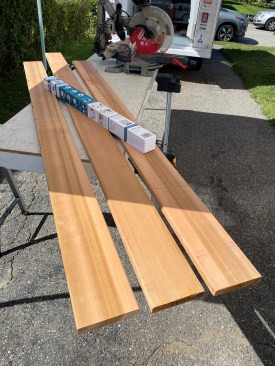
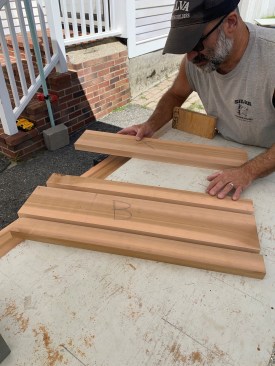
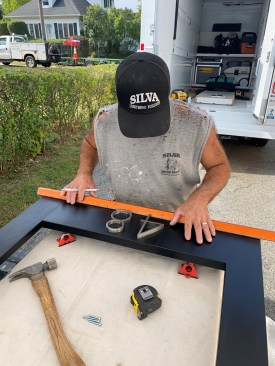
The author starts by measuring for the needed materials.
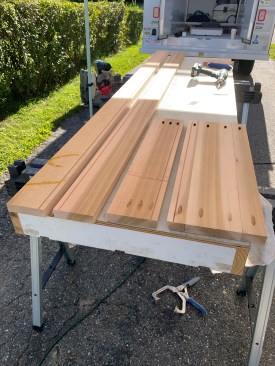
I set up my portable workshop in the driveway and started by measuring the door opening. Those measurements gave me the final dimensions for the new door. To make the 5-inch-wide stiles, I ripped the edges off each deck board. For the top and bottom rails, I crosscut three pieces to rough length. I ripped the top rail to match the width of the stiles, while the wider bottom rail required multiple boards.
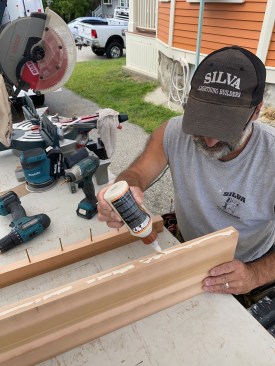
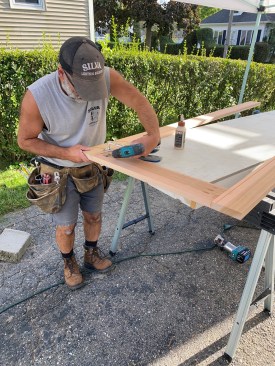
I didn’t want to simply glue two boards together for the bottom rail because I was concerned they might cup over time. Instead, I ripped one board in half and fastened those pieces to each side of the wider board. To create one solid rail, I applied exterior wood glue along each edge and drove 3-inch trim screws about 5 inches apart. A Kreg clamp helped keep the joints flush, and I followed up by sanding both sides with my orbital sander to clean up the seams.
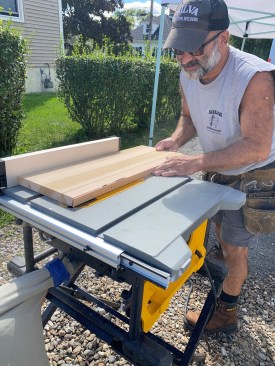
Whenever I work with exterior wood, I’m always looking for ways to shed water. I didn’t want the top edge of the bottom rail to sit flat, so I tilted the table-saw blade to 15 degrees and ran the board through to create a bevel. Before making the cut, I made sure all the screws were sunk deep enough to avoid the blade and leave room for filler before painting.
For assembling the frame, the fastest and strongest method I found was exterior pocket screws with wood glue. I’ve used this approach on many projects over the years with good results, so I’m confident the door will hold up well. Using my pocket screw jig, I drilled eight holes in the bottom rail and six holes in the top rail.
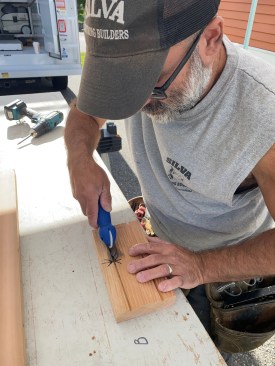
Before cutting the groove for the screen spline I tested the setup on a sample block. I set the table saw 1 inch in from the inside edge and about 1/4 inch deep, then made a test cut. Using a spline wheel, I pressed a scrap piece of screen and spline into the groove to confirm that it would hold securely. Once I knew the setup worked, I cut the same groove in both rails and stiles.
Emanuel Silva
A test piece was used to be sure the spline would fit securely. …
A large, flat worktable made the frame assembly much easier. I started with the top rail, applying glue to both ends before pocket-screwing it to the stiles. Then I fastened the bottom rail in the same way. One important tip is to set the drill driver correctly so the pocket screws don’t overdrive and weaken the connection. This is especially easy to do when using an impact driver.
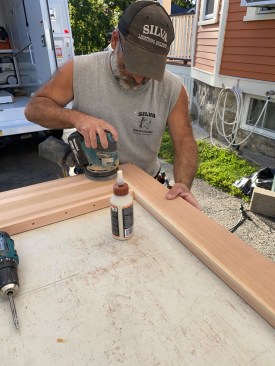
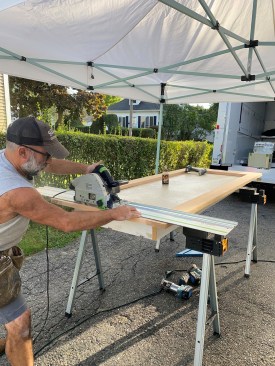
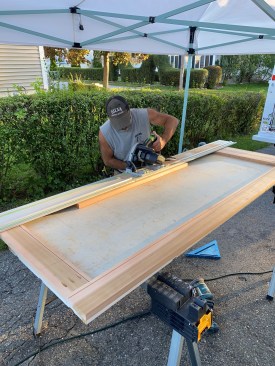
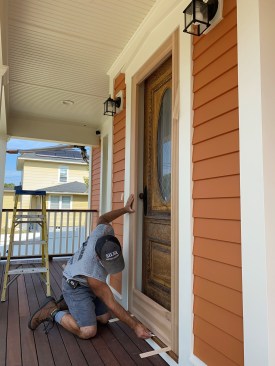
Next, I sanded each joint on both sides of the door to create a seamless look. Using my earlier measurements, I cut the door to final size with my track saw. I cut the bottom to match the threshold angle and added a slight angle at the top to help with drainage. Then I set the door in the opening with shims to check the fit. Once everything looked right, it was ready for primer and paint.
Emanuel Silva
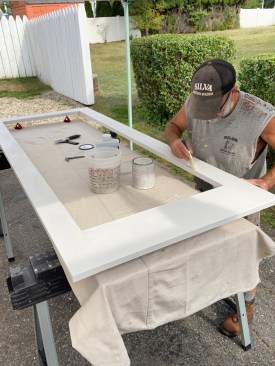
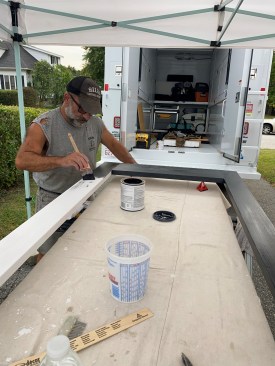
After the glue has set all of the joints are sanded flat.
To help the primer bond to the door better, I sanded the whole door with 100-grit sandpaper using my orbital sander. Then I vacuumed the door clean and set it up on four small triangle stands so I could do both sides. Next, I applied two coats of Zinsser oil primer, sanding between coats, and finished by applying two coats of Benjamin Moore latex paint.
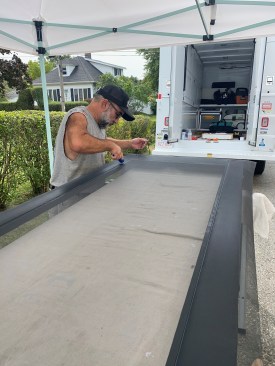
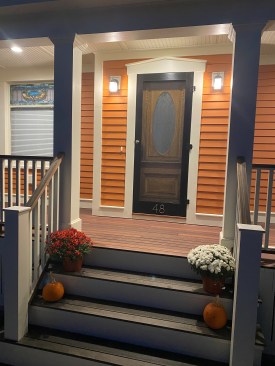
I didn’t want to install the house number on the house or porch, so instead, I installed it on the lower section of the door, knowing it would look better there and be easier to see. Then I flipped the door over and rolled out the screen over the door, cutting it to rough length. Starting with one side, I used a spline wheel to roll the spline over the screen, pressing it into the groove. Next, with a slight pull on the opposite side, I rolled the spline into the groove, creating tension on the screen. I repeated the same procedure at the top and bottom of the frame. With the screen secured tightly in place, I ran a sharp utility blade along the spline, cutting off the excess screen.
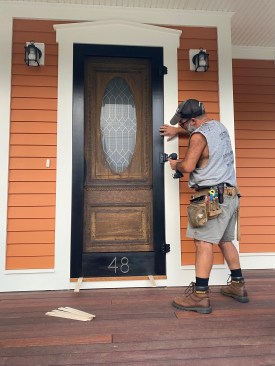
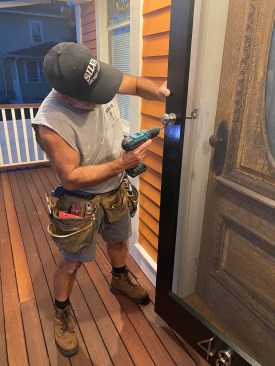
I was now ready to install the screen door in the opening but I ran into a little snag. The door casing stood proud of the door by about 1/4 inch, which required it to be padded out for the hinges to lay flat and work properly. I cut three small PVC blocks and mounted them to the door where the hinges would be located. I settled on using three spring-loaded hinges and secured them to the door and casing, spacing them equally at both ends and in the center of the door.
Emanuel Silva
The screen is laid out on the back of the door and fitted in wit…
To finish the installation, I removed the two temporary shims at the bottom of the door and installed a standard screen door lockset at the midpoint of the door. With any type of screen door or storm door there is always a possibility of it not being closed securely, leaving it vulnerable to heavy winds and damage. Since we mostly use the side door of our home, a simple solution I came up with was to install two eye hooks on the inside of the door. I know this can be a little inconvenient, but I don’t want to keep replacing my screen door because someone didn’t close it correctly.
After lots of discussion, planning, searching for materials, and two long days of work, we are incredibly happy with the door. It’s exactly what we were looking for to fit the style of our old bungalow home—and to have the sound of the door slamming shut. It brings us back to the old
days of spending family time out on the front porch, enjoying the neighborhood.
Keep the conversation going—sign up to our newsletter for exclusive content and updates. Sign up for free