For a tight, energy-efficient house, plan your air-sealing strat…
For a tight, energy-efficient house, plan your air-sealing strategy at the framing stage
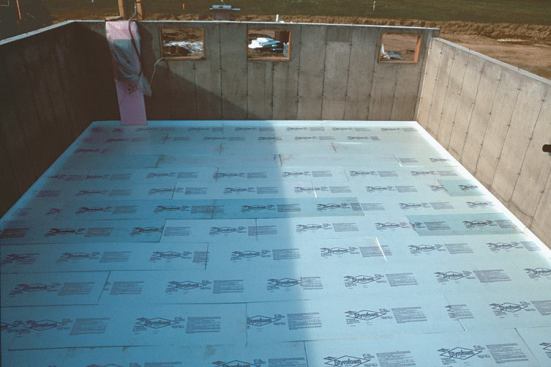
Installing 1 inch of rigid foam insulation under the basement sl…
Installing 1 inch of rigid foam insulation under the basement slab keeps the slab warm enough to prevent moisture from condensing on it. The perimeter insulation between the slab and the colder concrete wall provides a thermal break. The cast-in-place pressure-treated window frames will receive low-e argon-filled windows.
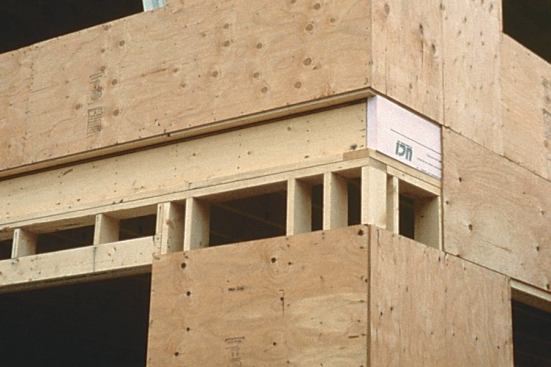
Recessing the band joist 2 inches provides room for exterior rig…
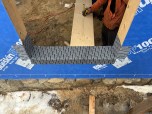
Recessing the band joist 2 inches provides room for exterior rigid foam insulation. To provide an air barrier, the foam is carefully caulked in place with Tremco acoustical sealant.
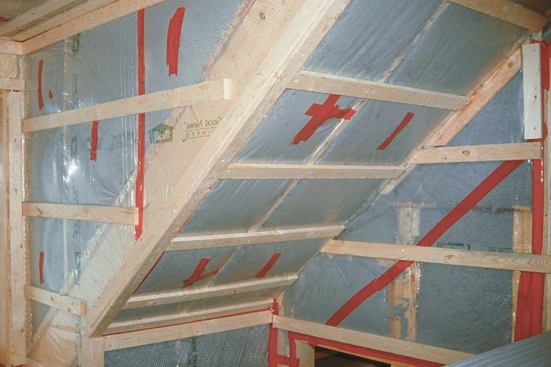
When the budget allows, 2×6 studs are spaced 24 inches on-center…
When the budget allows, 2×6 studs are spaced 24 inches on-center, and 1×3 strapping is installed horizontally at 16 inches on-center. The air space provides a thermal break between the studs and the drywall. Red 3M tape is used to seal seams and tears in the poly air barrier.
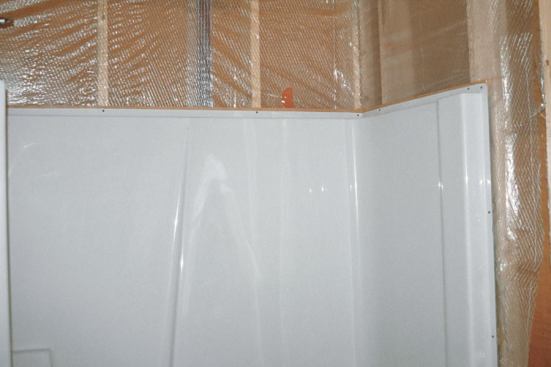
When a tub/shower unit is located on an exterior wall, the poly …
When a tub/shower unit is located on an exterior wall, the poly air barrier is installed before the tub goes in. To create a tight air barrier, the poly needs to be taped to the bottom plate of the wall.
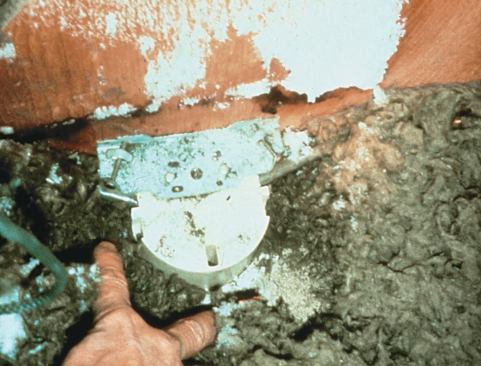
Poorly sealed ceiling-mounted light fixtures continuously leak i…
Poorly sealed ceiling-mounted light fixtures continuously leak interior air into the attic. When the warm, moist air hits a cold surface, the moisture condenses, leading to mildew or rot.
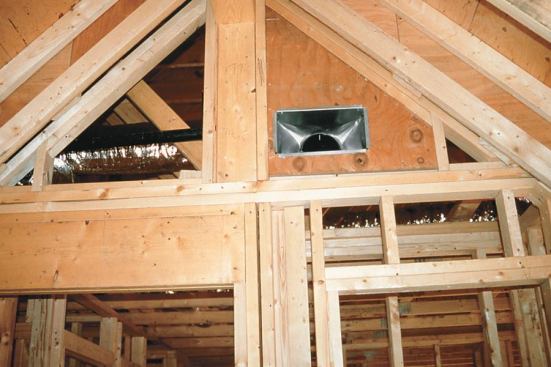
Here, a forced-air register is installed in a piece of 3/4-inch …
Here, a forced-air register is installed in a piece of 3/4-inch plywood where it penetrates the attic air barrier. The register boot is caulked to the plywood.
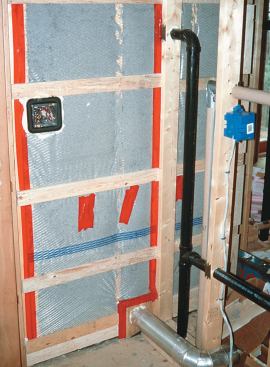
Where this dryer vent penetrates the exterior wall (at bottom of…
Where this dryer vent penetrates the exterior wall (at bottom of photo), a plywood block provides a surface for taping the poly air barrier. This house has horizontal wall strapping, so there was no need to recess the plywood block between the studs. Note that where the partition meets the exterior wall, the penetrations for the plumbing vent and electrical cable are sealed with urethane foam. The photo also shows an Enviroseal airtight electrical box.
Most dense-pack cellulose systems require the installation of a …
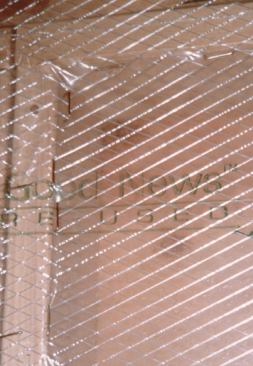
Most dense-pack cellulose systems require the installation of a reinforced polyethylene air barrier. Stapling the poly on the side rather than the edge of the studs helps keep the poly from bulging when the cellulose is blown in place.
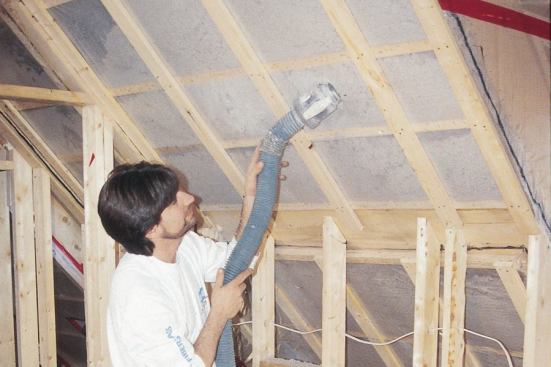
Cellulose insulation effectively fills all of the spaces around …
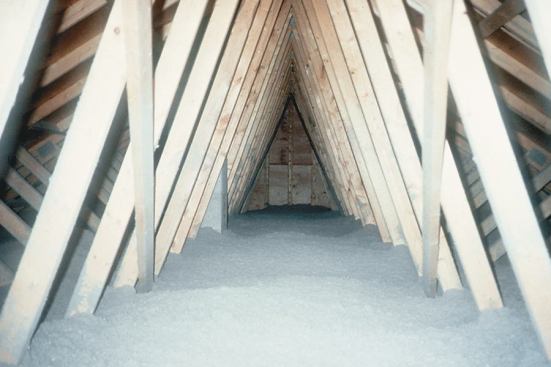
Cellulose insulation effectively fills all of the spaces around the bottom chords of roof trusses. Because cellulose is cheap, it can be piled on deep.
Locating the Thermal Envelope
The continuous barrier formed by the insulation and air barrier is called the thermal envelope. Where to locate the thermal envelope depends, to some extent, on builder preference. Should it follow a flat ceiling or the sloping rafters? Should it include the crawl space? In many cases, there is no single right answer to these questions. However, it is important to make a choice and stick with it, and then explain to your framing crew and subcontractors where the thermal envelope is located. In the past, many builders excluded basements and crawl spaces from the thermal envelope. However, building scientists now recommend sealing and insulating crawl space walls. In cold climates, the prescriptive requirements of the Model Energy Code mandate basement wall insulation. Including the basement inside the building’s thermal envelope is usually simpler and no more expensive than building an uninsulated basement, because insulated basements do not require ceiling insulation, duct sealing, duct insulation, or pipe insulation.
In a typical Cape, the second-floor kneewalls are insulated, as well as a portion of the first-floor ceiling. But when the thermal envelope is located at the kneewalls, air sealing becomes very difficult. Interior air can escape through the first floor ceiling into the cold area behind the kneewalls. Exterior air from the soffit vents, which should rise above the insulation in the rafter bays to ventilate the roof, often enters the living area through gaps in the kneewall. An access door in an insulated kneewall is awkward to build, because it needs to be carefully insulated and weatherstripped. Air sealing is easier when the rafter insulation is extended down to the plates, bringing the triangular crawlspace behind the kneewalls within the building’s thermal envelope (see “Air-Sealing the Story-And-A-Half,”‘ 8/95). This also permits the area behind the kneewall to be used for storage without the need for an airtight access door. — P.B.
Paul Bourke is a builder based in Leverett, Mass. He is a former instructor in the Energy Crafted Homes program and a member of the New England Sustainable Energy Association.