Sue Burnet
Ordering the lumber with one edge ripped on the rough-sawn boar…
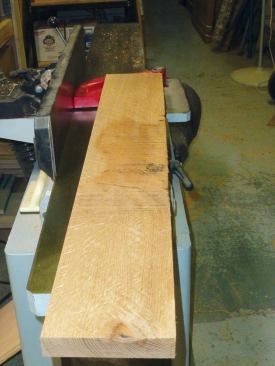
My company makes a number of wooden doors every year (see “Building a Wooden Storm Door,” Sep/14), using rough-sawn (unsurfaced) lumber that we purchase from a local supplier. We order the stock with one ripped edge to facilitate the initial milling steps.
The advantages to milling our own lumber—instead of working with S4S (surfaced four sides) lumber (available in most lumberyards and home centers)—go beyond door making and extend to any number of fine-woodworking tasks where having control over the flatness and stability of the wood is paramount. Doing our own milling also lets us dictate the exact thickness of the boards after they are surfaced.
There is a drawback to buying rough-sawn stock, though: You are unable to see the grain and color of the wood, which aren’t revealed until during the surfacing process.
Special Tools Needed
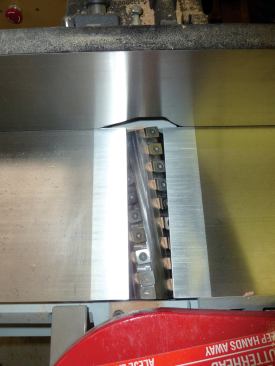
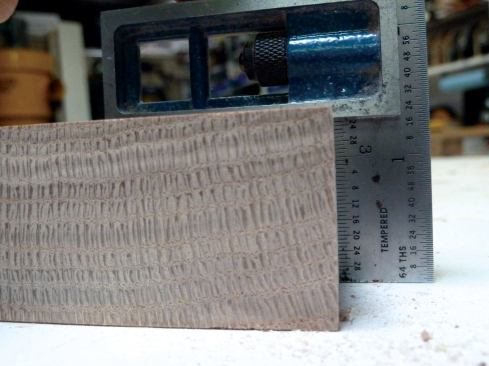
Flattening and surfacing boards takes some specialized equipment. We use an 8-inch-wide jointer as well as a pair of thickness planers to surface our stock. All of our machines are equipped with Byrd Shelix spiral cutter heads that have indexed carbide cutters.
While they’re more expensive than traditional cutter heads, we’ve found them to be a worthwhile investment for our operation. These professional-grade cutting heads all but eliminate chip-out and tear-out (on even the hardest woods), while reducing the number of time-consuming blade changes. And the machines run quieter with these heads.
Acclimate the Wood
The rough-sawn lumber we buy is either kiln-dried or air-dried, but we always allow it to acclimate before we start the milling process. We stack the lumber on wall-mounted lumber racks in our shop and try to keep a small inventory of our most commonly used species. The racks are spaced close enough (about 3 feet apart) to keep the stock from sagging under its own weight, and we sticker the boards to allow maximum air circulation.
Acclimating the wood for a few weeks lets the moisture content in the wood balance to the conditions in the shop. This reduces the chance of the stock twisting or warping as it’s milled, or worse, after we’ve finished the project.
Flattening Comes First
After making a cut list for each project, we rough-cut the pieces to length for the various components, adding a few inches to the finished length to make up for any checks or planer snipe that might occur on the ends of boards. These defects need to be removed before the boards can be used.
Cutting each piece to length before surfacing also minimizes the amount of material that needs to be removed as the board is milled. Any bow or twist is usually more pronounced the longer the board is.
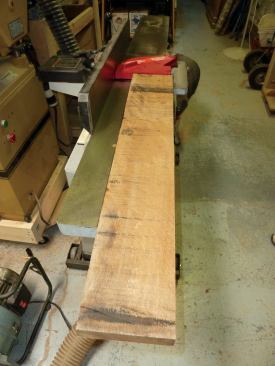
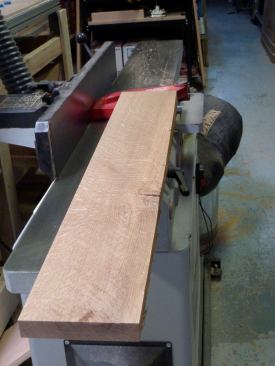
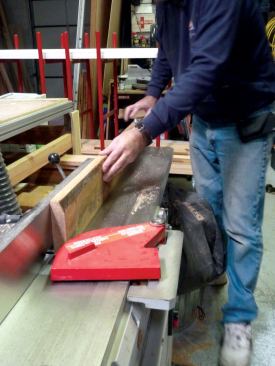
We begin by flattening one face of the material, to get it ready for thicknessing. We feed the boards face down across the blade of the jointer, letting the edge of the board ride against the jointer fence. We take care to “read” the direction of the grain as the boards pass over the jointer knives. Because the top of the cutter head on the jointer rotates toward the operator, the direction of the grain along the edge of the board should angle down and away from the operator to prevent chipping or tearing out.
We make several passes on the jointer, taking off a small amount of wood at a time. With each pass, the rough areas become smaller until all roughness is eliminated and the face is completely flat. As a last step on the jointer, we smooth the ripped edge of the board, which establishes a straight edge that’s 90 degrees to the face we just flattened and that can be run against the table saw’s rip fence. At this point we can finally see the color and figure on the face as well as on the edge of the board.
Thicknessing Next
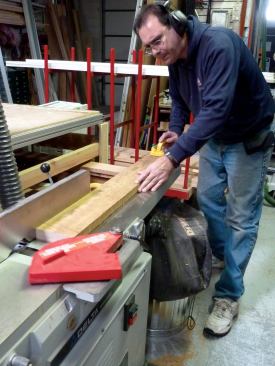
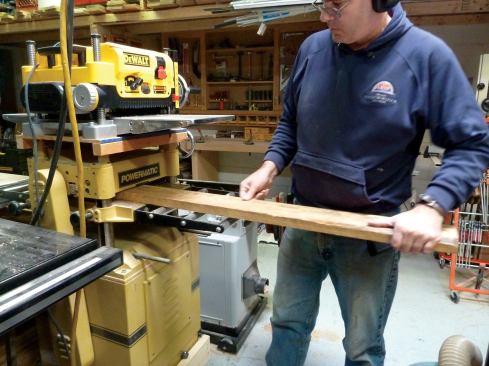
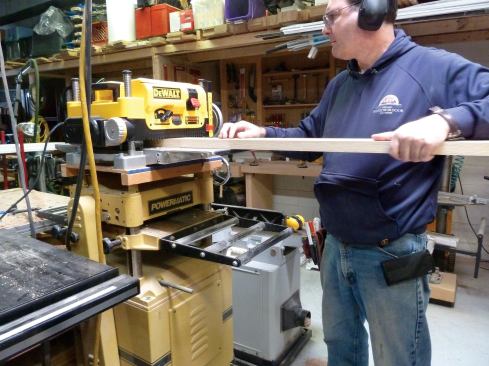
From the jointer, we run the boards through the first of two thickness planers that smooth and flatten the other face of the board. We make the initial passes on a large, powerful stationary Powermatic planer that hogs material off quickly and easily.
We feed each board into the planer with the flattened face placed face down on the planer bed. We make several passes to remove material from the remaining rough face until that side is smooth and parallel to the first side. Next we run the board through a DeWalt planer, which is less powerful but makes a finer cut. We alternate passes on each face until we achieve the desired thickness.
We mark the best face of each board with chalk so that side is used where it is most visible. Then we either cut the material into components for the project or sticker it in the racks for future use.
Greg Burnet is a JLC Live presenter and ownsChicago Window and Door Solutions, in Lyons, Ill.


