Extreme weather is the new normal; damage from ice dams and wind-driven rain are higher than ever. Contractors and homeowners seek confidence that a roof can withstand even the harshest weather conditions, which a self-adhered underlayment can provide. However, while a self-adhered underlayment is a significant leg up against harsh conditions, if it is not properly installed, the roof is still vulnerable to leaks.
There are two easy ways to install self-adhering roofing underlayments correctly:
The Conventional Method
- Cut the membrane into 10- to 15-foot lengths and re-roll loosely. Peel back 1 to 2-feet of release liner, align membrane.
- Peel the release liner from the membrane. Press the membrane of the self-adhering roofing underlayment in place with heavy hand pressure to ensure the desired adhesion to the roof deck. It is important to apply pressure to secure adhesion to the deck and to smooth out any wrinkles in the membrane that may result in air channels or tears that could result in a failure. Most contractors use hand pressure, but rollers are also common. There is a direct connection between membrane performance and proper application.
- Minimum overlap guidelines are set by the manufacturer: GCP Applied Technologies’ Grace Ice & Water Shield roofing underlayment requires side laps to be a minimum of 90 mm (3.5 in.) and end laps a minimum of 150 mm (6 in.).
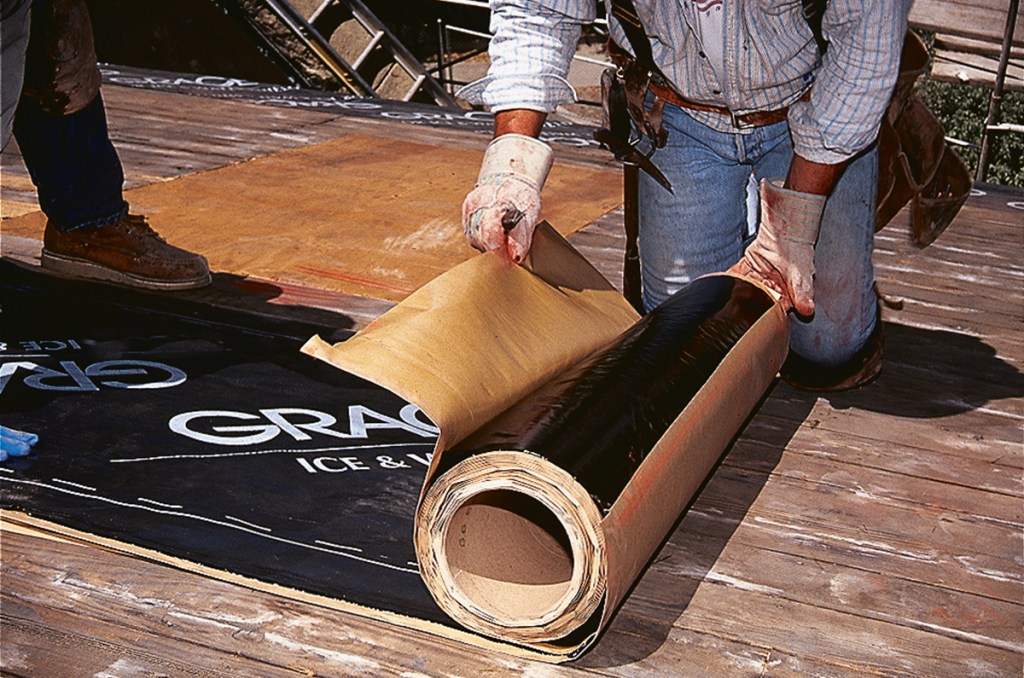
The Back-Roll Method
Some contractors prefer the back-roll method. The back-roll technique can be faster than the conventional method since you can lay down the membrane in just a few minutes!
- Start by unrolling a 10 to 15-foot piece of membrane, leaving the release liner in place. Align the membrane and roll in the intended direction of the membrane application.
- Carefully cut the release liner on top of the roll in the cross direction, being careful not to cut the membrane.
- Peel back about 6-inches of the release liner in the opposite direction from the intended application, exposing the black adhesive.
- Hold the release liner with one hand and pull the roll along the deck with the release liner, leaving the applied membrane behind.
- Stop frequently to press the membrane in place with heavy hand pressure, smoothing the membrane toward the outer edge.
- When finished with the roll, go back and remove the remaining release liner. Smooth to the edge.